Chevrolet Sonic Repair Manual: Liftgate Emblem/Nameplate Replacement (Hatchback)
|
Callout |
Component Name |
|---|---|
|
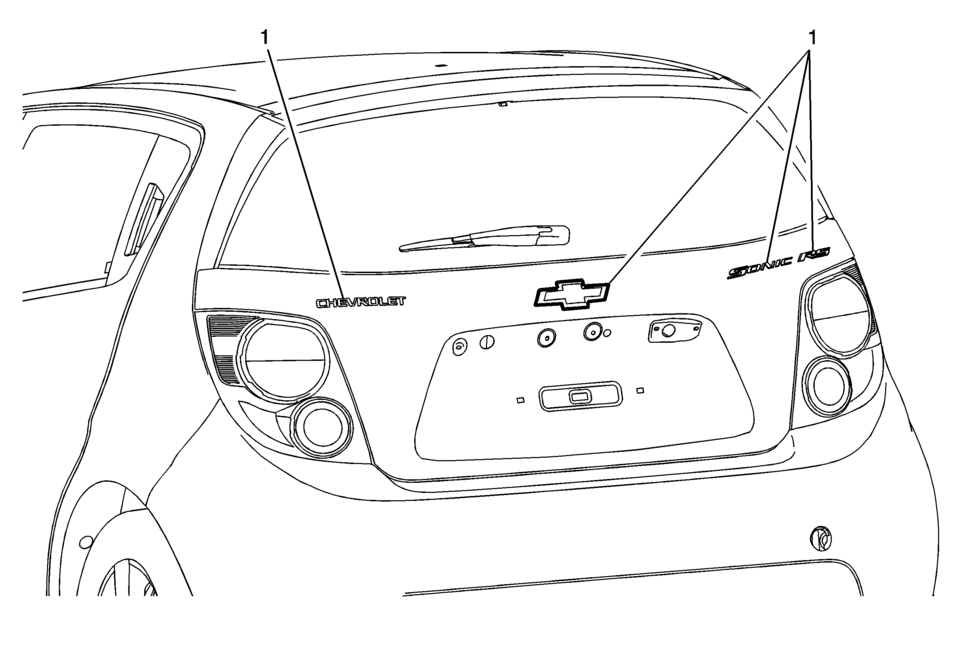
1 |
Liftgate Emblem/Nameplate Assembly Caution: Refer to Exterior Trim Emblem Removal Caution.
|
 Emblem/Nameplate Replacement
Caution: Refer to Exterior Trim Emblem Removal Caution.
The part and vehicle surface should be 21?┬░C (70?┬░F) prior to installation.
The vehicle should remain inside in a temperature ...
 Radiator Grille Emblem/Nameplate Replacement
Radiator Grille Emblem/Nameplate Replacement
Callout
Component Name
Preliminary Procedure
Remove the front bumper fascia. Refer to ...
Other materials:
Rear Side Door Window Rear Guide Replacement
Rear Side Door Window Rear Guide Replacement
Callout
Component Name
Preliminary Procedure
Remove the rear side door trim panel. Refer to Rear Side Door Trim Replacement.
1
Rear Side Door Window R ...
SIR Inflator Module Handling and Storage Warning
Warning: When carrying an undeployed inflator module:
Do not carry the inflator module by the wires or connector.
Make sure the air bag opening points away from you.
When storing an undeployed inflator module:
Make sure the air bag opening points away from the surface o ...
Checking engine coolant level
For optimal performance and reliability of your Nissan Armada, always check the
engine coolant level when the engine is completely cold.
Inspect the coolant level in the reservoir tank. If the level is below the MIN
2 mark, carefully open the reservoir cap and add the appropriate coolant ...

0.0056