Chevrolet Sonic Repair Manual: Parking Brake Adjustment (Disc Brake)
Note:
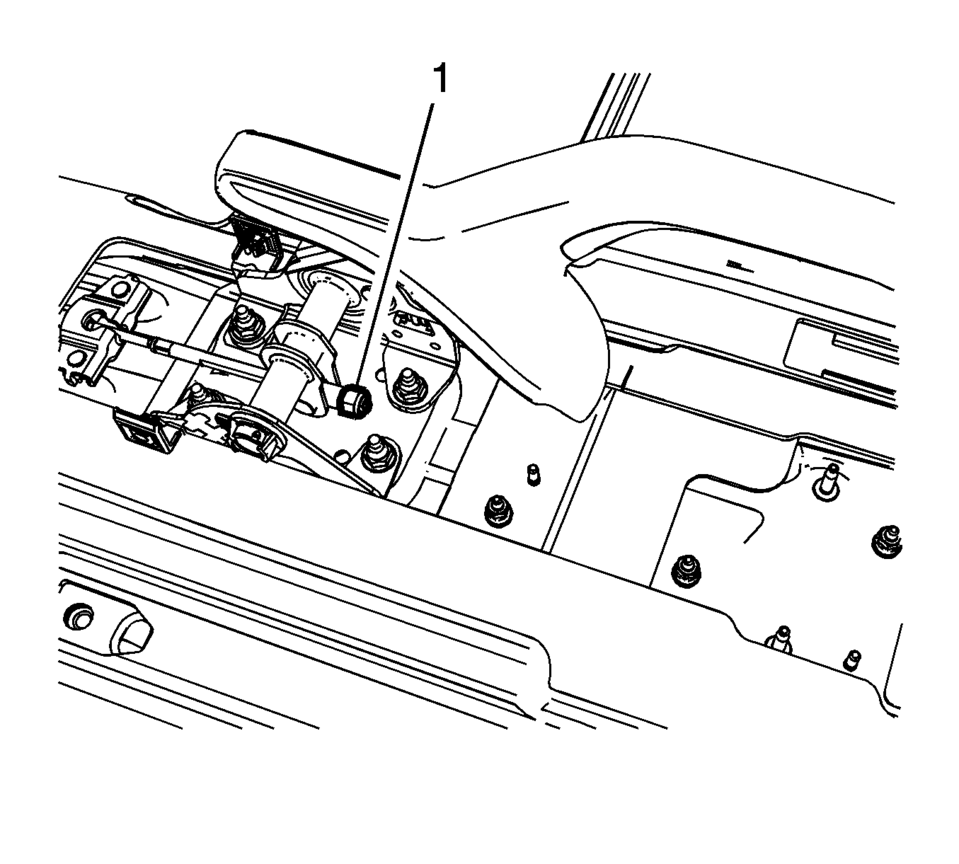
The park brake cable adjusting nut is a nylon lock type. Use ONLY HAND TOOLS whenever tightening or loosening the adjusting nut.
- Apply and fully release the park brake several times. Verify that the park brake lever releases completely.
- Turn ON the ignition. Verify the red BRAKE warning lamp is not illuminated.
- If the red BRAKE warning lamp is illuminated, verify the following:
- The park brake lever is in the fully released position and against the stop.
- There is no slack in the park brake cables.
- One of the tire and wheel assemblies should not rotate forward or rearward.
- The other tire and wheel assembly should not rotate forward or rearward, or should require substantial effort to rotate.
 Front Disc Brake Mounting and Hardware Inspection
Warning: Refer to Brake Dust Warning.
Inspect the fluid level in the brake master cylinder reservoir.
If the brake fluid level is midway between the maximum-full point and the
...
 Parking Brake Cable Replacement (Disc Brake)
Removal Procedure
Remove the front floor console. Refer to Front Floor Console Replacement.
Ensure that the parking brake lever is in the fully released position.
Using ...
Other materials:
Front Seat Heater Control Module Replacement
Front Seat Heater Control Module Replacement
Callout
Component Name
1
Front Seat Heater Control Module Fastener (Qty:?€‰2)
Caution: Refer to Fastener Caution.
2
Front Seat He ...
Brake Rotor Refinishing
Special Tools
CH-41013 Rotor Resurfacing Kit
CH-42450-A Wheel Hub Resurfacing Kit
For equivalent regional tools, refer to Special Tools.
Warning: Refer to Brake Dust Warning.
Note:
The disc brake rotors do not require refinishing as part of routine
brake system servic ...
Evaporative Emission System Hose/Pipe Replacement
Special Tools
CH-807 Closure Plugs
CH-6015 Closure Plugs
For equivalent regional tools, refer to Special Tools.
Removal Procedure
Warning: Refer to Gasoline/Gasoline Vapors Warning.
Disconnect the battery negative cable. Refer to Battery Negative Cable
Disconnec ...

0.0091