
Chevrolet Sonic Repair Manual: Roof Outer Panel Replacement (4NB)
- Removal Procedure
-
- Disable the SIR system. Refer to SIR Disabling and Enabling.
- Disconnect the negative battery cable. Refer to Battery Negative Cable Disconnection and Connection.
- Remove all related panels and components.
- Visually inspect the damage. Repair as much of the damage as possible.
- Remove the sealers and anti-corrosion materials from the repair area, as necessary. Refer to Anti-Corrosion Treatment and Repair.
- Locate and mark all factory welds.
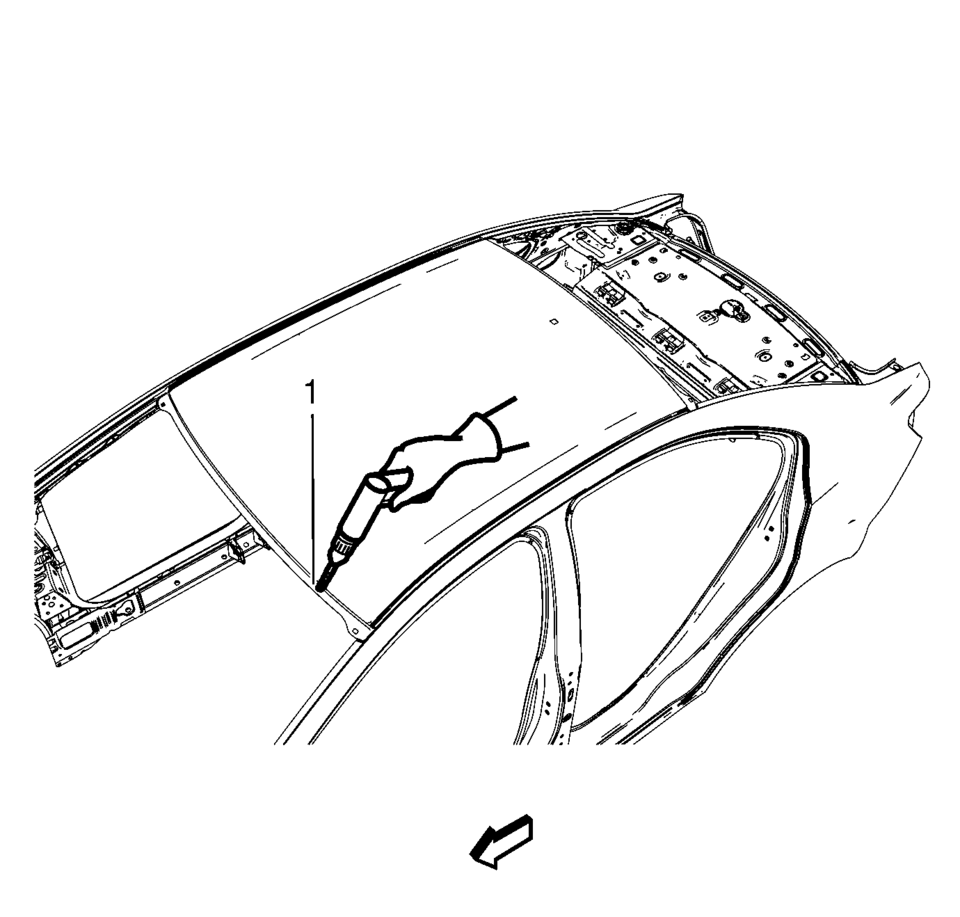
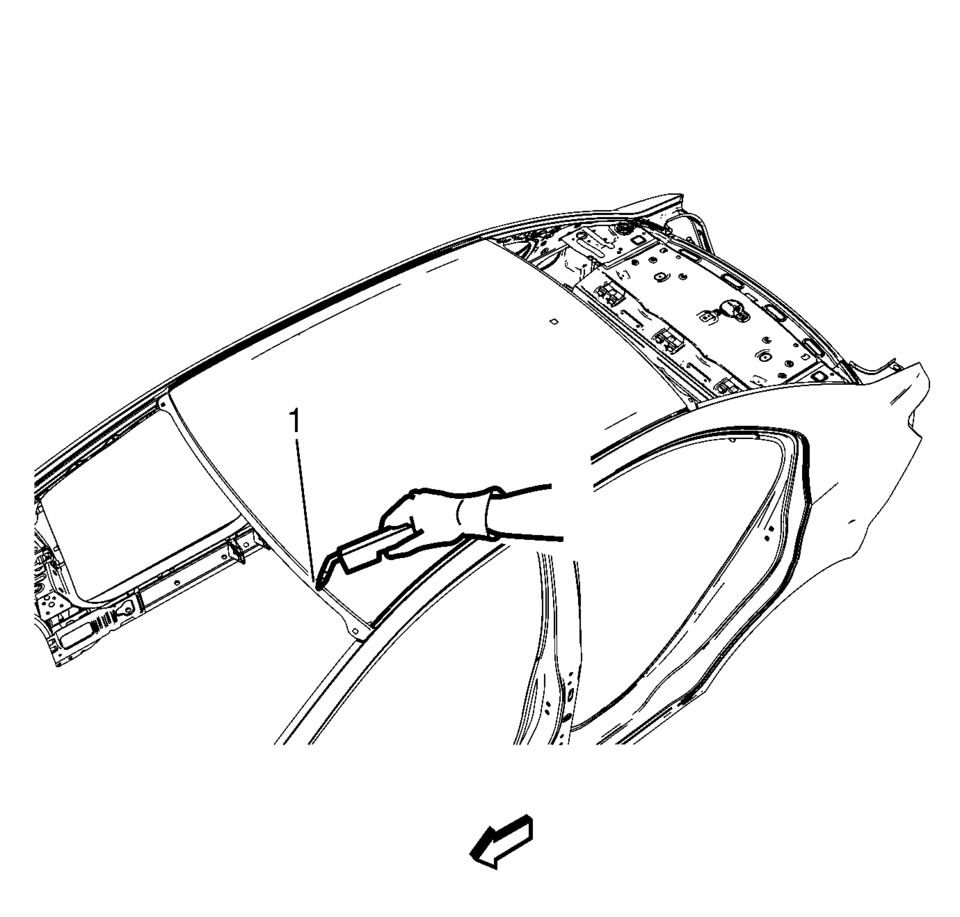
- Drill all factory welds?€‰(1). Note the number and location of welds for installation of the service assembly.
- Cut the adhesive with an appropriate tool.
- Remove the damaged roof panel?€‰(1).
Warning:
Refer to Approved Equipment for Collision Repair Warning.
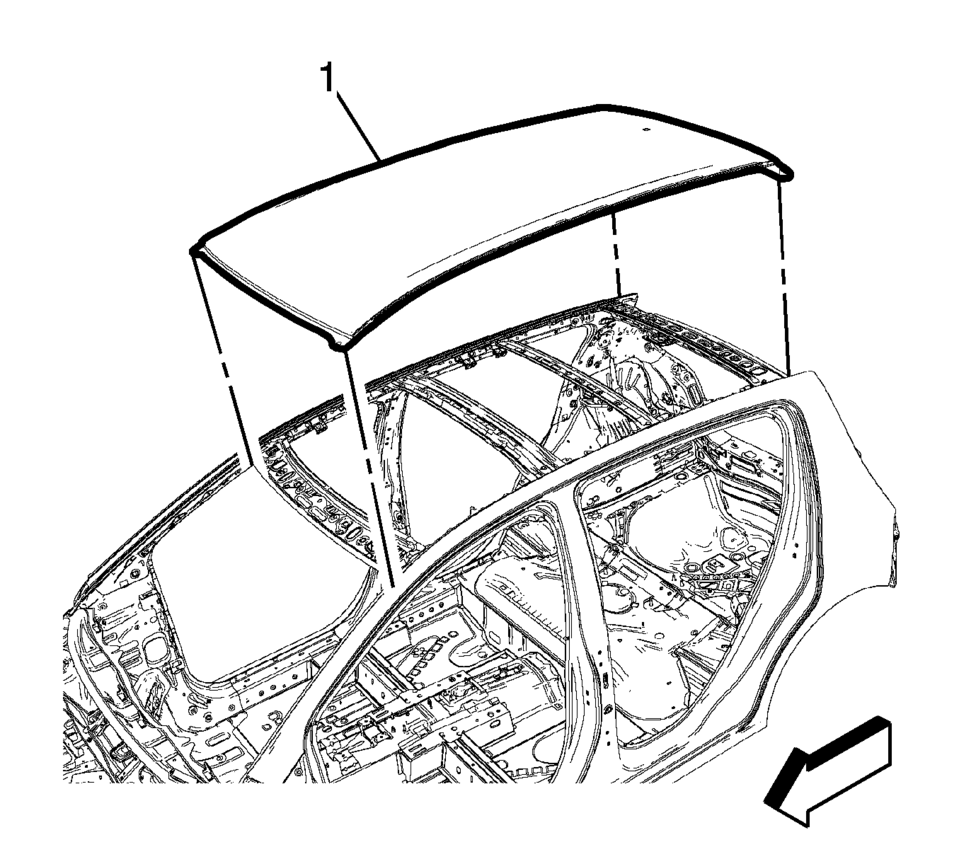
- Installation Procedure
-
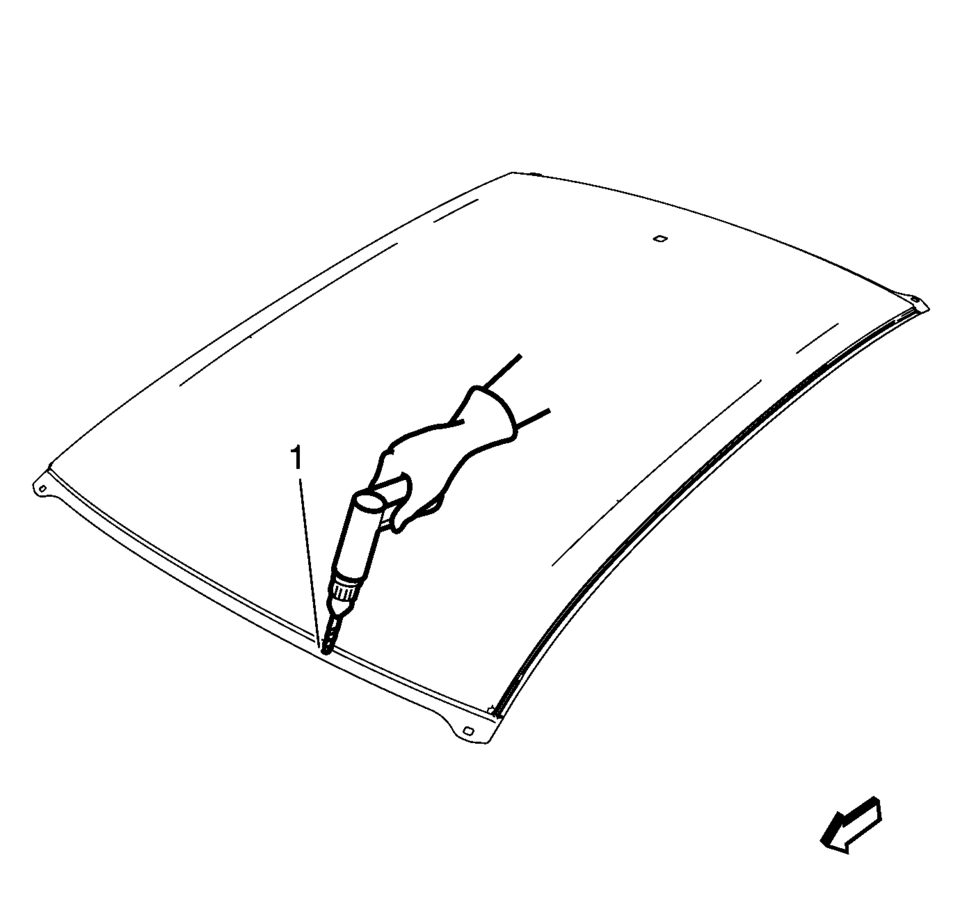
- Drill 8?€‰mm (5/16?€‰in)
holes for plug welding along the edges of the service panel as noted from the original panel?€‰(1).
- Clean and prepare the attaching surfaces for welding.
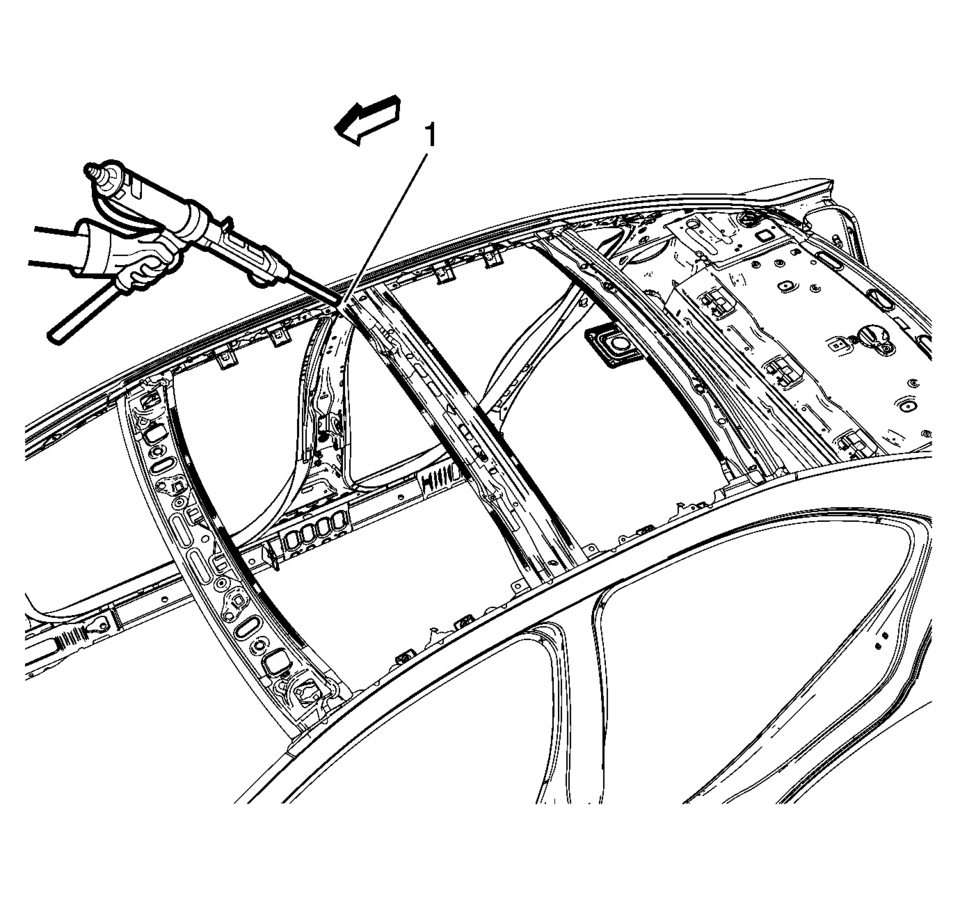
- Apply one-part windshield urethane adhesive?€‰(1) as noted from the original panel.
- Position the roof panel?€‰(1) on the vehicle.
- Verify the fit of the panel.
- Clamp the panel into position.
- Plug weld accordingly?€‰(1).
- Apply the sealers and anti-corrosion materials to the repair area, as necessary. Refer to Anti-Corrosion Treatment and Repair.
- Paint the repaired area. Refer to Basecoat/Clearcoat Paint Systems.
- Install all related panels and components.
- Connect the negative battery cable. Refer to Battery Negative Cable Disconnection and Connection.
- Enable the SIR system. Refer to SIR Disabling and Enabling.
- Drill 8?€‰mm (5/16?€‰in)
 Roof Front Header Panel Replacement
Removal Procedure
Warning: Refer to Approved Equipment for Collision Repair
Warning.
Note: The roof front header panel is made of Ultra High Strength
Steel and ...
 Roof Outer Panel Replacement (5HB)
Removal Procedure
Warning: Refer to Approved Equipment for Collision Repair
Warning.
Disable the SIR system. Refer to SIR Disabling and Enabling.
Disconnect the nega ...
Other materials:
Seat Belt Service Precautions
Note: If the vehicle has been in a collision, refer to Repairs
and Inspections Required After a Collision for additional information.
Do not bleach or dye the seat belt webbing. Use only the following items
in order to clean the seat belt webbing:
A mild soap and water ...
Throttle Body Heater Outlet Hose Replacement (LUW)
Throttle Body Heater Outlet Hose Replacement
Callout
Component Name
Preliminary Procedure
Drain the cooling system. Refer to Cooling System Draining and Filling.
Remove the air cleaner outlet duct. Refer to Air Cleaner Out ...
Air Cleaner Assembly Replacement
Air Cleaner Assembly Replacement
Callout
Component Name
1
Air Cleaner Outlet Duct Clamp.
Procedure
Loosen clamp and remove air cleaner outlet duct from air cleaner assembly.
2
Mass ...

0.007