
Chevrolet Sonic Repair Manual: Battery Negative Cable Disconnection and Connection
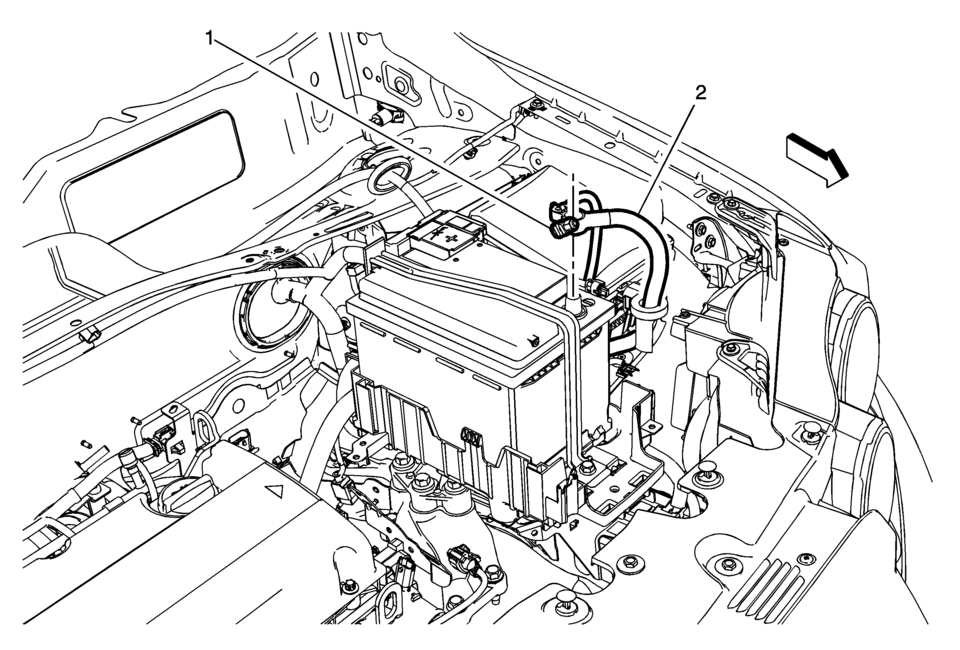
|
Callout |
Component Name |
|---|---|
Preliminary Procedures
|
|
|
1 |
Battery Negative Cable Fastener Warning: Refer to Battery Disconnect Warning. Caution: Refer to Fastener Caution.
4.5 Y (40 lb in) |
|
2 |
Battery Negative Cable Procedure
|
 Battery Inspection/Test
Diagnostic Instructions
Perform the Diagnostic System Check - Vehicle prior to using this diagnostic
procedure.
Review Strategy Based Diagnosis for an overview of the diagnostic a ...
 Battery Negative Cable Replacement
Battery Negative Cable Replacement
Callout
Component Name
Preliminary Procedures
Disconnect the battery current sensor connector.
...
Other materials:
Front Seat Outboard Seat Back Airbag Replacement
Front Seat Outboard Seat Back Airbag Replacement
Callout
Component Name
Warning: Following the deployment of a side impact air bag,
inspect the following parts for damage. Replace these parts if necessary:
...
Secondary Air Injection Pump Removal
Disconnect the secondary air injection pump pipe (3). Refer to Plastic Collar
Quick Connect Fitting Service.
Remove the secondary air injection pump nut (2) and the 2 secondary air
injection pump bolts (4).
Remove the secondary air injection pump (1 ...
Fuel Tank Fuel Pump Module Replacement (Steel Tank)
Special Tools
EN-48279 Fuel Sender Lock Ring Wrench
For equivalent regional tools, refer to Special Tools.
Removal Procedure
Relieve the fuel system pressure. Refer to
Fuel Pressure Relief.
Remove the fuel tank. Refer to
Fuel Tank Replacement.
Disconnect ...

0.0063