Chevrolet Sonic Repair Manual: Body Waterleak Repair

Warning:
If the vehicle interior is exposed to moisture and becomes soaked up to the level of the sensing and diagnostic module (SDM), the SDM and SDM harness connector must be replaced. The SDM could be activated when powered, which could cause airbag deployment and result in personal injury.
Depending on the location of the waterleak, you may have to remove certain interior components in order to repair the leak.
- If the floor carpet is wet, refer to Floor Carpet Drying.
- Cut out a portion of the adhesive caulking in the leak area from inside or outside of the vehicle.
- Clean and remove all loose particles of the adhesive old caulking from the area.
- Apply joint body and seam sealer where the old adhesive caulking was removed.
- Allow the adhesive caulking to dry for several hours.
- Test for leaks.
- Install the trim, if removed.
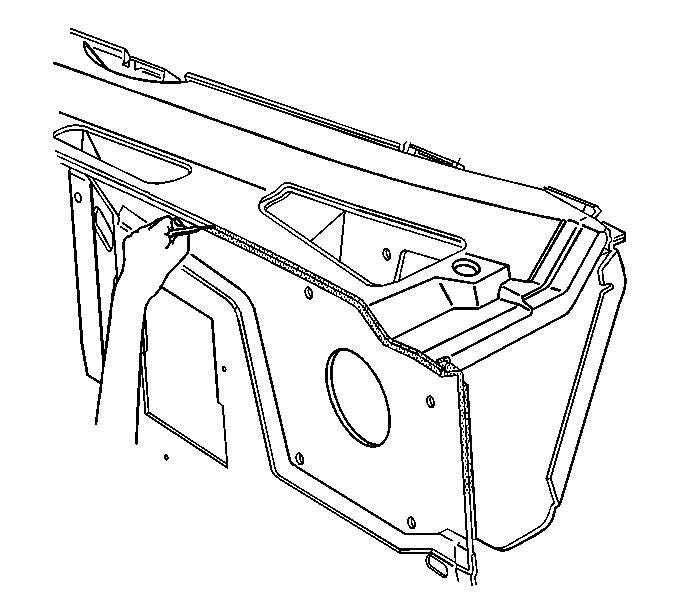
 Body Hinge Pillar Lower Reinforcement Replacement
Removal Procedure
Warning: Refer to Approved Equipment for Collision Repair
Warning.
Disable the SIR system. Refer to SIR Disabling and Enabling.
Disconnect the nega ...
 Dimensions - Body (4NB)
Point-to-point measurements are for reference only. All measurements are given
in millimeters. Use these measurements for diagnosing and estimating. Point-to-point
measurements are duplicated with ...
Other materials:
Filling the Tank
Warning
Fuel vapors and fuel fires burn violently and can cause injury or death.
. To help avoid injuries to you and others, read and follow all the instructions
on the fuel pump island.
. Turn off the engine when refueling.
. Keep sparks, flames, and smoking materials away from fuel.
...
Radio/Audio System Description and Operation
The entertainment system on this vehicle may have several different configurations
available to it. To determine the specific configuration of the vehicle, please
see the Service Parts ID Label, and refer to RPO Code List.
Each item in the list below represents topics covered in detail below. ...
How to activate/deactivate the automatic brake hold function
To enable the automatic brake hold feature in your Nissan Armada, ensure the
ignition switch is in the ON position, then press the automatic brake hold switch
1. Once activated, the indicator light on the switch 2 will illuminate, confirming
that the system is ready for operation.
When ...

0.0059