
Chevrolet Sonic Repair Manual: Driver or Passenger Seat Back Cushion Frame Replacement
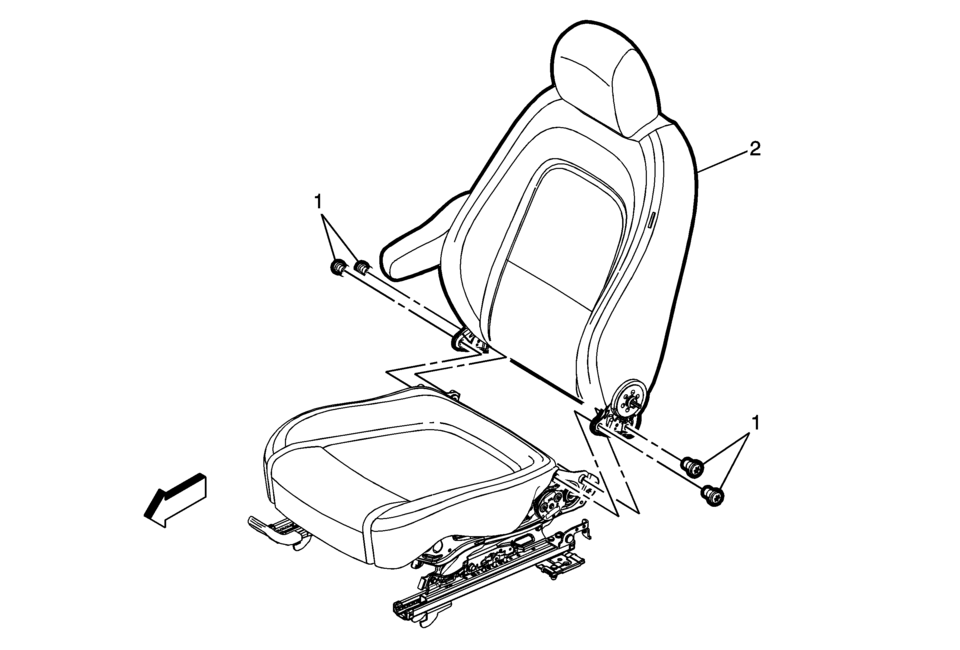
|
Callout |
Component Name |
|---|---|
Preliminary Procedures
|
|
|
1 |
Front Seat Back Cushion Frame Bolt (Qty:?€‰4) Caution: Refer to Fastener Caution.
22?€‰Y(16?€‰lb?€‰ft) |
|
2 |
Driver or Passenger Seat Back Cushion Frame Procedure
|
 Body Side Frame Rocker Reinforcement Replacement
Removal Procedure
Warning: Refer to Approved Equipment for Collision Repair
Warning.
Warning: Refer to Glass and Sheet Metal Handling Warning.
Note ...
 Driver or Passenger Seat Cushion Frame Replacement
Driver or Passenger Seat Cushion Frame Replacement
Callout
Component Name
Preliminary Procedures
Remove the driver or passenger sea ...
Other materials:
Liftgate Strut Replacement
Liftgate Strut Replacement
Callout
Component Name
1
Liftgate Strut
Warning: When a lift gate hold open device is being removed
or installed, provide alternate support to avoid the possibility of
damage ...
Special Tools
Illustration
Tool Number/Description
3-9607433
Transmission Support
DT-586
J-23129
KM-586
Universal Seal Remover
DT-3289-20
J-3289-20
Holding Fixture ...
Input, Reaction, and Output Carrier Disassemble
Input, Reaction, and Output Carrier Disassemble
Callout
Component Name
1
Output Carrier Assembly
Note:
The 6T30 and 6T40 have 4 pinions.
The 6T45 and 6T50 have 5 pinions.
...

0.007