Chevrolet Sonic Repair Manual: Fuel Tank Fuel Pump Module Replacement (Steel Tank)
Special Tools
EN-48279 Fuel Sender Lock Ring Wrench
For equivalent regional tools, refer to Special Tools.
- Removal Procedure
-
- Relieve the fuel system pressure. Refer to Fuel Pressure Relief.
- Remove the fuel tank. Refer to Fuel Tank Replacement.
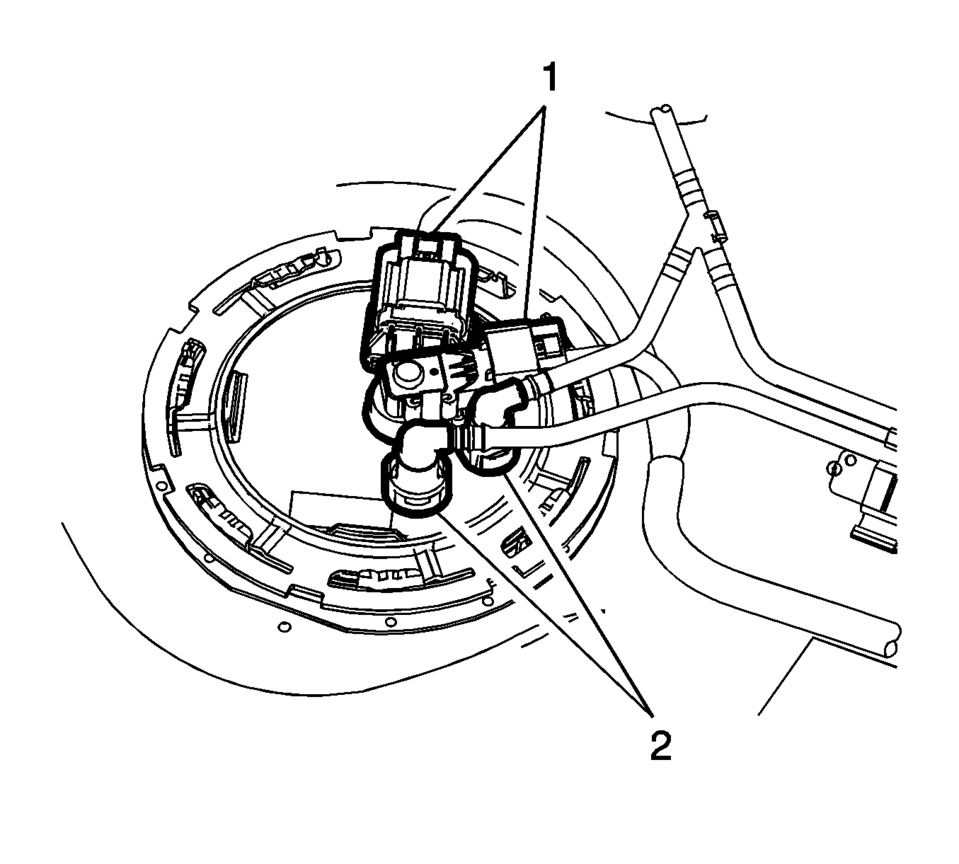
- Disconnect the electrical connectors (1).
- Disconnect the evaporative emission and fuel lines (2). Refer to Plastic Collar Quick Connect Fitting Service.
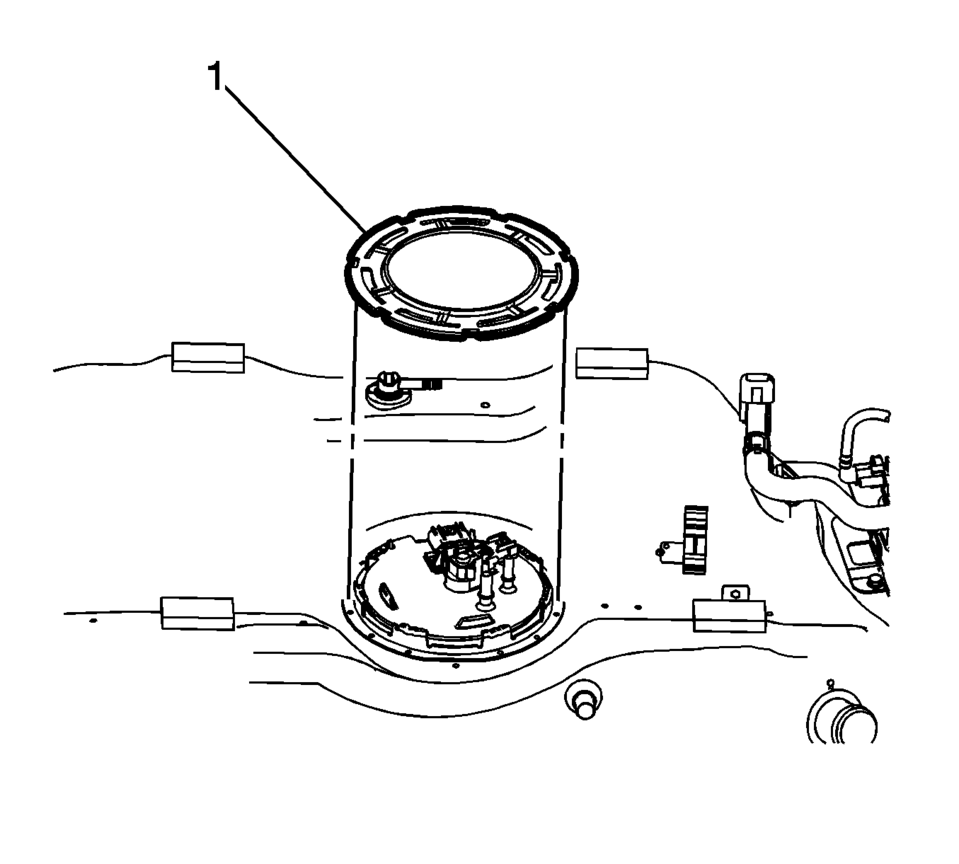
- Using the EN-48279 fuel sender lock ring wrench , remove the lock ring (1) by turning counter-clockwise.
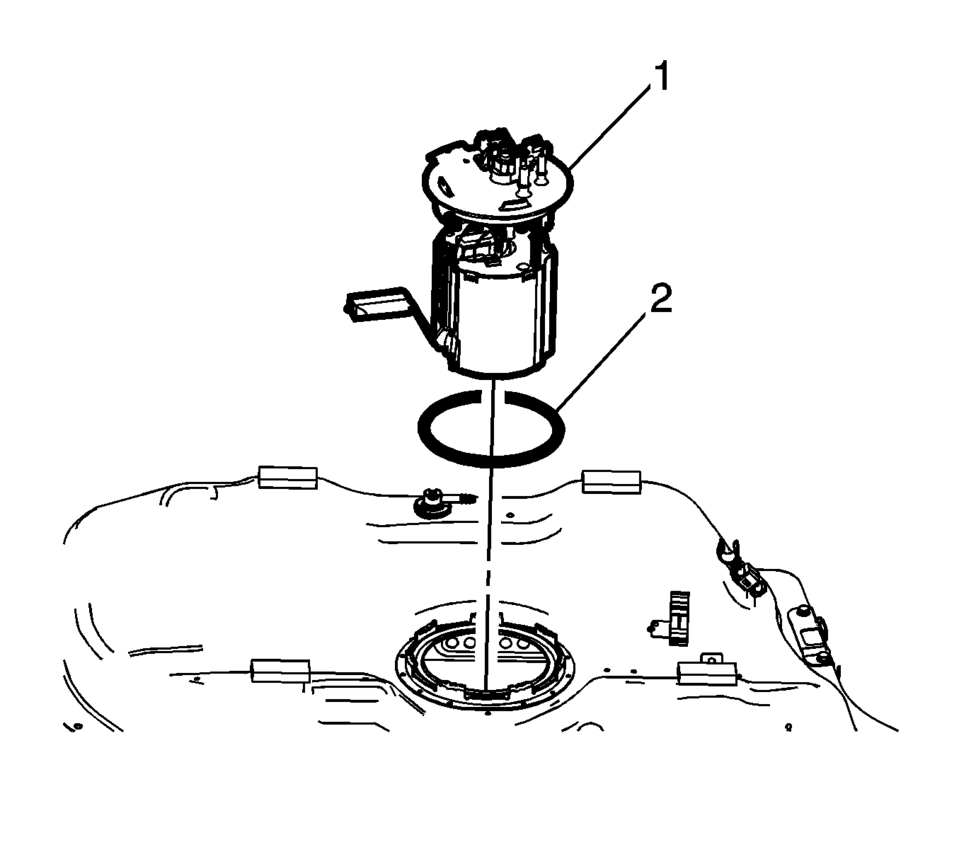
- Remove the fuel pump module (1) and O-ring (2). Discard the seal.
- Installation Procedure
-
- Install a NEW O-ring (2) and the fuel pump module (1).
- Using the EN 48279 wrench, install the lock ring (1) by turning clockwise.
- Connect the electrical connectors (1).
- Connect the evaporative emission and fuel lines (2). Refer to Plastic Collar Quick Connect Fitting Service.
- Install the fuel tank. Refer to Fuel Tank Replacement.
 Fuel Tank Fuel Pump Module Replacement
Special Tools
EN-48279 Fuel Sender Lock Ring Tool
For equivalent regional tools, refer Special Tools.
Removal Procedure
Relieve the fuel system pressure. Refer to
Fuel P ...
 Fuel Tank Replacement
Removal Procedure
Disconnect the battery negative cable. Refer to
Battery Negative Cable Disconnection and Connection.
Relieve the fuel pressure. Refer to
Fuel Pressure Relie ...
Other materials:
Rear Compartment Lid Hinge Torque Rod Replacement
Rear Compartment Lid Hinge Torque Rod Replacement
Callout
Component Name
Warning: Refer to Hood Hold-Open Device Warning.
Preliminary Procedure
Open and support the rear compartment lid.
Special Tools
BO-125 ...
Lead/Pull Description
At a constant highway speed on a typical straight road, lead/pull is the amount
of effort required at the steering wheel to maintain the vehicle's straight path.
Important: Vehicles will tend to lead/pull in the direction of the
road slope as part of normal operation.
Lead/pull is ...
Throttle Body Heater Inlet Hose Replacement (LUW)
Throttle Body Heater Inlet Hose Replacement
Callout
Component Name
Preliminary Procedure
Remove the air cleaner outlet duct. Refer to Air Cleaner Outlet
Duct Replacement.
Drain the cooling system. Refer to Cooling System ...

0.0057