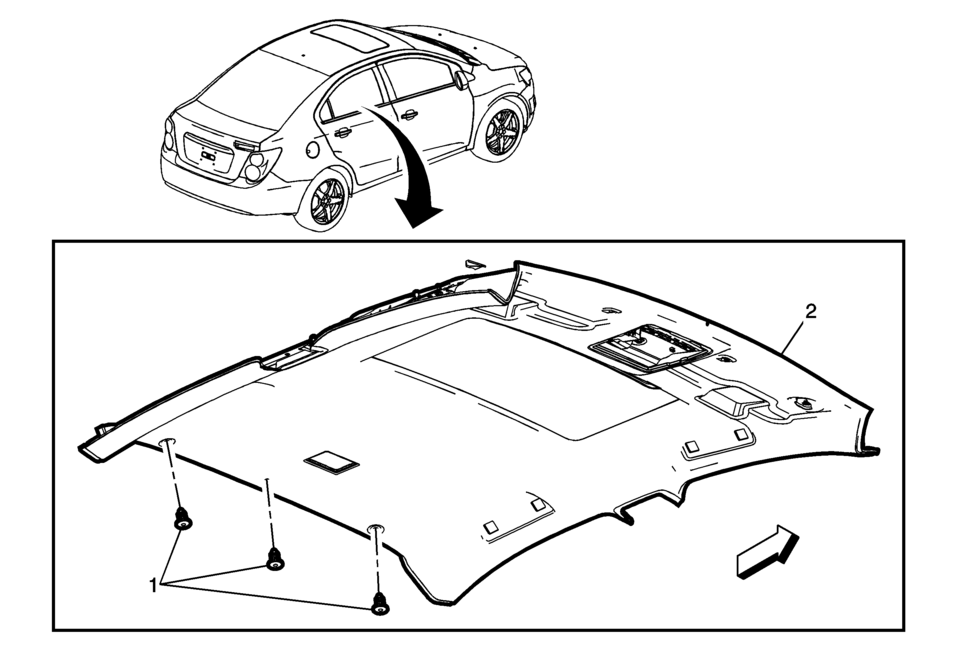
Chevrolet Sonic Repair Manual: Headlining Trim Panel Replacement (Sedan with Sunroof)
|
Callout |
Component Name |
|---|---|
|
Warning: Do not attempt to repair or alter the head impact energy-absorbing material glued to the headliner or to the garnish trims. If the material is damaged, replace the headliner and/or the garnish trim. Failure to do so could result in personal injury. Caution: If a vehicle is equipped with a head curtain inflator module ensure that the inflator module and tether are undamaged. If tether or curtain airbag are damaged in any way, they must be replaced. Caution: Use care when working around the head curtain inflator module. Sharp tools may puncture the curtain airbag. If the head curtain inflator module is damaged in any way, it must be replaced.
|
|
|
1 |
Headliner Trim Panel Retainer (Qty:?€‰3) |
|
2 |
Headliner Trim Panel Assembly Procedure
Disconnect the electrical connectors. Note: When installing a new headliner, tape any unused connector to the headliner with a high adhesive tape. |
 Headlining Trim Panel Replacement (Hatchback without Sunroof)
Headlining Trim Panel Replacement
Callout
Component Name
Warning: Do not attempt to repair or alter the head impact
energ ...
 Headlining Trim Panel Replacement (Sedan without Sunroof)
Headlining Trim Panel Replacement
Callout
Component Name
Warning: Do not attempt to repair or alter the head impact
energ ...
Other materials:
Remote Lock, Unlock, Start
Select Remote Lock, Unlock, Start and the following may display:
Remote Unlock Feedback
Remote Lock Feedback
Remote Door Unlock
Remote Unlock Feedback
When on, the exterior lamps will flash when unlocking the vehicle with the RKE
transmitter.
Select On or Off.
Remote Lock Feedback
T ...
Rear-facing child restraint installation using LATCH
Before installing a child restraint in the Nissan Armada, carefully review all
warnings and precautions provided in the "Child safety" and "Child restraints" sections
of this manual.
Do not use the LATCH lower anchors if the combined weight of the child and the
child restr ...
Heated seats
Basic information
WARNING
In the Nissan Armada, avoid using seat heaters if occupants are unable to
sense temperature changes or pain. Improper use may result in overheating and serious
injury.
CAUTION
Do not operate the heated seats in the Nissan Armada for extended periods
when not i ...

0.0083