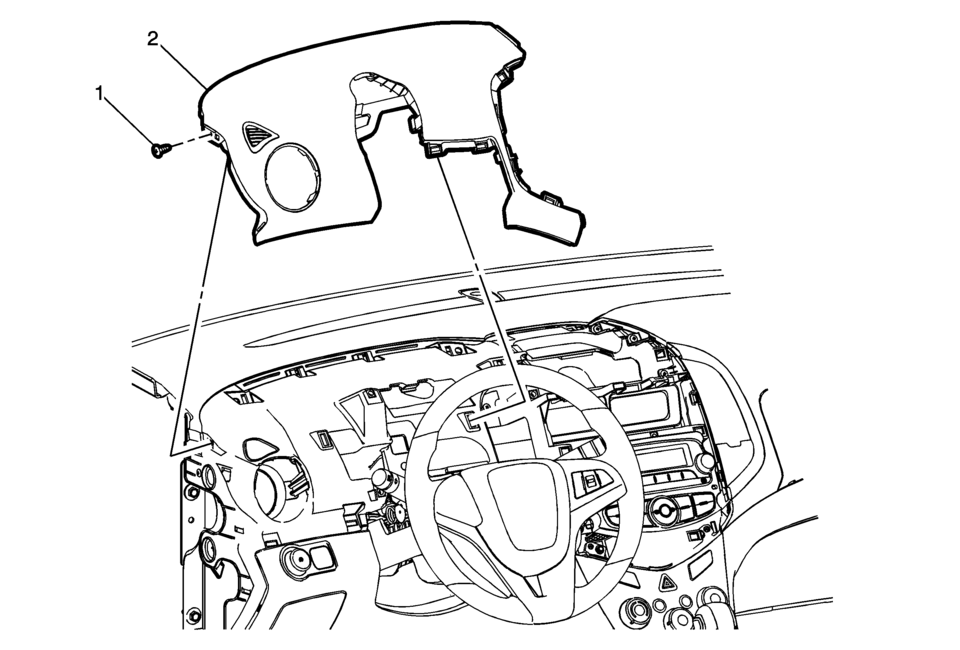
Chevrolet Sonic Repair Manual: Instrument Panel Upper Trim Panel Replacement - Left Side
|
Callout |
Component Name |
|---|---|
Preliminary Procedure
|
|
|
1 |
Instrument Panel Upper Trim Panel Fastener Caution: Refer to Fastener Caution. |
|
2 |
Instrument Panel Upper Trim Panel Procedures
|
 Instrument Panel Upper Compartment Door Latch Replacement
Instrument Panel Upper Compartment Door Latch Replacement
Callout
Component Name
1
Instrument Panel Upper Compartment Do ...
 Instrument Panel Upper Trim Panel Replacement - Right Side
Instrument Panel Upper Trim Panel Replacement - Right Side
Callout
Component Name
Preliminary Procedure
Disable the SIR system. Ref ...
Other materials:
Special Tools (MIT Tool Instructions)
Bluetooth Pairing for Vehicles with
Radio RPO: UF7
Either reset the pin code on the radio to 0000, or go under Device Info on
the radio and see what the pin code is (to enter it later on the MIT).
Turn the BT discoverable ON in the radio Bluetooth
settings.
Press Pair De ...
Hub/Axle Flange and Wheel Stud Runout Inspection
Special Tools
GE-8001 Dial Indicator Set , or equivalent
Raise and support the vehicle. Refer to Lifting and Jacking the Vehicle.
Mark the location of the wheels to the wheel studs and mark the specific
vehicle position on each tire and wheel – LF, LR, RF, RR.
Remove the tire and ...
Positive Crankcase Ventilation Pipe Removal
Open the 2 positive crankcase ventilation pipe retainer clips (2) and (3).
Note: Move retainer clamp (1) in direction of the arrow.
Remove the positive crankcase ventilation pipe from the intake manifold.
Loosen the charger air bypass val ...

0.0051