Chevrolet Sonic Repair Manual: Liftgate Emblem/Nameplate Replacement (Hatchback)
|
Callout |
Component Name |
|---|---|
|
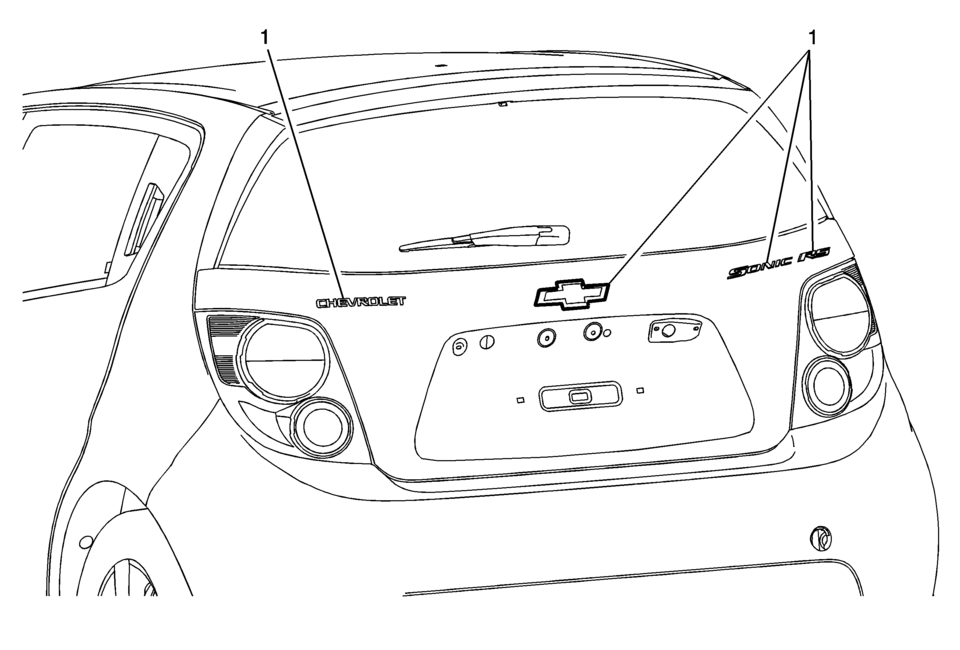
1 |
Liftgate Emblem/Nameplate Assembly Caution: Refer to Exterior Trim Emblem Removal Caution.
|
 Exterior Trim Emblem Removal Caution
Caution: Use a plastic, flat-bladed tool to prevent paint damage when
removing an emblem/name plate.
...
 Paint Gauges
Paint thickness gauges measure the total thickness of the vehicle finish. It
is important to accurately measure the thickness of the finish on each vehicle as
the thickness of the finish will vary ...
Other materials:
Tire Pressure Indicator Sensor Learn
Special Tools
EL-46079 Tire Pressure Monitor Diagnostic Tool
EL-50448 Tire Pressure Monitor Sensor Activation Tool
For equivalent regional tools, refer to Special Tools.
Learn Mode Description
The tire pressure monitor system uses the instrument cluster, body control
module ...
Rear Side Door Adjustment (4 Door Notch Back 69)
Rear Side Door Adjustment
Callout
Component Name
1
Rear Side Door
Caution: Refer to Fastener Caution.
Procedure
Loosen the rear door hinge bolt?âỲâḞ(Qty:?âỲâḞ4) to adjust the rear
door.
A ...
Hood Rear Seal Replacement
Hood Rear Seal Replacement
Callout
Component Name
1
Hood Rear Seal
Procedure
Clean the area where the seal will be mounted. Use a suitable solvent
with a mixture of 50?âỲâḞpercent isopropyl alcohol and 50?â ...

0.0072