Chevrolet Sonic Repair Manual: Parking Brake Adjustment (Disc Brake)
Note:
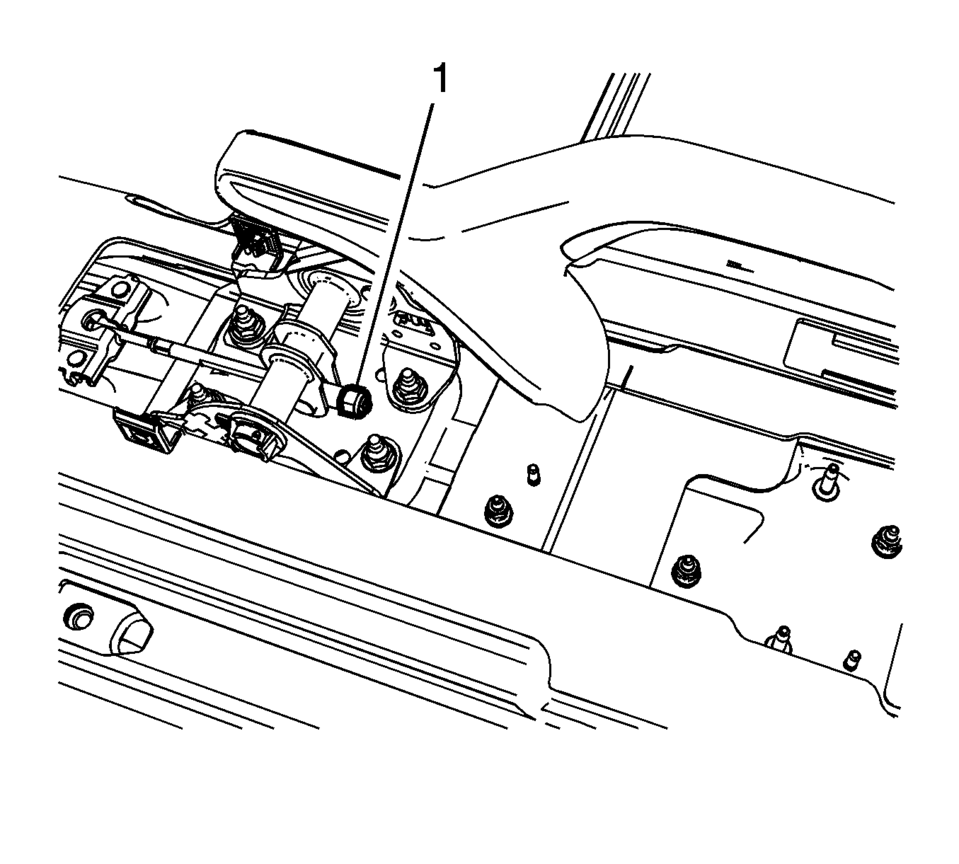
The park brake cable adjusting nut is a nylon lock type. Use ONLY HAND TOOLS whenever tightening or loosening the adjusting nut.
- Apply and fully release the park brake several times. Verify that the park brake lever releases completely.
- Turn ON the ignition. Verify the red BRAKE warning lamp is not illuminated.
- If the red BRAKE warning lamp is illuminated, verify the following:
- The park brake lever is in the fully released position and against the stop.
- There is no slack in the park brake cables.
- One of the tire and wheel assemblies should not rotate forward or rearward.
- The other tire and wheel assembly should not rotate forward or rearward, or should require substantial effort to rotate.
 Park Brake and P (Park) Mechanism Check
Warning: When you are doing this check, the vehicle could begin to
move. You or others could be injured and property could be damaged. Make sure
there is room in front of the vehicle in case ...
 Parking Brake Adjustment (Drum Brake)
Note: The park brake cable adjusting nut is a nylon lock type. Use
ONLY HAND TOOLS whenever tightening or loosening the adjusting nut.
Apply and fully release the park brake several times ...
Other materials:
Safety Belt Pretensioners
This vehicle has safety belt pretensioners for front outboard occupants. Although
the safety belt pretensioners cannot be seen, they are part of the safety belt assembly.
They can help tighten the safety belts during the early stages of a moderate to
severe frontal, near frontal, or rear crash ...
Front Bumper Fascia Bracket Replacement
Front Bumper Fascia Bracket Replacement
Callout
Component Name
Preliminary Procedure
Remove the front bumper fascia. Refer to Front Bumper Fascia Replacement.
Remove the front bumper fascia center support bracket. Refer to ...
Fuel Pressure Sensor Replacement
Fuel Pressure Sensor Replacement
Callout
Component Name
Preliminary Procedure
Relieve the fuel system pressure. Refer to
Fuel Pressure Relief.
Remove the air cleaner assembly. Refer to
Air Cleaner Assembly Replacement. ...

0.0064