Chevrolet Sonic Repair Manual: Parking Brake Adjustment (Drum Brake)
Note:
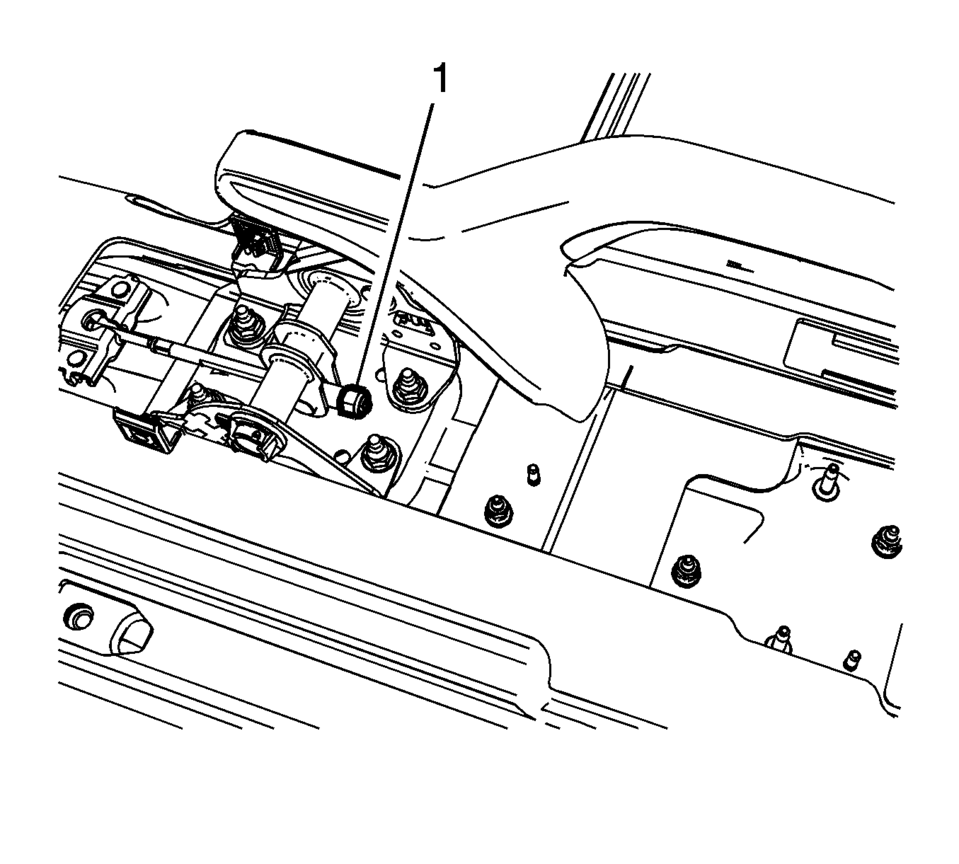
The park brake cable adjusting nut is a nylon lock type. Use ONLY HAND TOOLS whenever tightening or loosening the adjusting nut.
- Apply and fully release the park brake several times. Verify that the park brake lever releases completely.
- Turn ON the ignition. Verify the red BRAKE warning lamp is not illuminated.
- If the red BRAKE warning lamp is illuminated, verify the following:
- The park brake lever is in the fully released position and against the stop.
- There is no slack in the park brake cables.
- One of the brake drums should not rotate forward or rearward.
- The other brake drum should not rotate forward or rearward, or should require substantial effort to rotate.
 Parking Brake Adjustment (Disc Brake)
Note: The park brake cable adjusting nut is a nylon lock type. Use
ONLY HAND TOOLS whenever tightening or loosening the adjusting nut.
Apply and fully release the park brake several times ...
 Parking Brake Indicator Switch Replacement
Removal Procedure
Remove the front floor console. Refer to Front Floor Console Replacement.
Ensure that the park brake lever is in the fully released position.
Disconnect th ...
Other materials:
Connecting and Controlling a USB Drive
The infotainment system can only play back.mp3 and.wma files from a USB drive.
Only the first 2,500 songs are recognized on the device.
When a device is not supported, the message “No supported data found. You can
safely disconnect the device” appears.
Connecting a USB Drive
Connect the US ...
Rear Side Door Opening Floor Carpet Retainer Replacement
Rear Side Door Opening Floor Carpet Retainer Replacement
Callout
Component Name
Preliminary Procedure
Remove the rear seat cushion. Refer to Rear Seat Cushion Removal and
Installation.
1
Rear Si ...
Clutch System Description and Operation
Clutch Spin Down Time
Inspect the clutch spin down time as follows:
Apply the parking brake and block the vehicle wheels.
Shift the manual transmission into NEUTRAL.
Start the engine. Run the engine at idle speed.
Engage the clutch.
Disengage the clutch. Wait 9 seconds.
...

0.0065