
Chevrolet Sonic Repair Manual: Rear Side Door Window Weatherstrip Replacement (Hatchback)
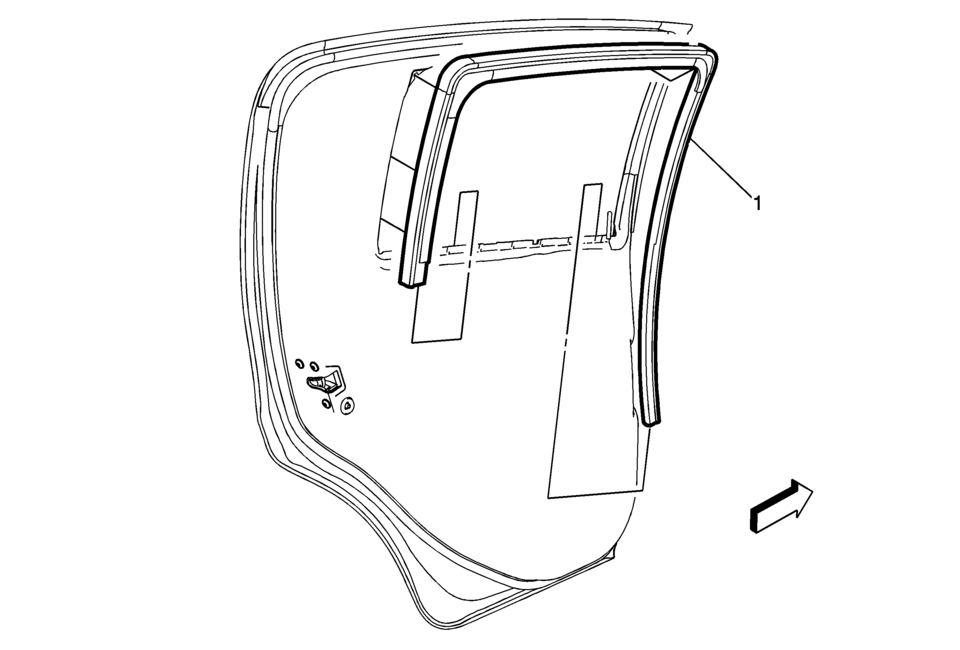
|
Callout |
Component Name |
|---|---|
|
Preliminary Procedure
Remove the rear side door window . Refer to Rear Side Door Window Replacement. |
|
|
1 |
Rear Side Door Window Weatherstrip Procedure
|
 Rear Side Door Window Replacement (Sedan)
Rear Side Door Window Replacement
Callout
Component Name
Warning: Refer to Glass and Sheet Metal Handling Warning.
...
 Rear Side Door Window Weatherstrip Replacement (Sedan)
Rear Side Door Window Weatherstrip Replacement
Callout
Component Name
Preliminary Procedures
The rear door side window weatherstrip ...
Other materials:
Steering Column Replacement
Removal Procedure
Caution: With wheels of the vehicle facing straight ahead,
secure the steering wheel utilizing steering column anti-rotation pin,
steering column lock, or a strap to prevent rotation. Locking of the
steering column will prevent damage and a possible ...
Camshaft Position Actuator Solenoid Valve Installation
Caution: The camshaft position actuator solenoid valves must be
kept parallel to the engine front cover during removal and installation.
The camshaft position actuator solenoid valves can be damaged if they become
wedged or stuck during this process.
Install the 2̴ ...
Synchronizers Assemble
1st/2nd Gear Synchronizer
iv
Note: When servicing the synchronizers, retain them in the
same order that they are removed. Keep the synchronizer components together
and mark them to identify correct location.
Install the synchronizer inserts (1) into ...

0.0054