
Chevrolet Sonic Repair Manual: Rear Side Door Window Weatherstrip Replacement (Hatchback)
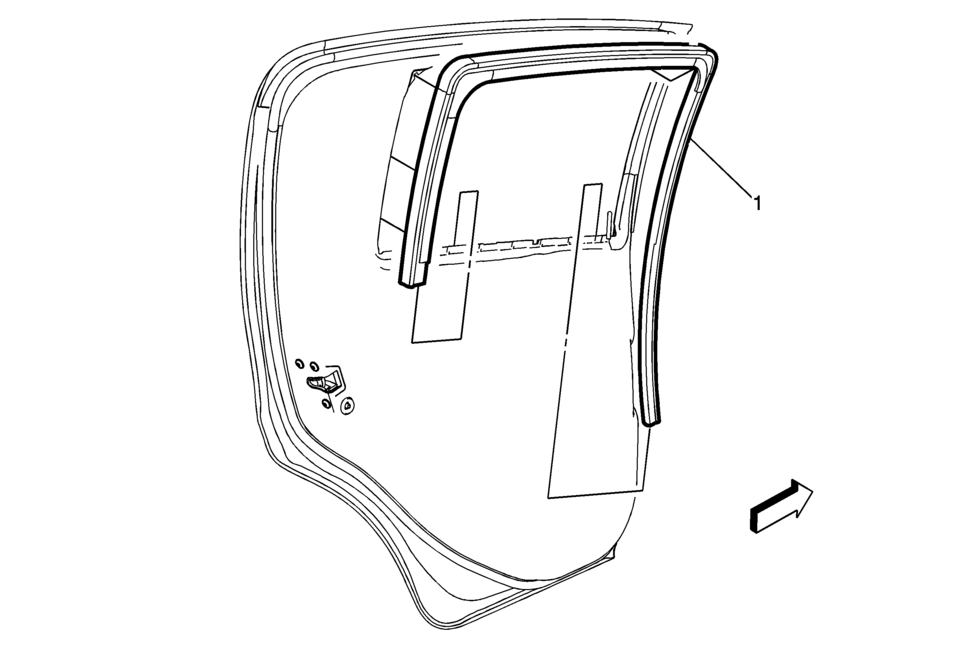
|
Callout |
Component Name |
|---|---|
|
Preliminary Procedure
Remove the rear side door window . Refer to Rear Side Door Window Replacement. |
|
|
1 |
Rear Side Door Window Weatherstrip Procedure
|
 Rear Side Door Window Switch Replacement
Rear Side Door Window Switch Replacement
Callout
Component Name
Preliminary Procedure
Remove the rear side door window switch b ...
 Rear Side Door Window Weatherstrip Replacement (Sedan)
Rear Side Door Window Weatherstrip Replacement
Callout
Component Name
Preliminary Procedures
The rear door side window weatherstrip ...
Other materials:
Starting the Engine
The vehicle has a Computer-Controlled Cranking System. It assists in starting
the engine and protects components. If the ignition key is turned to START and then
released when the engine begins cranking, the engine will continue cranking for
a few seconds or until the engine starts. If the eng ...
Headlamp Switch Replacement
Headlamp Switch Replacement
Callout
Component Name
Preliminary Procedure
Remove the instrument panel lower trim pad cover. Refer to Instrument
Panel Lower Trim Pad Cover Replacement
1
Headlamp S ...
Instrument Panel Accessory Bezel Package Installation
Installation Instructions Part Number
95205543
Kit Contents
Qty
Description
1
Molding Assembly - I/P Center Upper
1
Molding Assembly - I/P Center
1
Bezel Assembly - ...

0.0064