
Chevrolet Sonic Repair Manual: Rear Window Reveal Molding Replacement
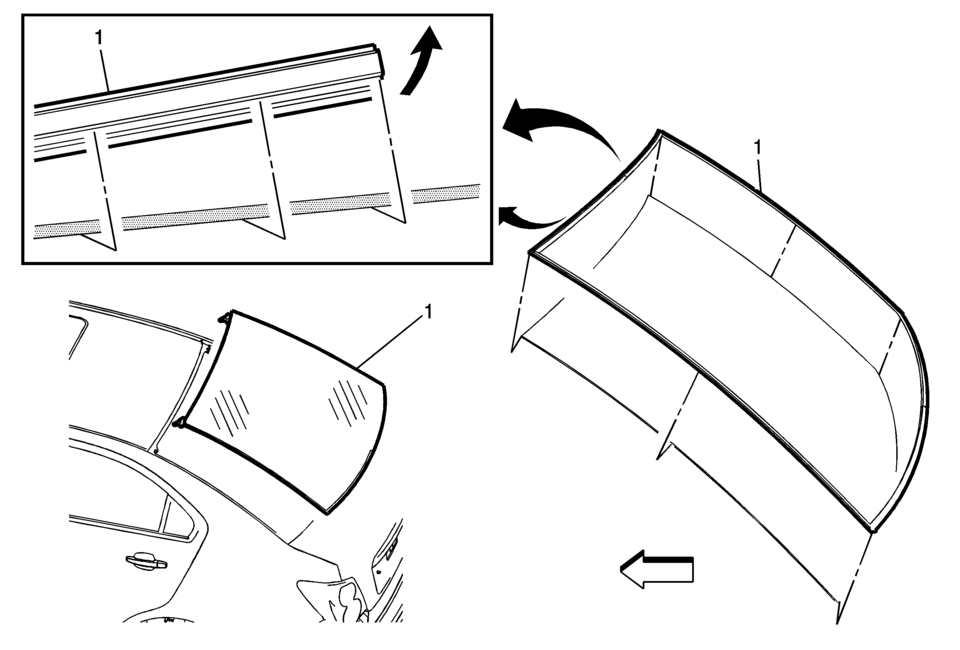
|
Callout |
Component Name |
|---|---|
|
Preliminary Procedures
Remove the rear window to replace the reveal molding. Refer to Rear Window Replacement. |
|
|
1 |
Rear Window Reveal Molding Warning: Refer to Glass and Sheet Metal Handling Warning.
|
 Rear Window Replacement
Special Tools
BO-24402-A Glass Sealant Remover (Cold Knife)
BO-39032 Stationary Glass Removal Tool
Use an adhesive that is approved by GM
For equivalent regional tools, refer to Special Too ...
 Rear Window Washer Nozzle Replacement
Rear Window Washer Nozzle Replacement
Callout
Component Name
Preliminary Procedure
Remove the inside high mount stop lamp. Refe ...
Other materials:
Radio Front Side Door Speaker Replacement
Radio Front Side Door Speaker Replacement
Callout
Component Name
Preliminary Procedure
Remove the front side door trim. Refer to Front Side Door Trim Replacement.
1
Radio Front Side Door Speaker ...
Body Side Frame Rocker Reinforcement Replacement
Removal Procedure
Warning: Refer to Approved Equipment for Collision Repair
Warning.
Warning: Refer to Glass and Sheet Metal Handling Warning.
Note: The body side frame rocker reinforcement is made of
Ultra High Strength Dual Phase Steel and ...
Starting System Description and Operation
The starter motors are non-repairable starter motors. They have pole pieces that
are arranged around the armature. Both solenoid windings are energized. The pull-in
winding circuit is completed to the ground through the starter motor. The windings
work together magnetically to pull and hold in ...

0.028