Chevrolet Sonic Repair Manual: Roof Panel Joint Finish Molding Replacement
|
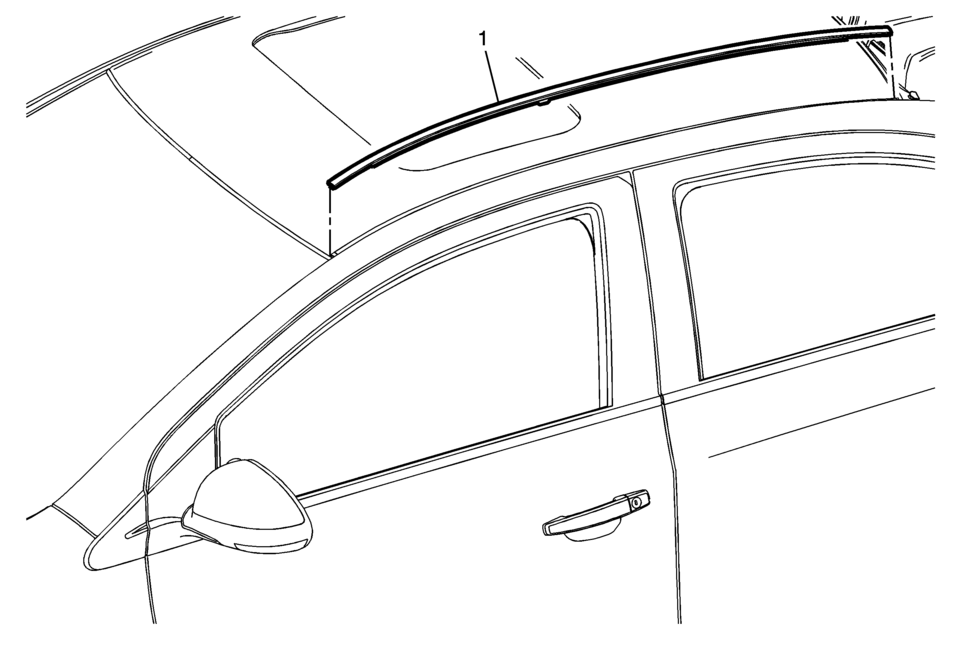
Callout |
Component Name |
|---|---|
|
Caution: Refer to Exterior Trim Emblem Removal Caution.
|
|
|
1 |
Roof Panel Joint Finish Molding Procedure
|
 Rear End Panel Replacement
Removal Procedure
Warning: Refer to Approved Equipment for Collision Repair
Warning.
Warning: Refer to Glass and Sheet Metal Handling Warning.
Note ...

Other materials:
Overview (Radio with CD/USB)
91011121314151617
O /VOL (Power/Volume)
Turns the system on or off and adjusts the volume.
Z (Eject)
Removes a disc from the CD slot.
Buttons 1−6
Radio: Saves and selects favorite stations.
AUX Port
3.5 mm (1/8 in) connection for external devices.
...
Battery Description and Operation
Warning: Batteries produce explosive gases, contain corrosive acid,
and supply levels of electrical current high enough to cause burns. Therefore,
to reduce the risk of personal injury when working near a battery:
Always shield your eyes and avoid leaning over the battery whenever
...
Fuel Tank Filler Door Latch Housing Replacement
Fuel Tank Filler Door Latch Housing Replacement
Callout
Component Name
Preliminary Procedures
Remove the rear wheelhouse panel liner. Refer to Rear Wheelhouse
Liner Replacement.
Remove the fuel tank filler door. Refer to ...

0.0061