Chevrolet Sonic Repair Manual: Steering Linkage Inner Tie Rod Replacement
|
Callout |
Component Name |
|---|---|
Preliminary Procedures
|
|
|
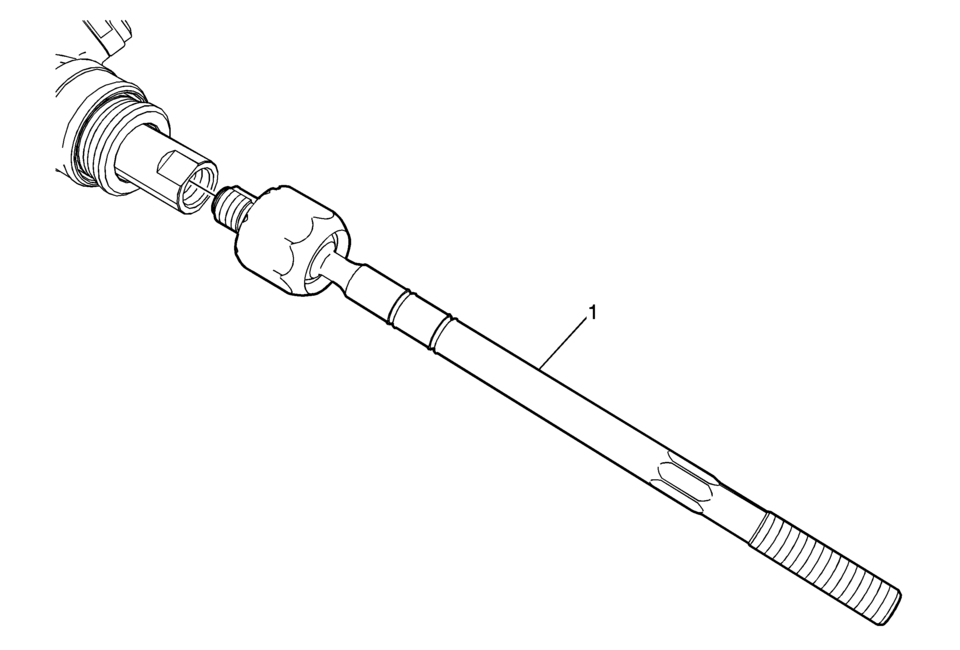
1 |
Steering Linkage Inner Tie Rod Caution: Do not change the steering gear preload adjustment before moving the inner tie rod from the steering gear. Changing the steering gear preload adjustment before moving the inner tie rod could result in damage to the pinion and the steering gear. Caution: Refer to Fastener Caution.
100 Y (74 lb ft) |
 Steering Linkage Inner Tie Rod Inspection
Special Tools
GE-8001 Dial Indicator Set
For equivalent regional tools, refer to Special Tools.
Note: This inspection procedure does not supersede local government
required inspection ...
 Steering Linkage Outer Tie Rod Inspection
Special Tools
GE-8001 Dial Indicator Set
For equivalent regional tools, refer to Special Tools.
Note: This inspection procedure does not supersede local government
required inspection ...
Other materials:
Airbag Side Impact Sensor Replacement (with AYF/AYO)
Airbag Side Impact Sensor Replacement
Callout
Component Name
Warning: Refer to SIR Warning.
Warning: Refer to SIR Inflator Module Handling and Storage
Warning.
Warning: Following the deployment o ...
Spare Tire Kit Installation
Installation Instructions Part Number
95280943
Procedure
...
Automatic Transmission Flex Plate Removal
Special Tools
EN-652 Automatic Transmission Flex Plate Holder
For equivalent regional tools, refer to Special Tools.
Install the EN-652 holder (1) to hold the automatic
transmission flex plate (2).
Loosen the 6 automatic transmission flex plate bolts.
Re ...

0.0059