Chevrolet Sonic Owner's Manual: Steps for Determining Correct Load Limit
1. Locate the statement "The combined weight of occupants and cargo should never exceed XXX kg or XXX lbs." on your vehicle’s placard.
2. Determine the combined weight of the driver and passengers that will be riding in your vehicle.
3. Subtract the combined weight of the driver and passengers from XXX kg or XXX lbs.
4. The resulting figure equals the available amount of cargo and luggage load capacity. For example, if the "XXX" amount equals 1400 lbs. and there will be five 150 lb passengers in your vehicle, the amount of available cargo and luggage load capacity is 650 lbs. (1400-750 (5 x 150) = 650 lbs.) 5. Determine the combined weight of luggage and cargo being loaded on the vehicle. That weight may not safely exceed the available cargo and luggage load capacity calculated in Step 4.
6. If your vehicle will be towing a trailer, load from your trailer will be transferred to your vehicle. Consult this manual to determine how this reduces the available cargo and luggage load capacity of your vehicle.”
This vehicle is neither designed nor intended to tow a trailer.
Example 1
1. Vehicle Capacity Weight for Example 1 = 453 kg (1,000 lbs).
2. Subtract Occupant Weight @ 68 kg (150 lbs) × 2 = 136 kg (300 lbs).
3. Available Occupant and Cargo Weight = 317 kg (700 lbs).
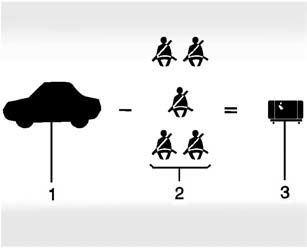
Example 2
1. Vehicle Capacity Weight for Example 2 = 453 kg (1,000 lbs).
2. Subtract Occupant Weight @ 68 kg (150 lbs) × 5 = 340 kg (750 lbs).
3. Available Cargo Weight = 113 kg (250 lbs).
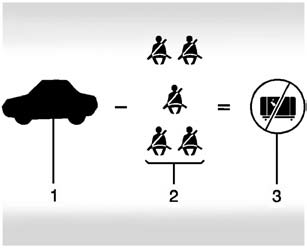
Example 3
1. Vehicle Capacity Weight for Example 3 = 453 kg (1,000 lbs).
2. Subtract Occupant Weight @ 91 kg (200 lbs) × 5 = 453 kg (1,000 lbs).
3. Available Cargo Weight = 0 kg (0 lbs).
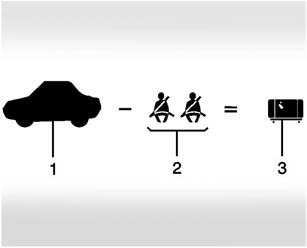
Refer to the vehicle's Tire and Loading Information label for specific information about the vehicle's capacity weight and seating positions. The combined weight of the driver, passengers, and cargo should never exceed the vehicle's capacity weight.
 Tire and Loading Information Label
A vehicle-specific Tire and Loading Information label is attached to the vehicle's
center pillar (B-pillar). The Tire and Loading Information label shows the number
of occupant seating posit ...
 Certification Label
Label Example
A vehicle-specific Certification label is attached to the vehicle's center pillar
(B-pillar). The label tells the gross weight capacity of the vehicle, called the
Gross Vehicl ...
Other materials:
Instrument Panel Center Upper Molding Replacement
Instrument Panel Center Upper Molding Replacement
Callout
Component Name
Preliminary Procedure
Remove the instrument panel center molding. Refer to Instrument Panel
Center Molding Replacement.
1
...
Engine Coolant Temperature Sensor Replacement (Water Outlet)
Engine Coolant Temperature Sensor Replacement
Callout
Component Name
Preliminary Procedure
Disconnect the negative battery cable. Refer to
Battery Negative Cable Disconnection and Connection.
Drain the cooling system. ...
Windshield wiper blades
Cleaning
Basic information
If visibility in your Nissan Armada is reduced after using the washer system,
or if the wiper blades produce chatter or streaking, contaminants such as wax, oil,
or dirt may be present on the windshield or blades.
Clean the windshield thoroughly using a suitable was ...

0.0065