
Chevrolet Sonic Repair Manual: Sunroof Window Height and Opening Fit Adjustment
- Cycle the sunroof window from full open to closed position.
- Loosen the adjusting screws on the window.
- Adjust the corners of the front window panel using the following guidelines:
Note:
Correct adjustment cannot be achieved if the sunroof window is closed from vent position.
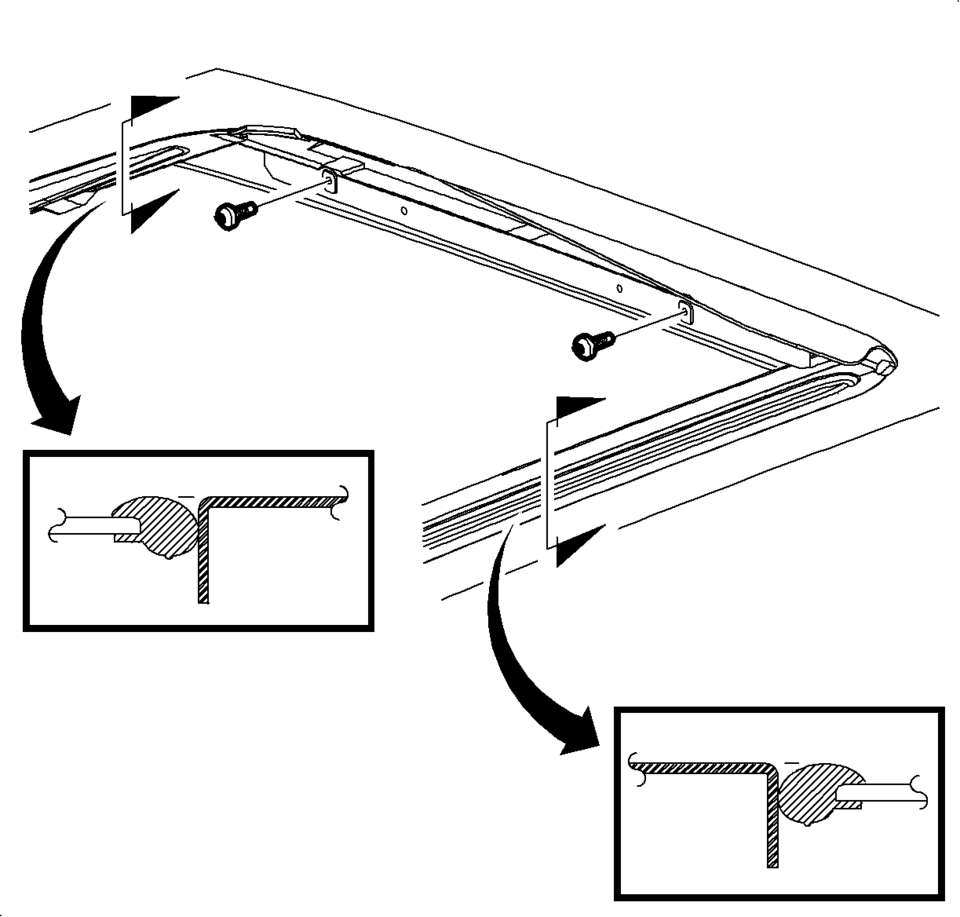
Note:
Do Not remove or lower headliner to access sunroof window screws.
- Adjust the front of the sunroof window to?€‰0.0?€‰mm?€‰??’?€‰1.0?€‰mm (0.0?€‰in?€‰??’?€‰0.04?€‰in?€‰) below the top surface of the roof panel.
- Adjust the rear center line of the sunroof window to?€‰2?€‰mm?€‰ to ?€‰3?€‰mm (0 .08?€‰in?€‰ to?€‰0.12?€‰in?€‰) below the top surface of the roof panel.
Caution:
Refer to Fastener Caution.
.
 Stationary Window Waterleak Repair
Warning: If any water enters the vehicle interior up to the level
of the carpet or higher and soaks the carpet, the sensing and diagnostic module
(SDM) and the SDM harness connector may need ...
 Sunroof Window Replacement
Sunroof Window Replacement
Callout
Component Name
1
Sunroof Window Bolt?€‰(Qty:?€‰4)
Caution: Refer to F ...
Other materials:
Rear Side Door Window Regulator Motor Replacement
Rear Side Door Window Regulator Motor Replacement
Callout
Component Name
Warning: Refer to Glass and Sheet Metal Handling Warning.
Preliminary Procedure
Remove the rear side door window regulator. Refer to Rear ...
Park Brake and P (Park) Mechanism Check
Warning: When you are doing this check, the vehicle could begin to
move. You or others could be injured and property could be damaged. Make sure
there is room in front of the vehicle in case it begins to roll. Be ready to
apply the regular brake at once should the vehicle begin to move. ...
Fuel-filler door
Basic information
CAUTION
Avoid directing high-pressure water, such as from a pressure washer,
onto or around the Nissan Armada fuel-filler door area.
Always ensure the fuel-filler door is securely closed before using an
automatic or high-pressure car wash.
Opening the fuel-filler do ...

0.007