Chevrolet Sonic Repair Manual: Synchronizers Cleaning and Inspection
- Clean all the synchronizer parts in a suitable cleaning solvent and air dry all the parts.
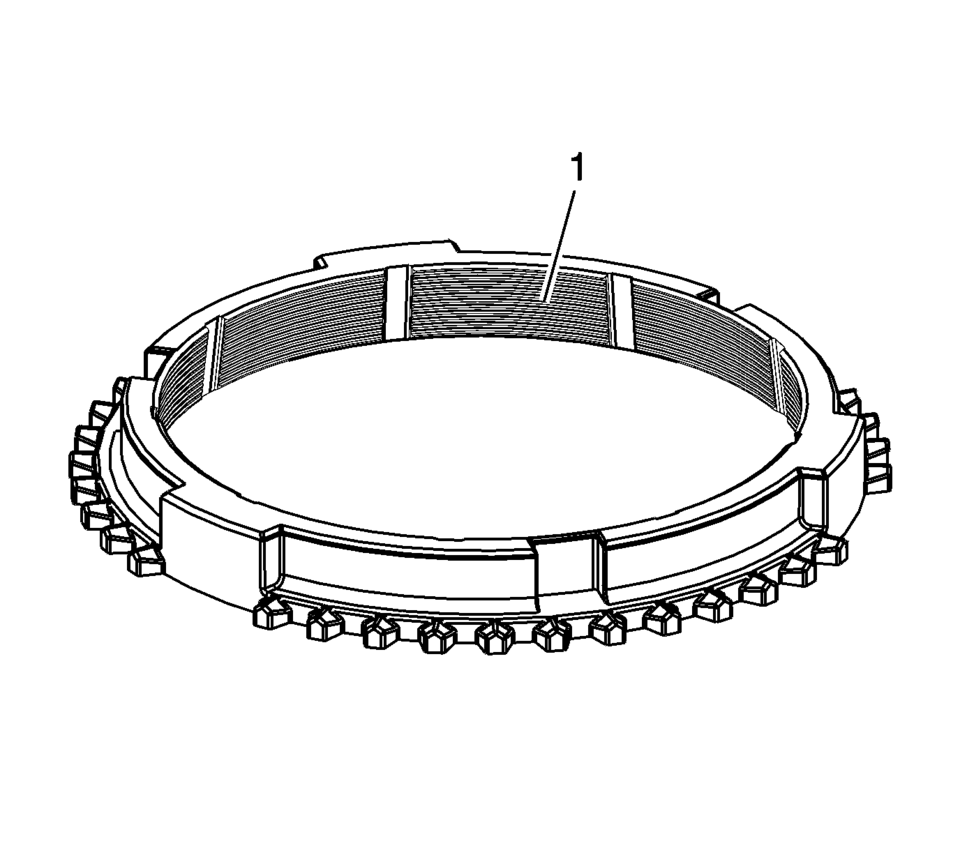
- Inspect the 1st/2nd gear, 3rd/4th gear, and 5th gear synchronizer hubs for a force fit on the main shaft.
- Replace synchronizer hubs that do not require a force fit.
- Inspect the synchronizer hubs for wear on the external splines. A stepped effect on the teeth, due to wear, may cause shift concerns.
- Replace a worn hub.
- Correct the cause, such as, but not limited to the following conditions:
Note:
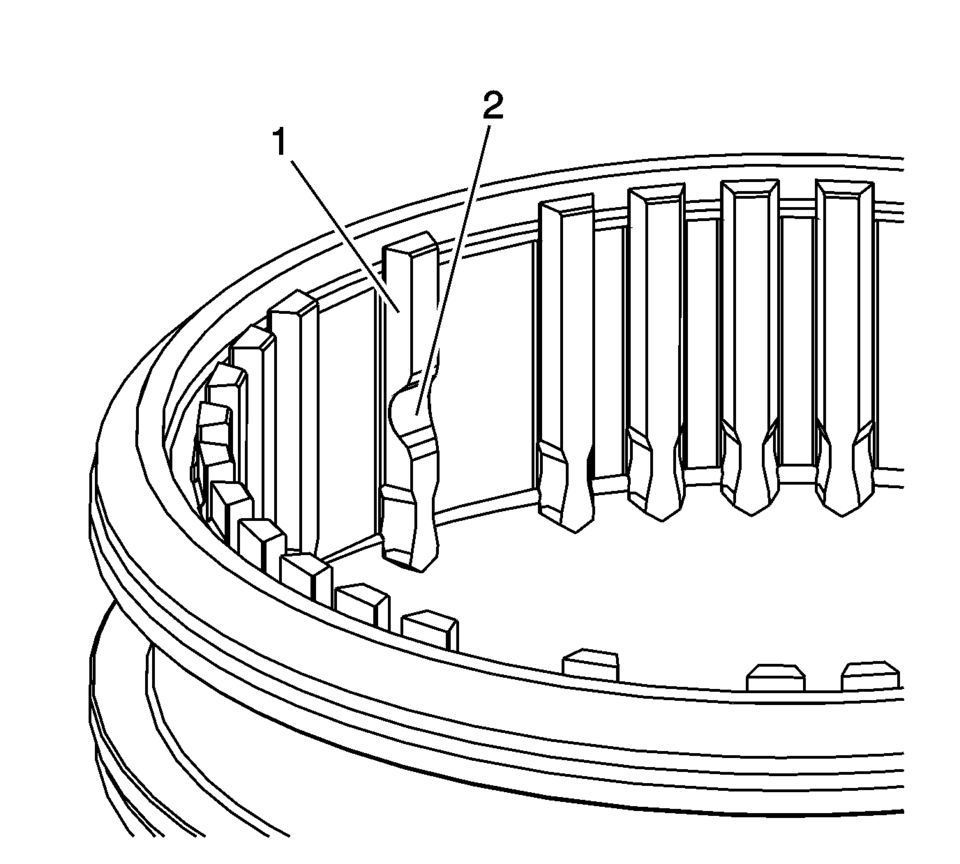
When servicing the synchronizers, retain them in the order that they are removed. Mark the parts to ensure the correct position for inspection and assembly.
- Engine related vibrations
- Driving at a low speed in a high gear
- Defective vibration damper or crankshaft
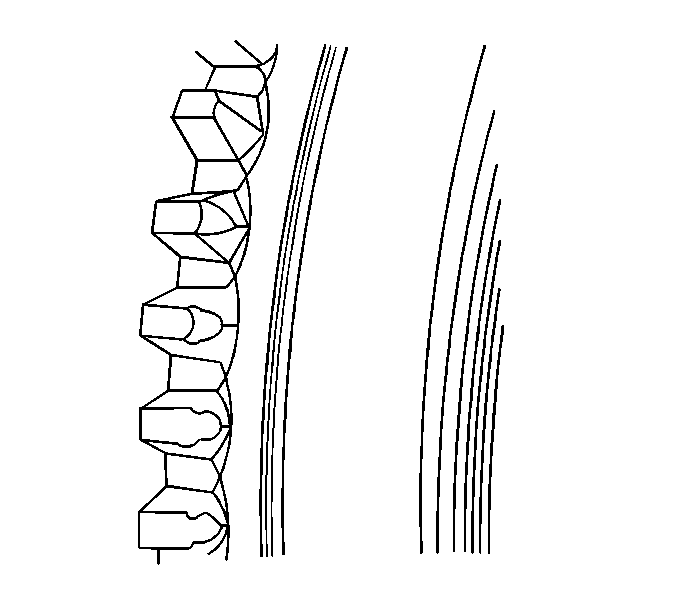
- Grated teeth
- Chipped off teeth
- Blunted teeth
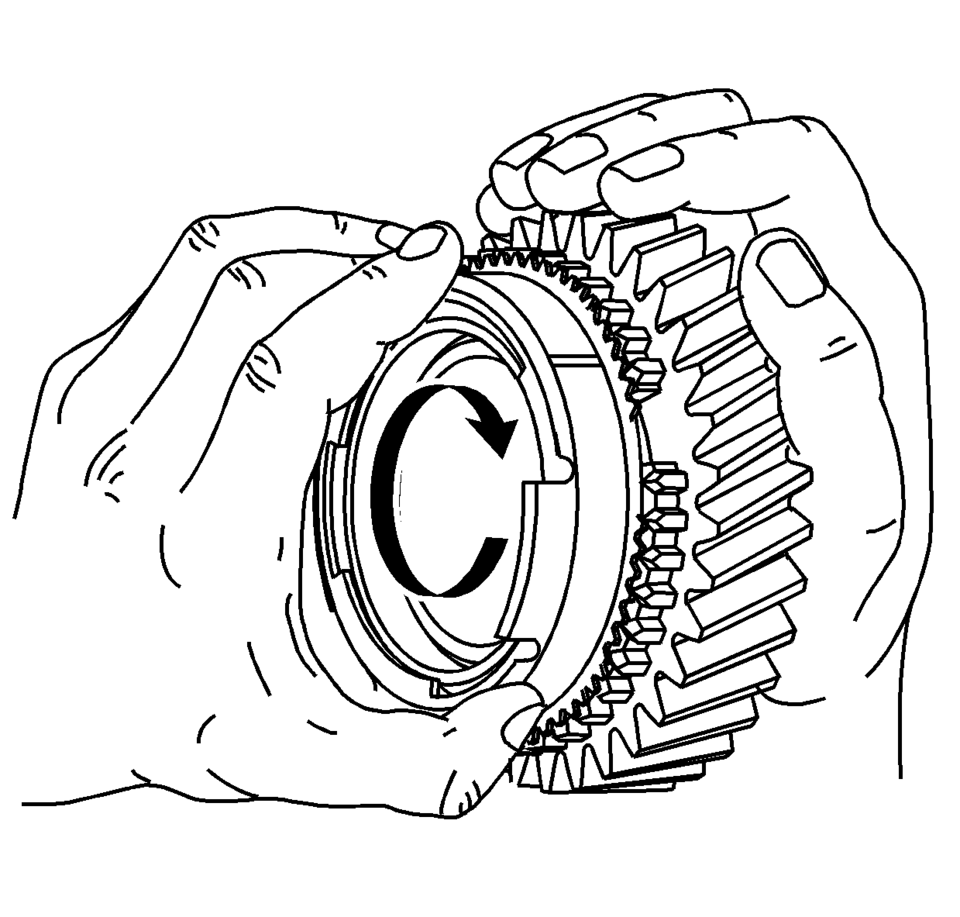
 Synchronizers Assemble
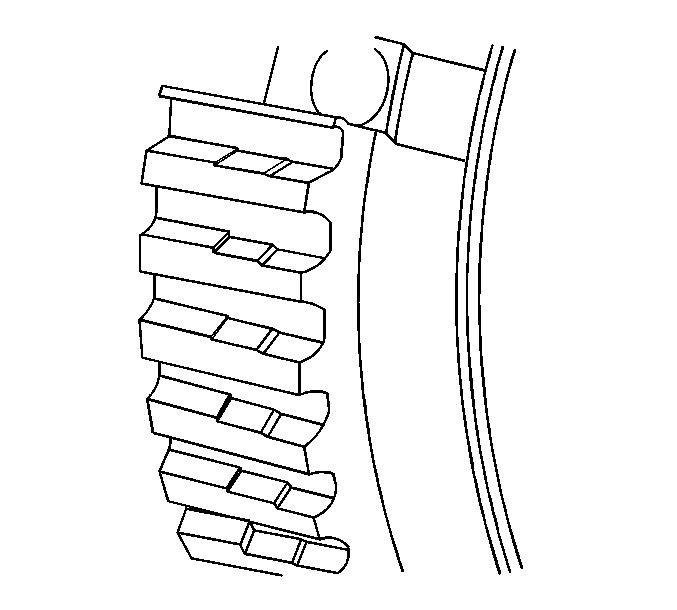
1st/2nd Gear Synchronizer
iv
Note: When servicing the synchronizers, retain them in the
same order that they are removed. Keep the synchronizer components together
...
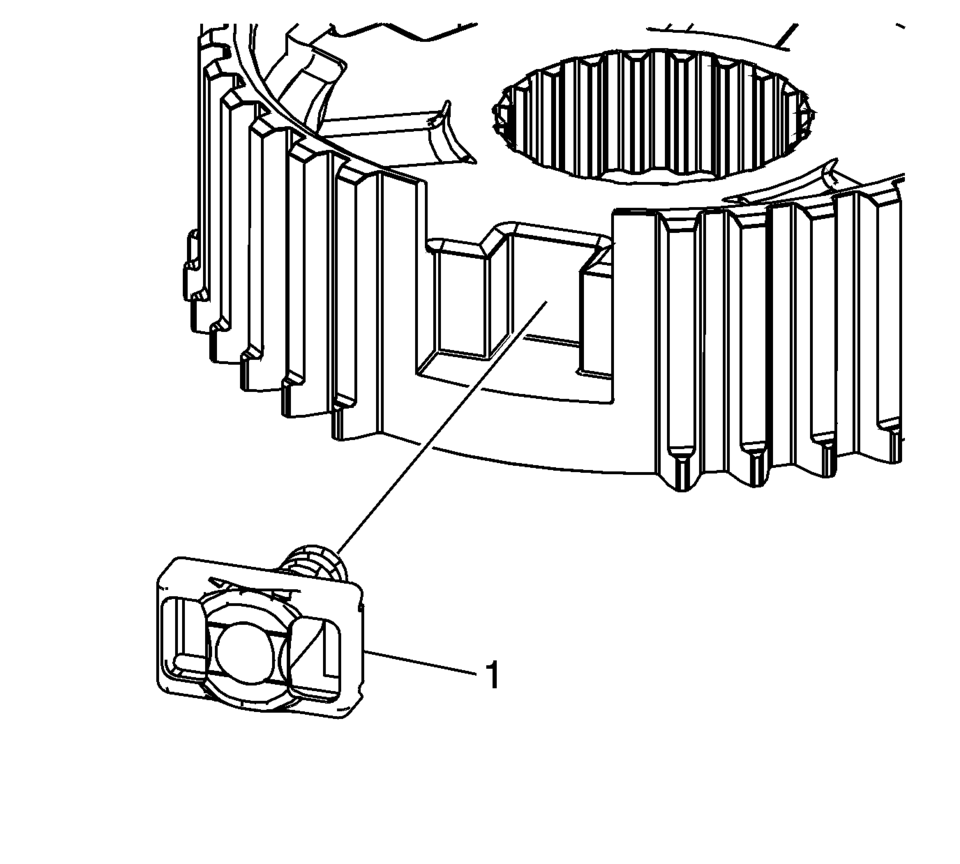
 Synchronizers Disassemble
1st/2nd Gear Synchronizer
iv
Note: When servicing the synchronizers, retain them in the
same order that they are removed. Keep the synchronizer components together
...
Other materials:
Mobile Telephone Microphone Replacement
Mobile Telephone Microphone Replacement
Callout
Component Name
Preliminary Procedure
Remove the dome lamp bezel. Refer to Dome Lamp
Bezel Replacement.
1
Mobile Telephone Microphone
Procedure ...
Thrust Angles Description
The front wheels aim or steer the vehicle. The rear wheels control tracking.
This tracking action relates to the thrust angle (3). The thrust angle is the path
that the rear wheels take. Ideally, the thrust angle is geometrically aligned with
the body centerline (2).
In the i ...
Park - Engine Running (Gen 1)
When the gear selector lever is in the Park (P) position, fluid is drawn into
the pump through the transmission fluid filter assembly. Line pressure is then directed
to the following valves:
Fluid Pressure Directed in Preparation
for a Shift
Manual Valve
Mechanically controlled ...

0.0059