Chevrolet Sonic Repair Manual: Transmission Assemble (Gen 1)
Special Tools
- 3-9506289 Universal Adapter
- R-0007758 Holding Fixture
- S-9407197 Differential Rotating Tool
- S-9407198 Differential Bearing Race Wrench
For equivalent regional tools, refer to Special Tools.
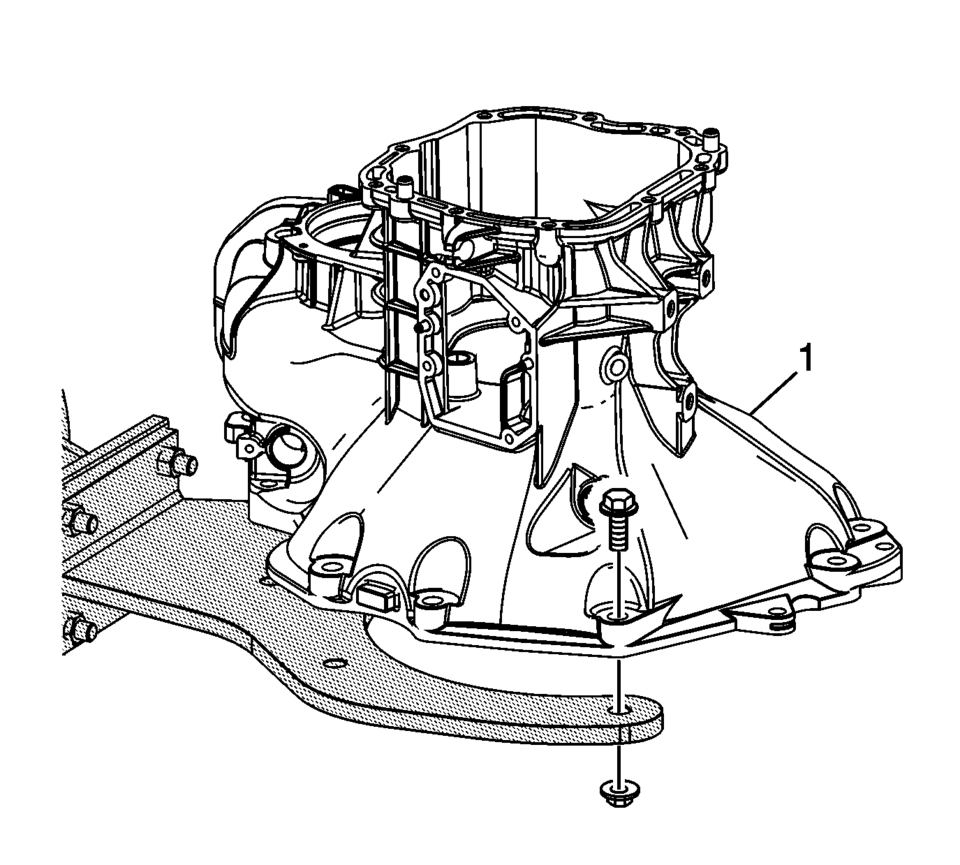
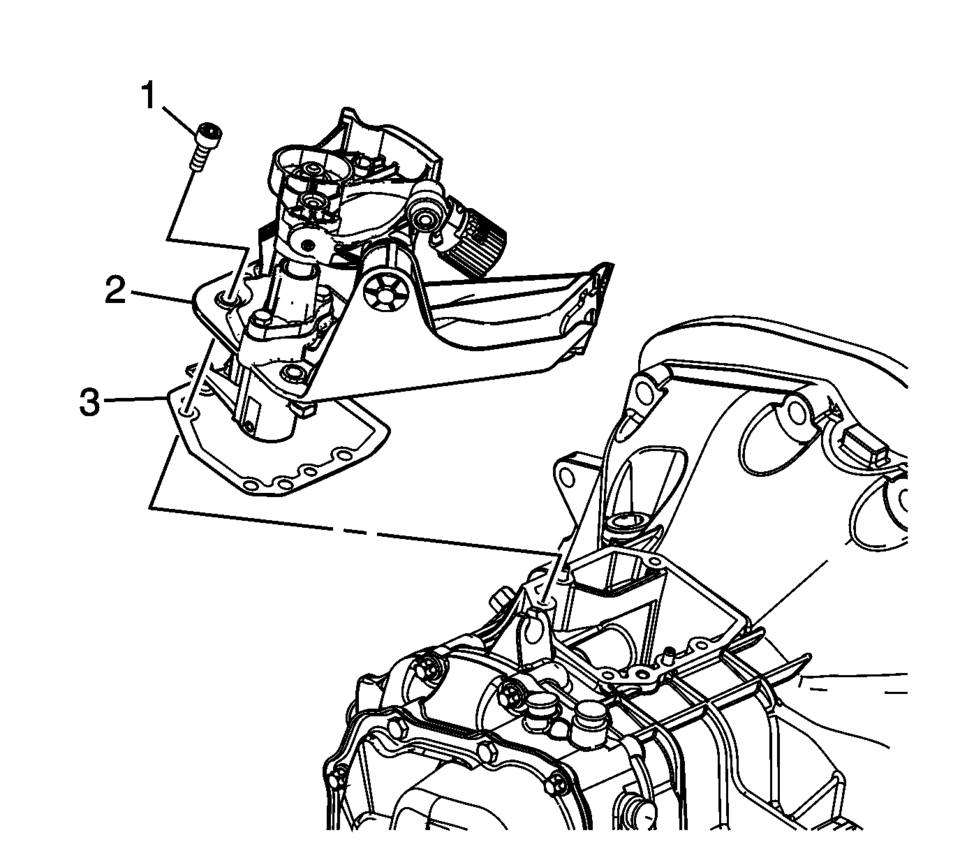
- Install the clutch and differential housing assembly (1) onto the R-0007758 holding fixture.
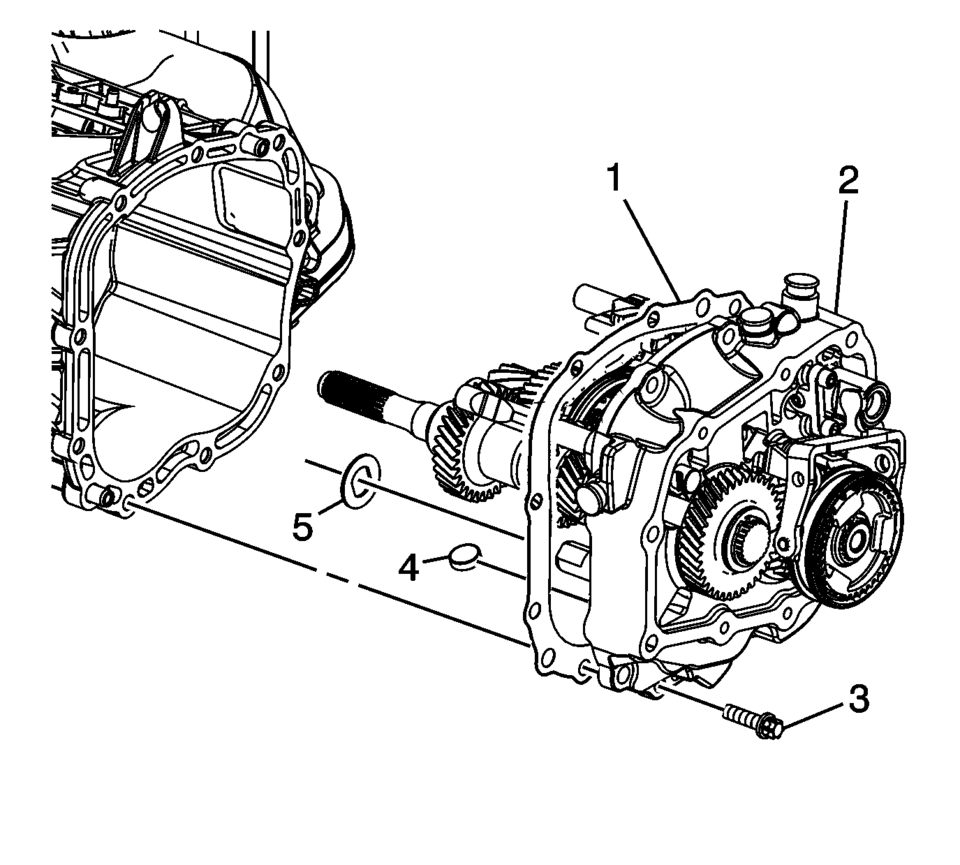
- Install the front differential carrier (1).
- Install the gasket (3) and differential carrier cover (2).
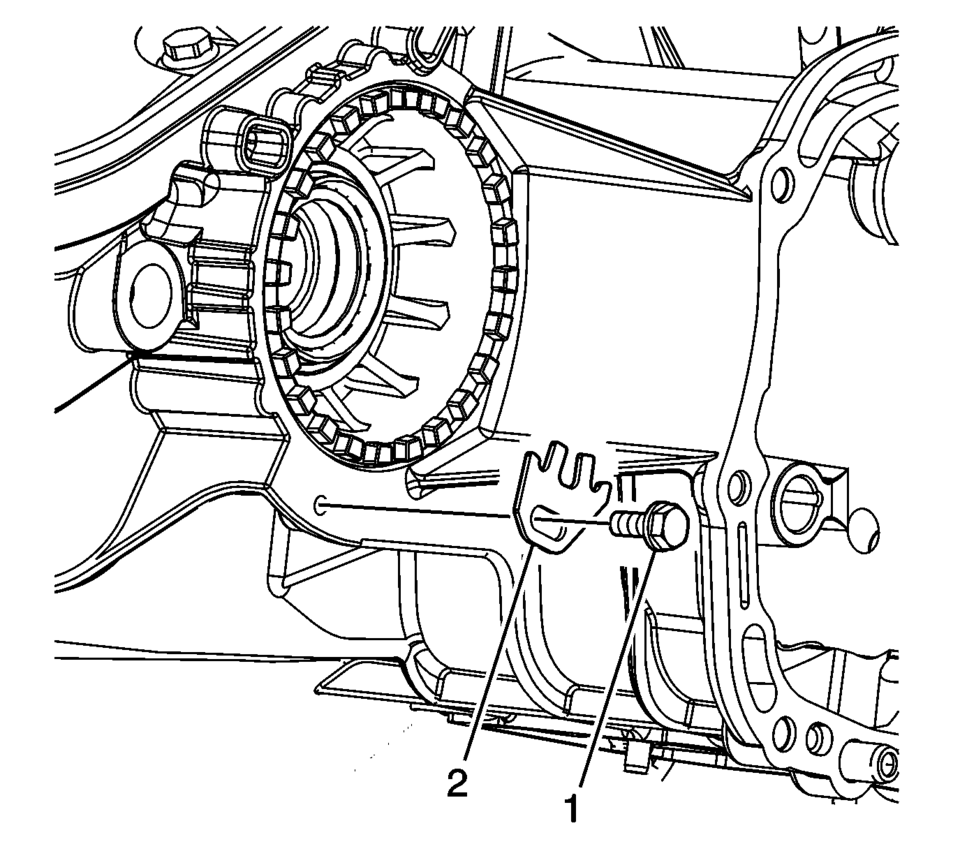
- Install the front differential carrier cover bolts (1).
Tighten to 7 Y (61.96 lb in)
.
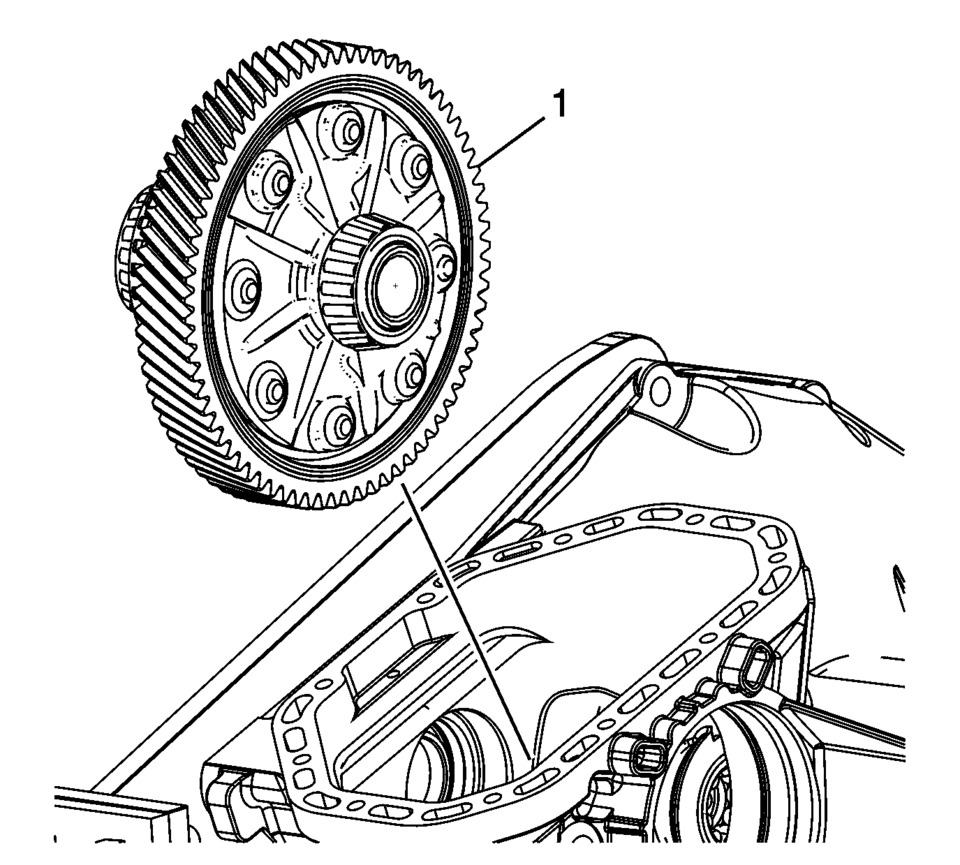
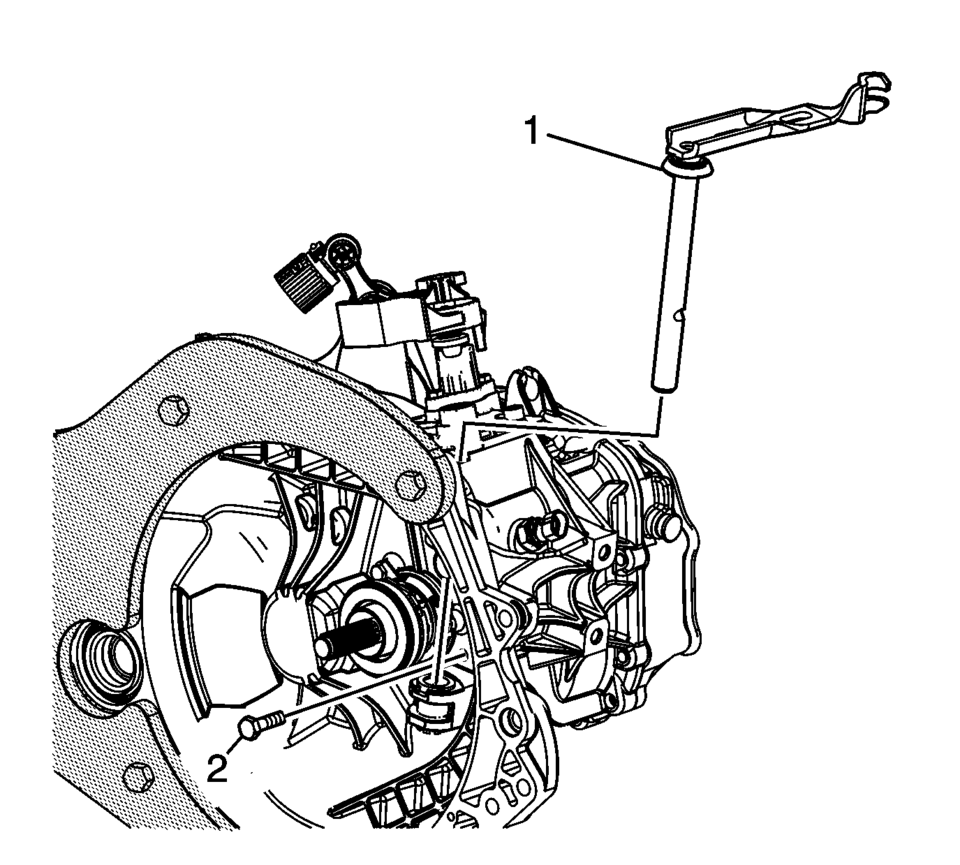
- Lubricate the O-ring seal (2) with multipurpose grease and install onto the differential bearing adjuster (1).
- Lubricate the threads on the differential bearing adjuster with multipurpose grease.
- Using S-9407198 differential bearing race wrench install the front differential bearing adjuster (1).
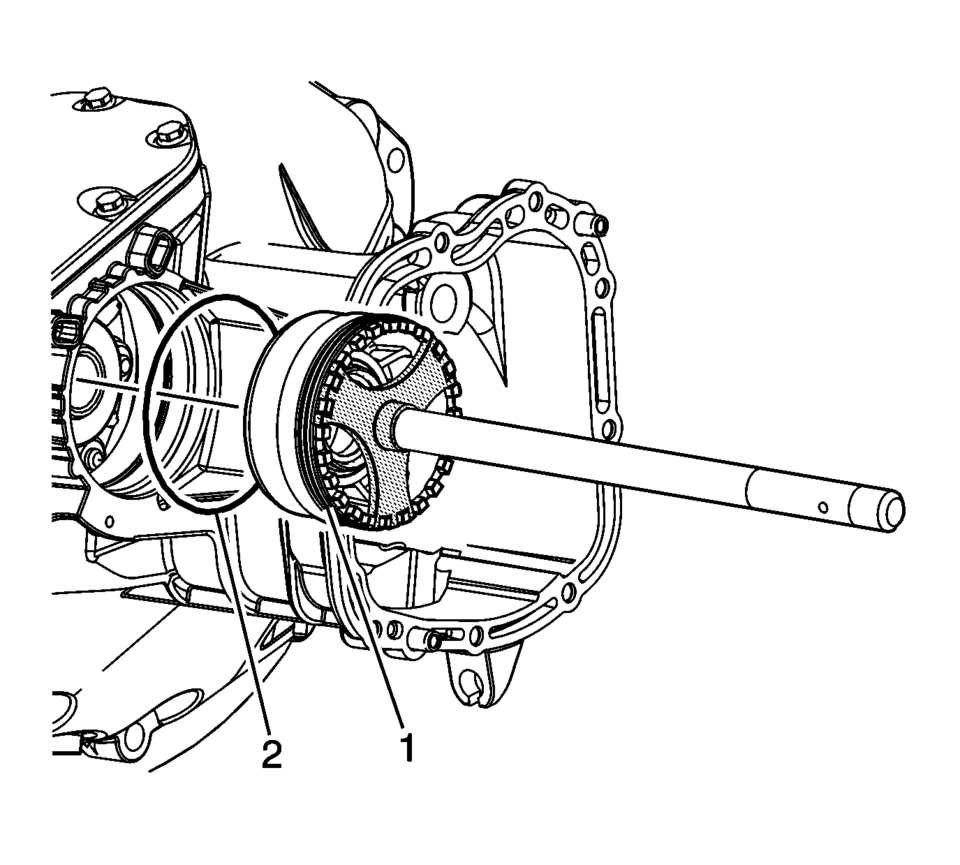
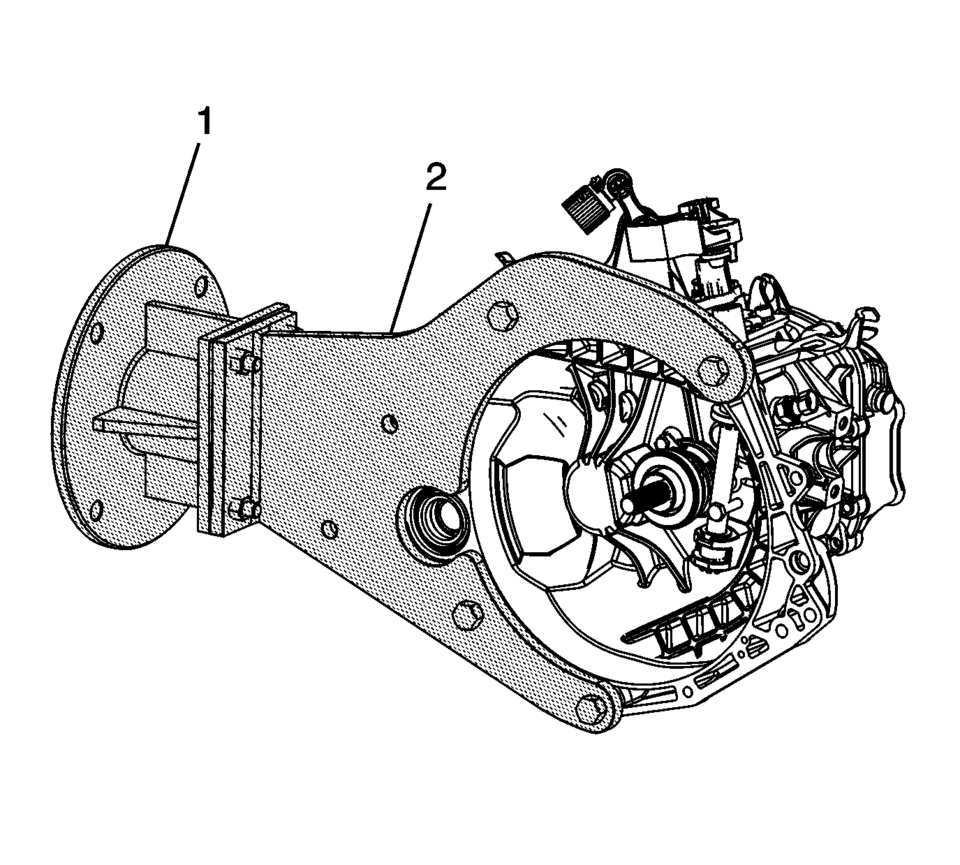
- Align marks on the differential bearing adjuster and case (1).
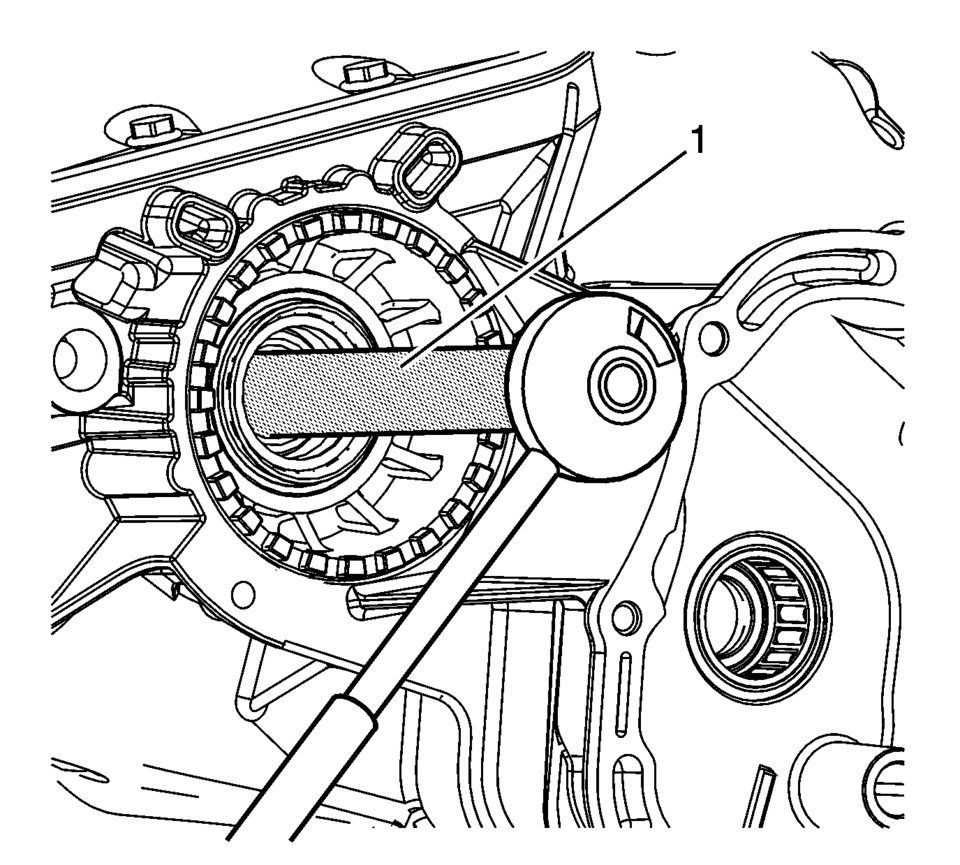
- Using the S-9407197 differential rotating tool and a torque wrench, rotate the differential (1) 1 revolution per second.
- The breakaway bearing torque should be:


Note:
If all the components are re-used align adjuster to marks. If any component was replaced go to the next step.
Note:
If no components were replaced, the bearing adjuster can be aligned to the marks. If any component was replaced, the following procedure must be performed.
- Re-use bearing ?#8201;60?00 Ncm
- New Bearing ?#8201;150?10 Ncm
.
.
.
.
.
.
.
 Transmission Adaptive Functions
The 6T30/40/45/50 transmission utilizes a line pressure control system during
upshifts to compensate for the normal wear of transmission components. As the apply
components within the transmission ...
 Transmission Assemble (Gen 2)
Special Tools
3-9506289 Universal Adapter
R-0007758 Holding Fixture
S-9407197 Differential Rotating Tool
S-9407198 Differential Bearing Race Wrench
For equivalent regional tools, refer ...
Other materials:
Front Side Door Window Weatherstrip Replacement
Front Side Door Window Weatherstrip Replacement
Callout
Component Name
Preliminary Procedures
Remove front side door trim panel. Refer to Front Side Door Trim
Replacement.
Remove the outside rearview mirror. Refer to Outs ...
Rear Seat Cushion Removal and Installation
Rear Seat Cushion Removal and Installation
Callout
Component Name
1
Rear Seat Cushion Replacement
Procedure
Release the rear seat center seat belts.
Lift up on the front of the seat cushion at the latch locati ...
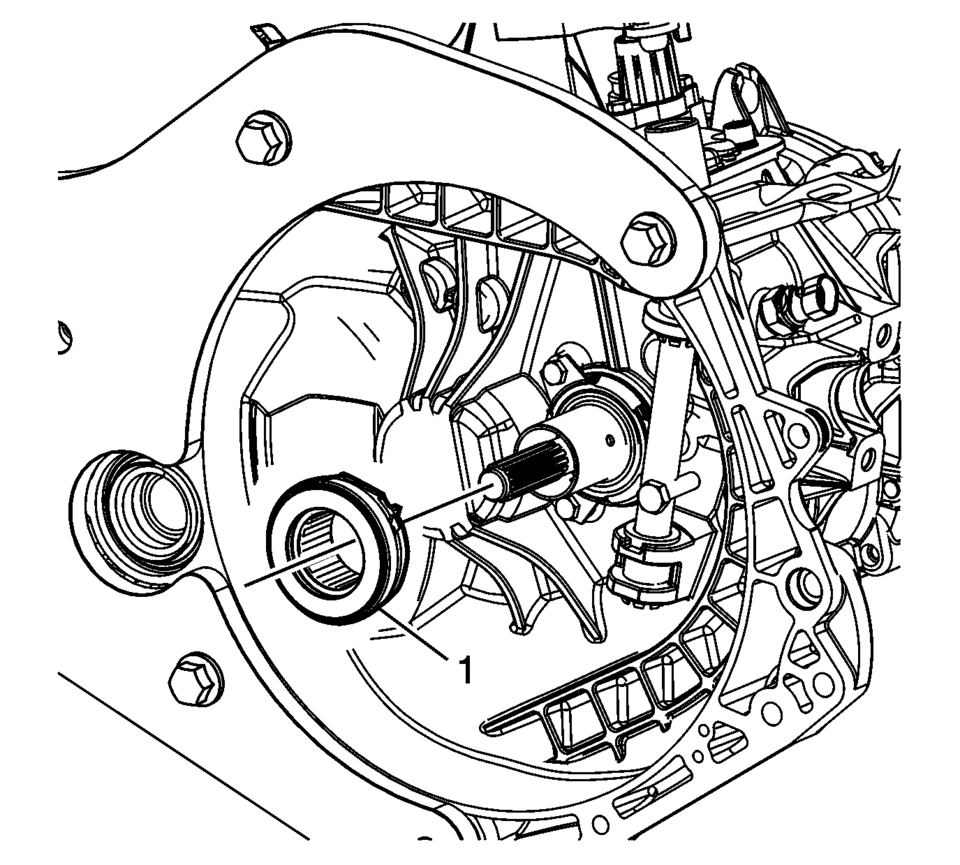
Front Wheel Drive Shaft Seal Replacement - Case Side
Front Wheel Drive Shaft Seal Replacement - Case Side
Callout
Component Name
1
Front Wheel Drive Shaft Oil Seal
Special Tools
DT-23129 Universal Seal Remover
DT-47790 Seal Installer
GE-6125-1B Slide Hamme ...

0.006