Chevrolet Sonic Repair Manual: Transmission Rear Mount Bracket Replacement
- Removal Procedure
-
- Raise and support the vehicle. Refer to Lifting and Jacking the Vehicle.
- Remove the front suspension skid plate, if equipped. Refer to Drivetrain and Front Suspension Frame Skid Plate Replacement.
- Using a suitable jack stand, support the rear of the powertrain.
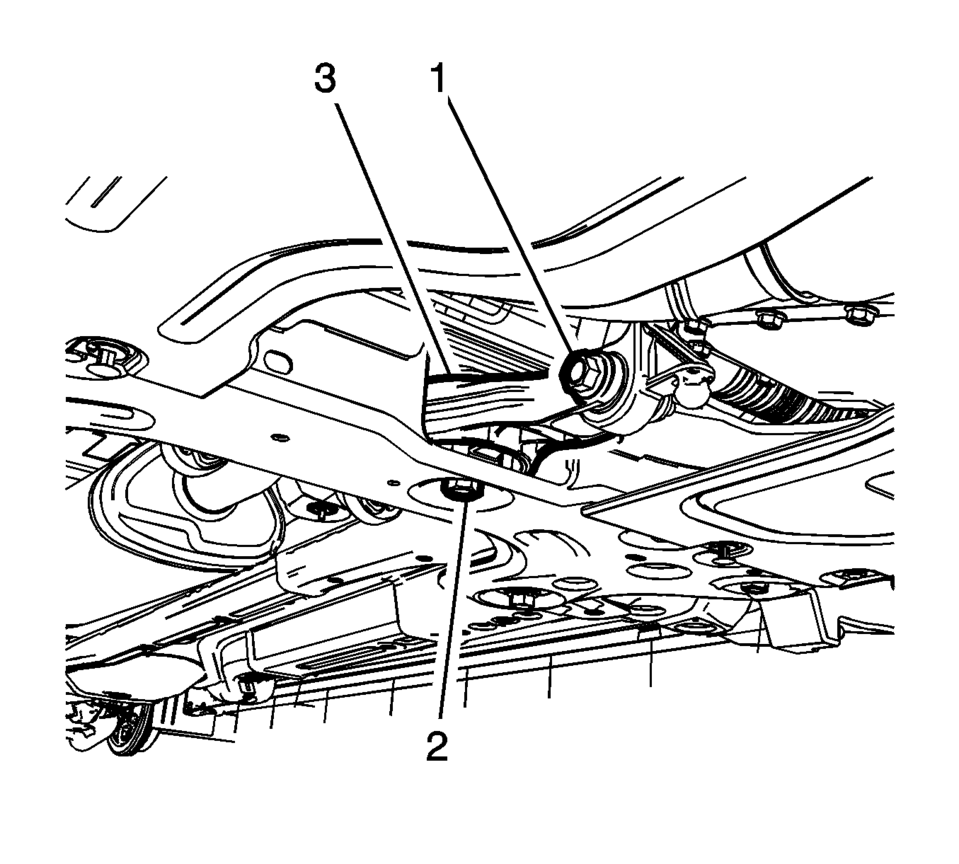
- Remove and DISCARD the transmission mount to bracket through bolt (1).
- Remove and DISCARD the transmission mount bracket bolts (1).
- Remove the transmission rear mount bracket (2).
- Installation Procedure
-
- Install the transmission rear mount bracket (2).
- Install the NEW transmission mount bracket bolts (1)
and tighten to 100 Y (74 lb ft) plus 30-45
degrees
.
- Install the NEW transmission mount to bracket through
bolt (1) and tighten nut to 80 Y (59 lb ft)
plus 45-60 degrees
.
- Remove the jack stand.
- Install the front suspension skid plate, if equipped. Refer to Drivetrain and Front Suspension Frame Skid Plate Replacement.
- Lower the vehicle.
Caution:
Refer to Fastener Caution.
 Transmission Indicators and Messages
The following transmission-related indicators and messages may be displayed on
the Instrument Panel Cluster (IPC). For a complete listing and description of all
vehicle indicators and messag ...
 Transmission Rear Mount Replacement
Removal Procedure
Raise and support the vehicle. Refer to
Lifting and Jacking the Vehicle.
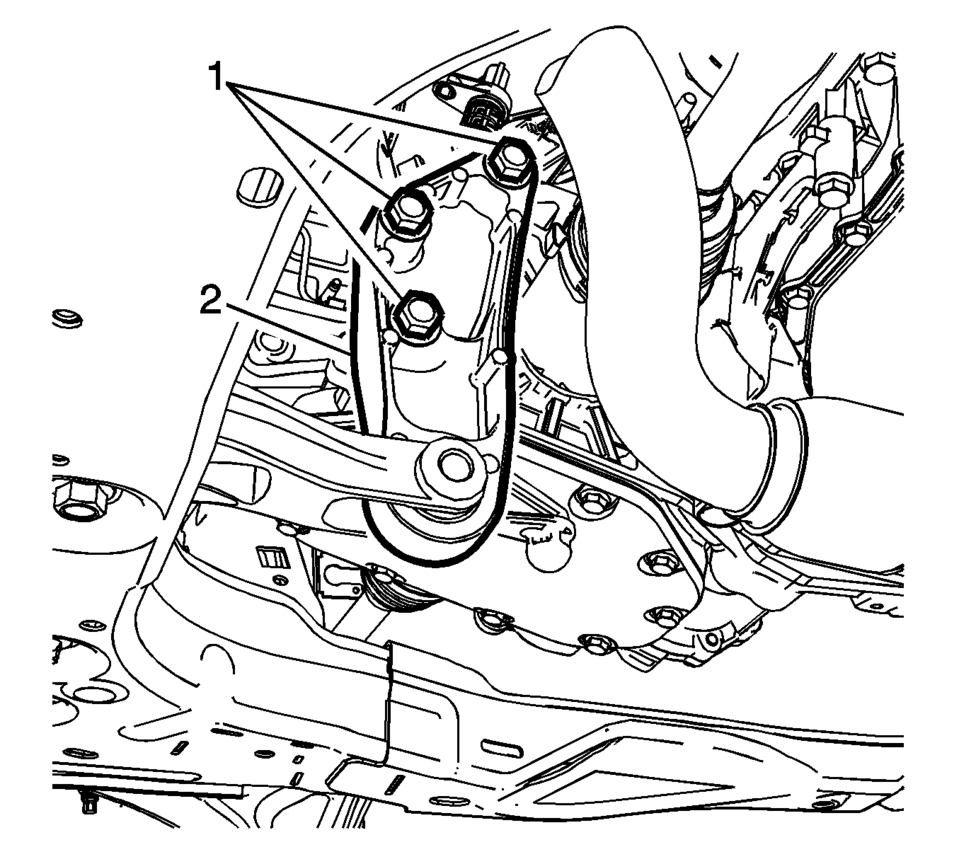
Remove and DISCARD the rear transmission mount bracket
to rear mount thro ...
Other materials:
Secondary Air Injection System Description
The Secondary Air Injection System aids in the reduction of hydrocarbon exhaust
emissions during a cold start. This occurs when the start-up engine coolant temperature
(ECT) is between −10 to +56°C (14?E33°F), the intake air temperature (IAT) is greater
than −10°C (14°F) and it ...
Evaporator Air Temperature Sensor Replacement (LHD)
Evaporator Air Temperature Sensor Replacement
Callout
Component Name
1
Evaporator Air Refrigerant Temperature Sensor
Procedures
Disconnect the refrigerant temperature sensor
electrical connector.
Twist a ...
Automatic Transmission Shift Lock Control Description and Operation
The automatic transmission park lock control system is a safety device that prevents
an inadvertent shift out of PARK. The driver must press the brake pedal before moving
the park lever out of the PARK position. The system consists of the following components:
The automatic transmission pa ...

0.0064