
Chevrolet Sonic Repair Manual: Front Side Door Window Weatherstrip Replacement
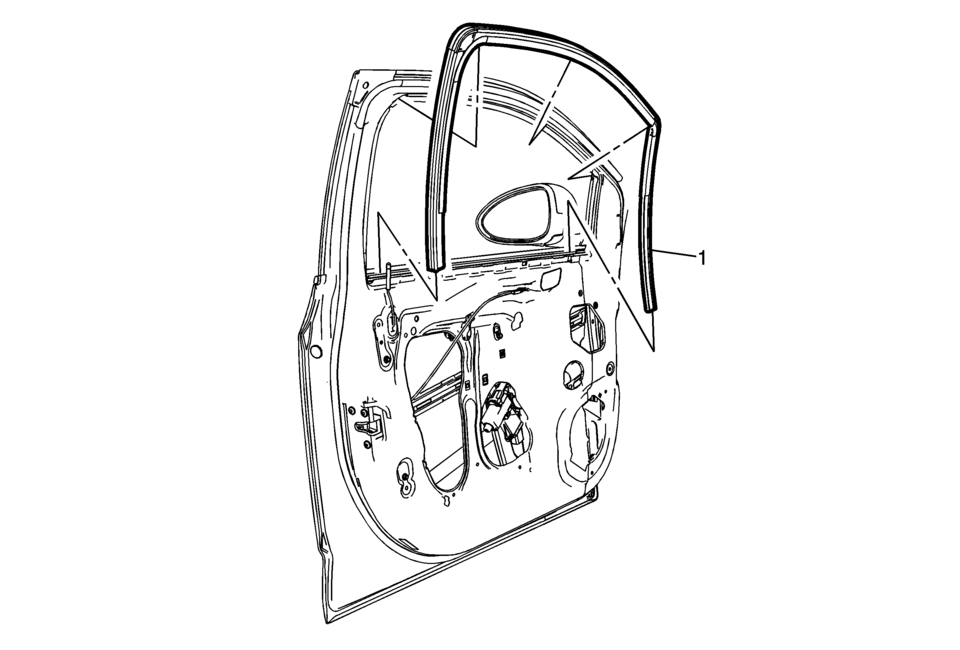
|
Callout |
Component Name |
|---|---|
Preliminary Procedures
|
|
|
1 |
Front Side Door Window Weatherstrip Procedure
|
 Front Side Door Window Replacement
Front Side Door Window Replacement
Callout
Component Name
Warning: Refer to Glass and Sheet Metal Handling Warning.
...
 Full-Cut Method Description
Note:
If corrosion of the pinch-weld flange is present, or if sheet metal
repairs or replacements are required, refinish the pinch-weld flange in
order to present a clean, primer-onl ...
Other materials:
Front Bumper Fascia Air Deflector Replacement
Front Bumper Fascia Air Deflector Replacement
Callout
Component Name
Preliminary Procedure
Remove the front bumper fascia opening lower cover. Refer to Front Bumper
Fascia Opening Lower Cover Replacement.
...
Front Camber Adjustment
Note: DO NOT grind the front strut bores for the bolts to allow
adjustment of the front camber. There are service bolts available to allow
the front camber to be adjusted, if needed.
If the front camber is out of specifications, perform the following:
Remove the f ...
Heater and Air Conditioning Control Replacement
Heater and Air Conditioning Control Replacement
Callout
Component Name
Preliminary Procedures
Remove I/P center bezel. Refer to Instrument Panel Center Molding
Replacement.
Remove front floor shifter bezel. Refer to Front ...

0.0059