
Chevrolet Sonic Repair Manual: Thrust Washer and Bearing Cleaning and Inspection
- Mark or tag the bearings in order to ensure they are properly installed in the correct location.
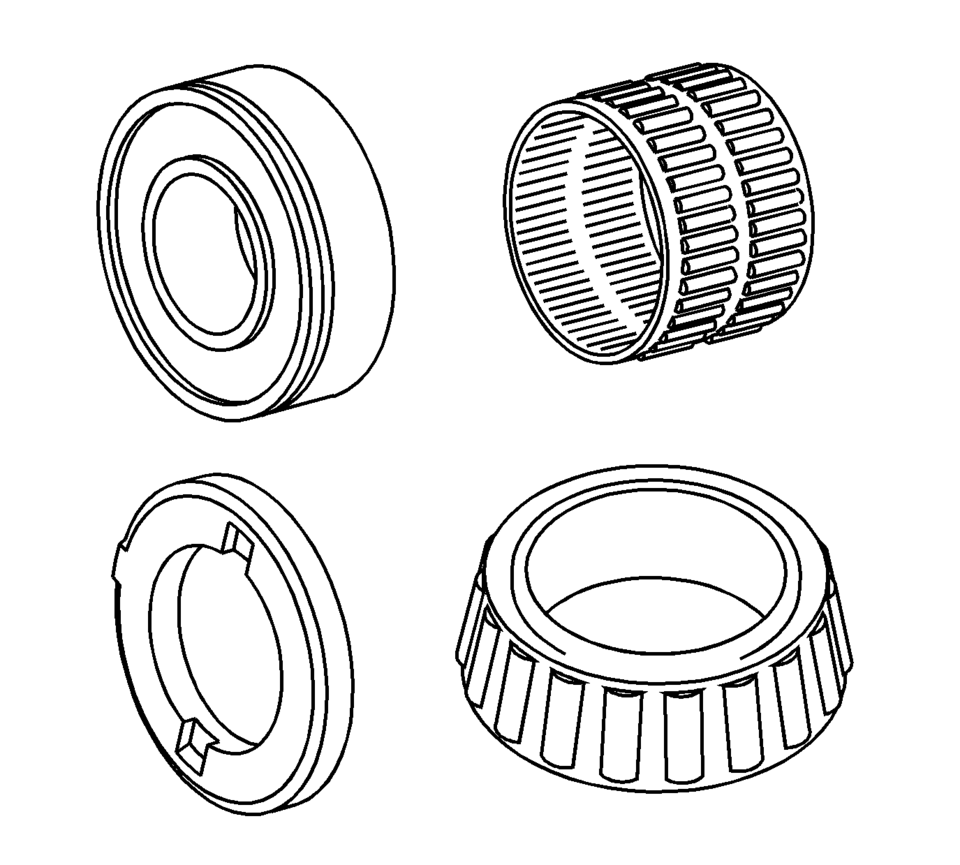
- Clean all of the roller bearings, needle bearings, and ball bearings in a suitable solvent and air dry all the parts.
- Inspect the bearings and races for the following conditions:
Warning:
Wear safety glasses to avoid injury when using compressed air or any cleaning solvent. Bodily injury may occur if fumes are inhaled or if skin is exposed to chemicals.
Caution:
Do not allow the bearings to spin. Turn them slowly by hand. Spinning the bearings may damage the race and the rollers.
- Roughness
- Brinelling
- Pitting
 Rear Wiper/Washer System Description and Operation
The rear window wiper motor is located inside the hatchback door and is directly
connected to the rear window wiper. Ignition voltage is supplied to the rear wiper
motor through the wiper switch. ...
 Windshield Washer Solvent Container Filler Tube Replacement
Windshield Washer Solvent Container Filler Tube Replacement
Callout
Component Name
Preliminary Procedure
Open and support the hood ...
Other materials:
Distracted Driving
Distraction comes in many forms and can take your focus from the task of driving.
Exercise good judgment and do not let other activities divert your attention away
from the road. Many local governments have enacted laws regarding driver distraction.
Become familiar with the local laws in your ...
Special Tools
Illustration
Tool Number/ Description
EL 42059
J 42059
Cigar Lighter Socket Remover
...
Battery Description and Operation
Warning: Batteries produce explosive gases, contain corrosive acid,
and supply levels of electrical current high enough to cause burns. Therefore,
to reduce the risk of personal injury when working near a battery:
Always shield your eyes and avoid leaning over the battery whenever
...

0.0059