Chevrolet Sonic Repair Manual: Transmission Mount Bracket Replacement - Rear
- Removal Procedure
-
- Raise and support the vehicle. Refer to Lifting and Jacking the Vehicle.
- Remove the front suspension skid plate, if equipped. Refer to Drivetrain and Front Suspension Frame Skid Plate Replacement.
- Using a suitable jack stand, support the rear of the powertrain.
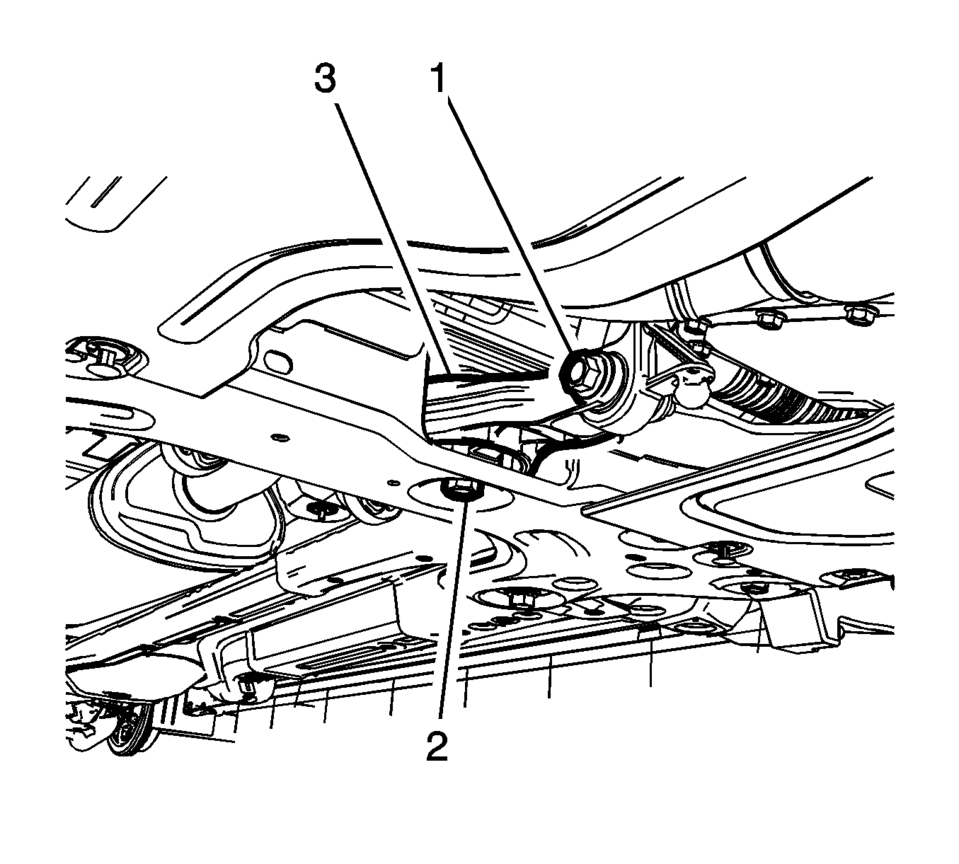
- Remove and DISCARD the transmission rear mount to bracket through bolt (1).
- Remove and DISCARD the transmission rear mount bracket bolts (1).
- Remove the transmission rear mount bracket (2).
- Installation Procedure
-
- Install the transmission rear mount bracket (2).
- Install the NEW transmission rear mount bracket bolts (1)
and tighten to 100 Y (74 lb ft) plus 30?5 degrees
.
- Install the NEW transmission rear mount to bracket
through bolt (1) and tighten to 80 Y (59 lb ft)
plus 45?0 degrees
.
- Remove the jack stand.
- Install the front suspension skid plate, if equipped. Refer to Drivetrain and Front Suspension Frame Skid Plate Replacement.
- Lower the vehicle.
Caution:
Refer to Fastener Caution.
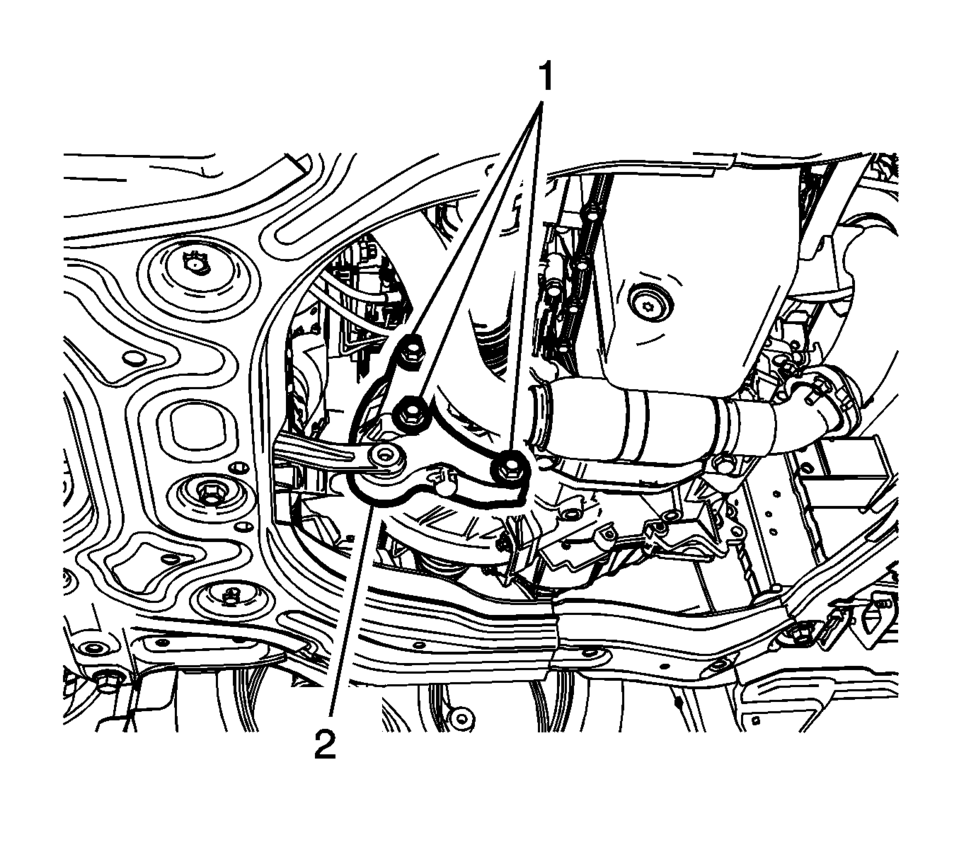
 Transmission Mount Bracket Replacement - Left Side
Removal Procedure
Remove the left transmission mount. Refer to
Transmission Mount Replacement - Left Side.
Remove the three left transmission mount bracket to
tr ...
 Transmission Mount Replacement - Left Side
Removal Procedure
Remove the battery tray. Refer to
Battery Tray Replacement.
Install the engine support fixture. Refer to
Engine Support Fixture.
Remove and DIS ...
Other materials:
Safety Belt Use During Pregnancy
Safety belts work for everyone, including pregnant women. Like all occupants,
they are more likely to be seriously injured if they do not wear safety belts.
A pregnant woman should wear a lap-shoulder belt, and the lap portion should
be worn as low as possible, below the rounding, throughout ...
Multi-Axis Acceleration Sensor Module Programming and Setup
Note:
DO NOT program a control module unless directed to by a service procedure
or a service bulletin. If the Multi-axis Acceleration Sensor or Inertia
Sensor Module (IMU) is not properly configured with the correct calibration
software, the Electronic Brake Control Module will ...
Range Selector Lever Cable Bracket Replacement
Removal Procedure
Set the park brake and chock the wheels.
Disconnect the range selector cable end (1) from the
range selector lever.
Disconnect the range selector cable (2) from the range
selector cable bracket.
Remove the transmission rang ...

0.0065