Chevrolet Sonic Repair Manual: Clutch and Differential Housing Cleaning and Inspection
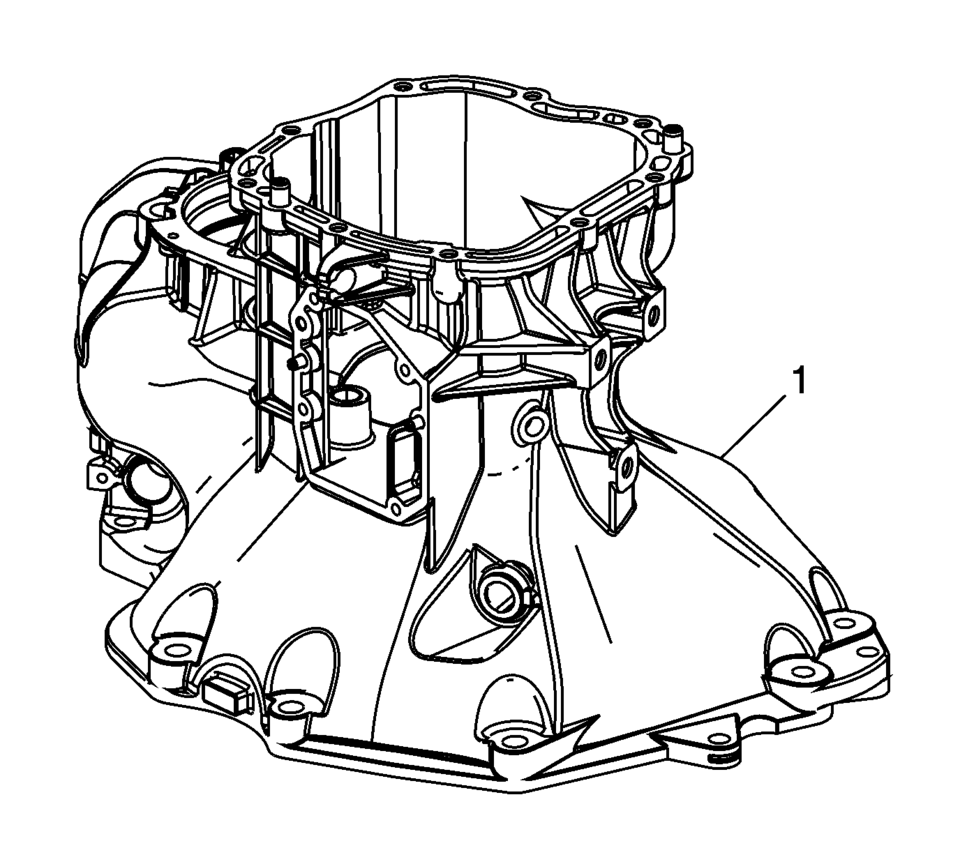
- Clean the clutch housing (1) with a suitable solvent. Air dry all the parts.
- Inspect the clutch housing for the following conditions:
Warning:
Wear safety glasses to avoid injury when using compressed air or any cleaning solvent. Bodily injury may occur if fumes are inhaled or if skin is exposed to chemicals.
- Cracks
Replace the clutch housing if cracks are found.
- Scratches
- Burrs
- Nicked mounting surfaces
- Damaged sealing surfaces
- Damaged front or rear bearing bores
- Damaged alignment pins
 Clutch and Differential Housing Assemble
Special Tools
R-0007761 Universal Handle for Pullers and Installers
R-0407009 Countershaft Front Bearing Driver
R-0407010 Input Shaft Needle Bearing Puller and Driver
R-0407014 Gearshift De ...
 Clutch and Differential Housing Disassemble
Special Tools
M-680770 Universal Sliding Mallet
R-0007758 Holding Fixture
R-0407008 Counter Shaft Bearing Remover
R-0407010 Input Shaft Needle Bearing Puller and Driver
R-0407013 Gearshi ...
Other materials:
Front Side Door Window Switch Bezel Replacement (Right Side)
Front Side Door Window Switch Bezel Replacement
Callout
Component Name
Preliminary Procedure
Remove the front side door trim. Refer to Front Side Door Trim Replacement.
1
Front Side Door Window S ...
Driver or Passenger Seat Back Cushion Heater Replacement
Driver or Passenger Seat Back Cushion Heater Replacement
Callout
Component Name
Warning: Refer to SIR Warning.
Preliminary Procedure
Remove the driver or passenger seat. Refer to Driver or Passenger
Seat Remov ...
Brake Rotor Thickness Measurement
Warning: Refer to Brake Dust Warning.
If the inboard friction surface of the brake rotor is not accessible, reposition
and support the caliper with the brake pads. Refer to Front Disc Brake Pads
Replacement.
Clean the friction surfaces of the brake rotor with denatured al ...

0.0061