Chevrolet Sonic Repair Manual: Evaporative Emission System Hose/Pipe Replacement
- Removal Procedure
-
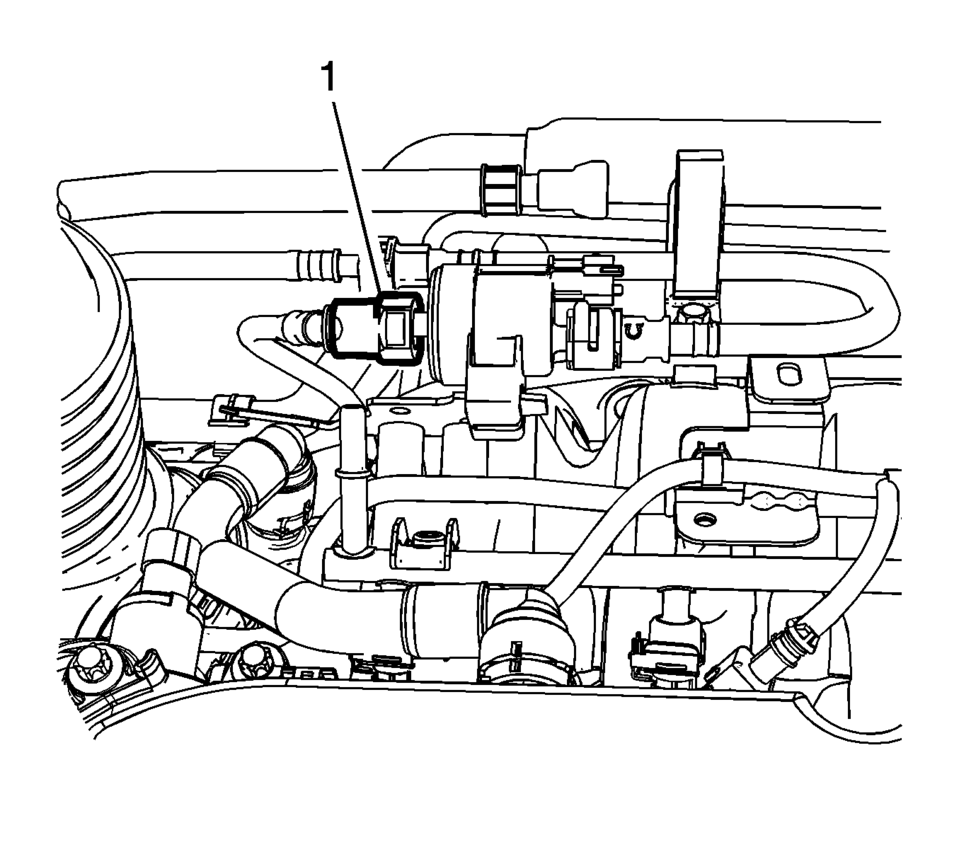
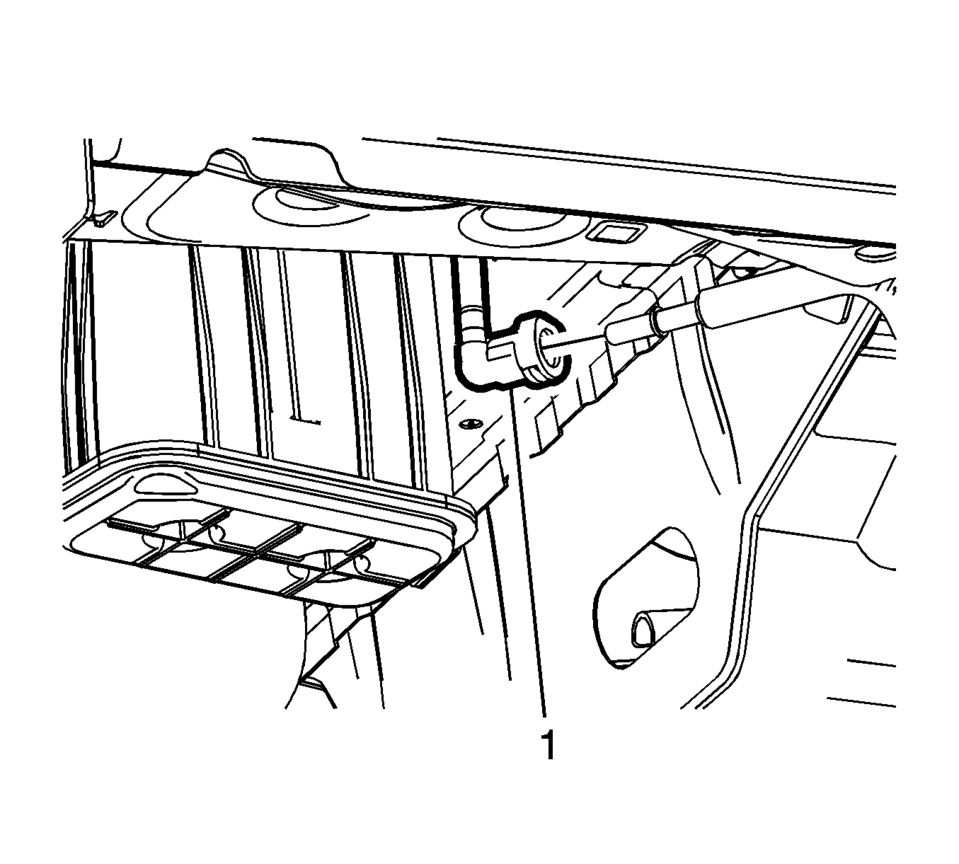
- Disconnect the evaporative emission pipe (1). Refer to Plastic Collar Quick Connect Fitting Service.
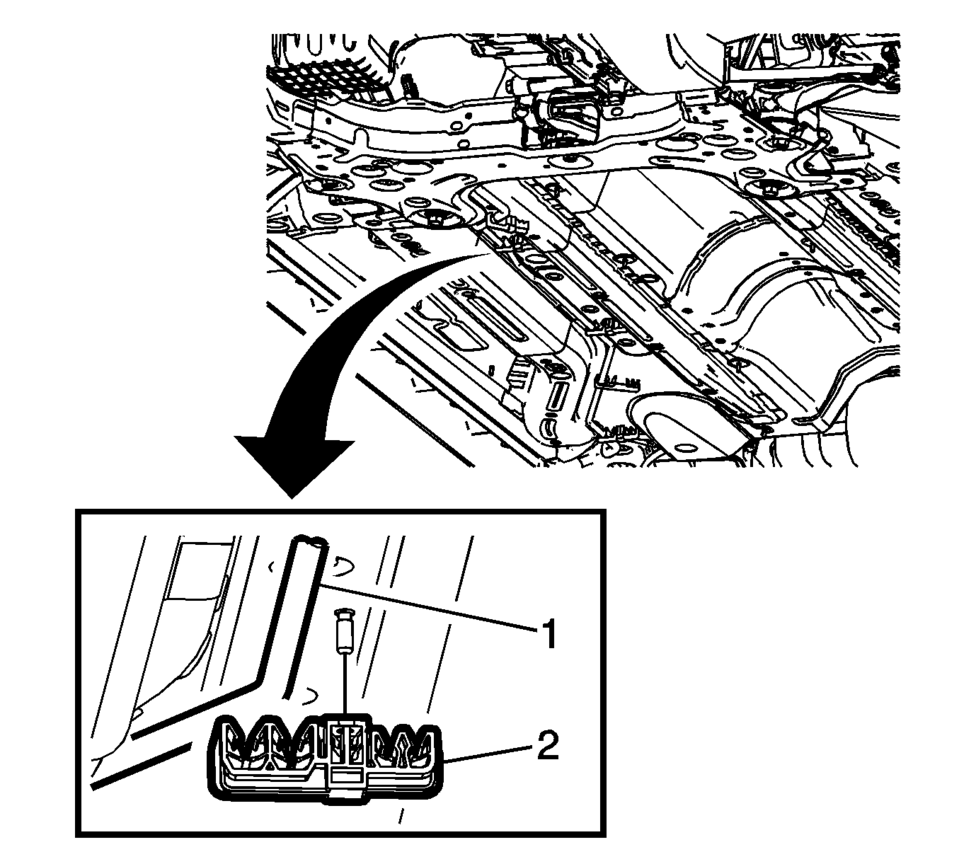
- Remove the plastic retainer (1) and disconnect the evaporative emission pipe (2).
- Lift and support the vehicle. Refer to Lifting and Jacking the Vehicle.
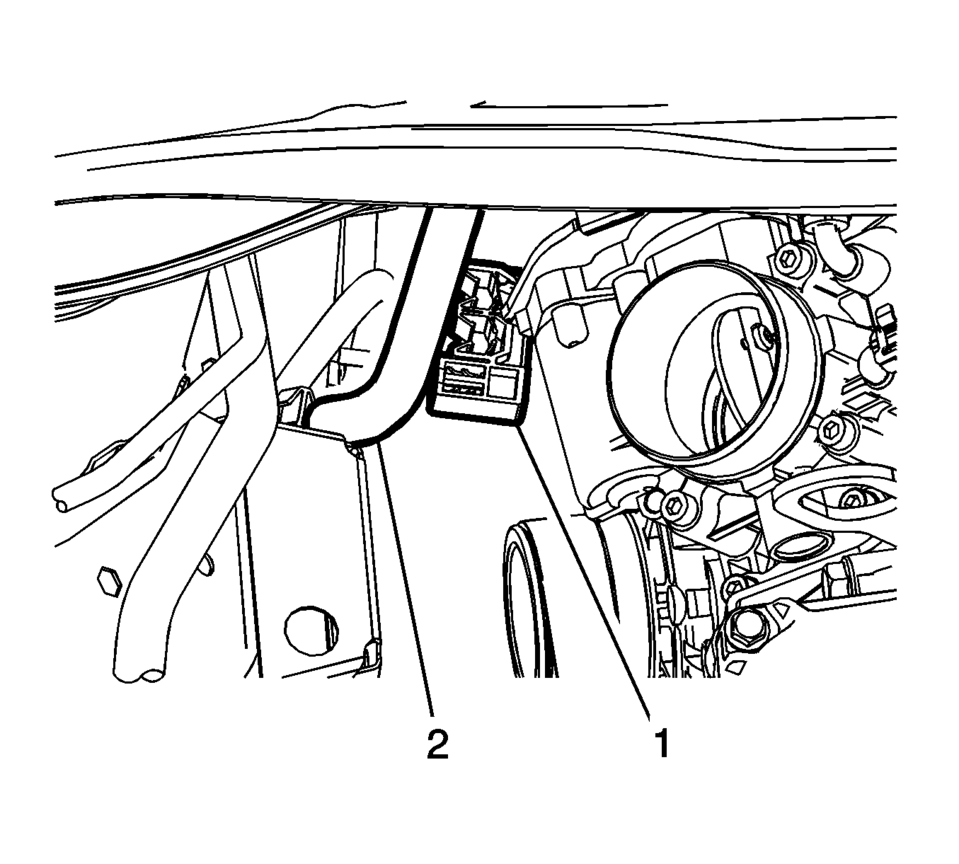
- Disconnect the evaporative emission pipe (1) from the plastic retainers (2).
- Disconnect the evaporative emission pipe (1). Refer to Plastic Collar Quick Connect Fitting Service.
- Remove the evaporative emission pipe.
- Installation Procedure
-
- Install the evaporative emission pipe.
- Connect the evaporative emission pipe (1). Refer to Plastic Collar Quick Connect Fitting Service.
- Connect the evaporative emission pipe (1) to the plastic retainers (2).
- Connect the evaporative emission pipe (2) and install the plastic retainer (1).
- Connect the evaporative emission pipe (1). Refer to Plastic Collar Quick Connect Fitting Service.
 Evaporative Emission System Hose/Pipe Replacement
Special Tools
CH-807 Closure Plugs
CH-6015 Closure Plugs
For equivalent regional tools, refer to Special Tools.
Removal Procedure
Warning: Refer to Gasoline/Gasoline Vapors War ...
 Fuel and Evaporative Emission Hose/Pipe Connection Cleaning Caution
Caution: Clean all of the following areas before performing any disconnections
in order to avoid possible contamination in the system:
The fuel pipe connections
The hose connections
...
Other materials:
Rear Window Wiper Blade Replacement
Rear Window Wiper Blade Replacement
Callout
Component Name
Preliminary Procedure
Lift the rear window wiper arm off the rear window and release the rear
window wiper blade from the rear window wiper arm.
1 ...
Supplemental air bag warning light
In the Nissan Armada, the supplemental air bag warning light, identified by the
symbol
displayed in the instrument cluster, continuously monitors the integrity of the
air bag systems, pretensioners, and all associated wiring circuits.
When the ignition switch of the Nissan Armada is tur ...
Automatic air conditioner
Basic information
The automatic climate control system in the Nissan Armada is designed to provide
maximum comfort and convenience for both driver and passengers. You can operate
the system either through the dedicated front air conditioner control panel or directly
via the touchscreen climat ...

0.0067