
Chevrolet Sonic Repair Manual: Sunroof Window Seal Replacement
- Removal Procedure
-
- Remove the sunroof window panel. Refer to Sunroof Window Replacement.
- Remove the seal from the window panel frame by pulling the seal away at one point and continuing around the perimeter of the frame.
- Clean around the edge of the inside surface of the window with a 50/50 mixture of isopropyl alcohol and water by volume on a dampened lint free cloth, allow to air dry.
- Installation Procedure
-
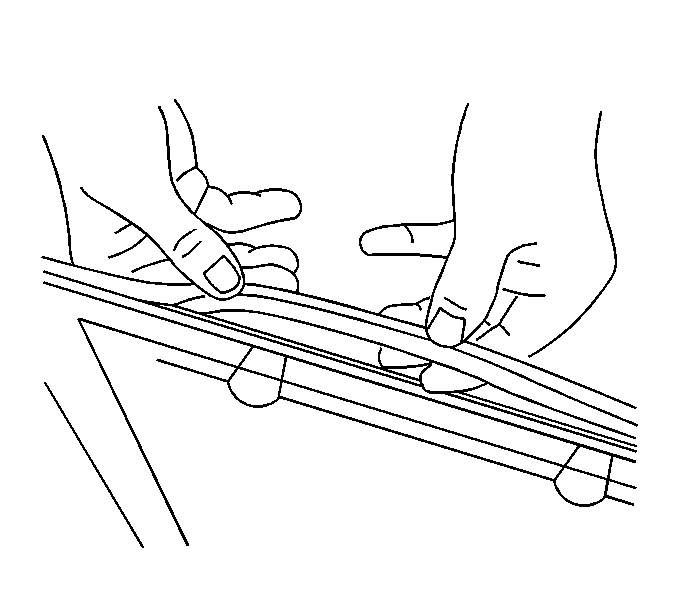
- Using a clean dampened cloth wipe the seal with a small amount of the same window cleaner in order to ease installation.
- Position the sunroof window panel seal onto the window frame, locating the starting end of the seal at the relief notch in the center of the passenger side of the frame.
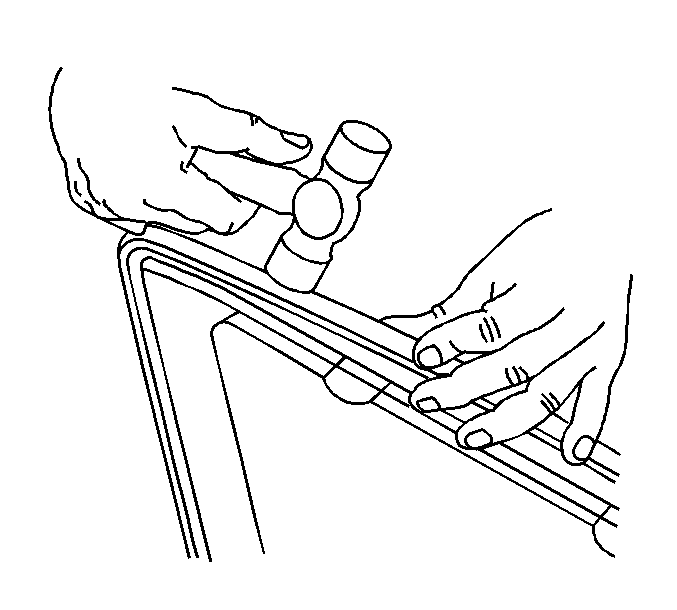
- Firmly press the window seal into the retainer edge of the sunroof window, a 50/50 mixture of soap and water by volume will help in the installation.
- Install the sunroof window panel. Refer to Sunroof Window Replacement.
- Adjust the window panel height. Refer to Sunroof Window Height and Opening Fit Adjustment.
- Inspect sunroof for proper operation.
\\\
Note:
Ensure that the seal is properly seated around the entire perimeter of the window frame.
 Sunroof Window Replacement
Sunroof Window Replacement
Callout
Component Name
1
Sunroof Window Bolt?€‰(Qty:?€‰4)
Caution: Refer to F ...
 Urethane Adhesive Description
For replacement of any adhesive-installed window, use the full cut method only.
Use an adhesive that is approved by GM, Specification GMW-15672.
Use these materials based on specific manufacturer. D ...
Other materials:
Mobile Telephone Microphone Replacement
Mobile Telephone Microphone Replacement
Callout
Component Name
Preliminary Procedure
Remove the dome lamp bezel. Refer to Dome Lamp
Bezel Replacement.
1
Mobile Telephone Microphone
Procedure ...
Front Differential Carrier Installation (6T40/45/50)
Front Differential Carrier Installation
Callout
Component Name
1
Final Drive Sun Gear
2
Differential Carrier Assembly
3
Front Differential Carrier Bearing Asembly
...
Transmission Disassemble (Gen 2)
Special Tools
3-9506289 Universal Adapter
R-0007758 Holding Fixture
S-9407198 Differential Bearing Race Wrench
For equivalent regional tools, refer to Special Tools.
Attach R-0007758 holding fixture (2) to the transmission.
Attach R-0007758 holding fixture (2 ...

0.0053