
Chevrolet Sonic Repair Manual: Front Brake Rotor Replacement
Special Tools
- CH-41013 Rotor Resurfacing Kit
- CH-42450-A Wheel Hub Resurfacing Kit
For equivalent regional tools, refer to Special Tools.
- Removal Procedure
-
Warning:
Refer to Brake Dust Warning.
- Raise and support the vehicle. Refer to Lifting and Jacking the Vehicle.
- Remove the tire and wheel assembly. Refer to Tire and Wheel Removal and Installation.
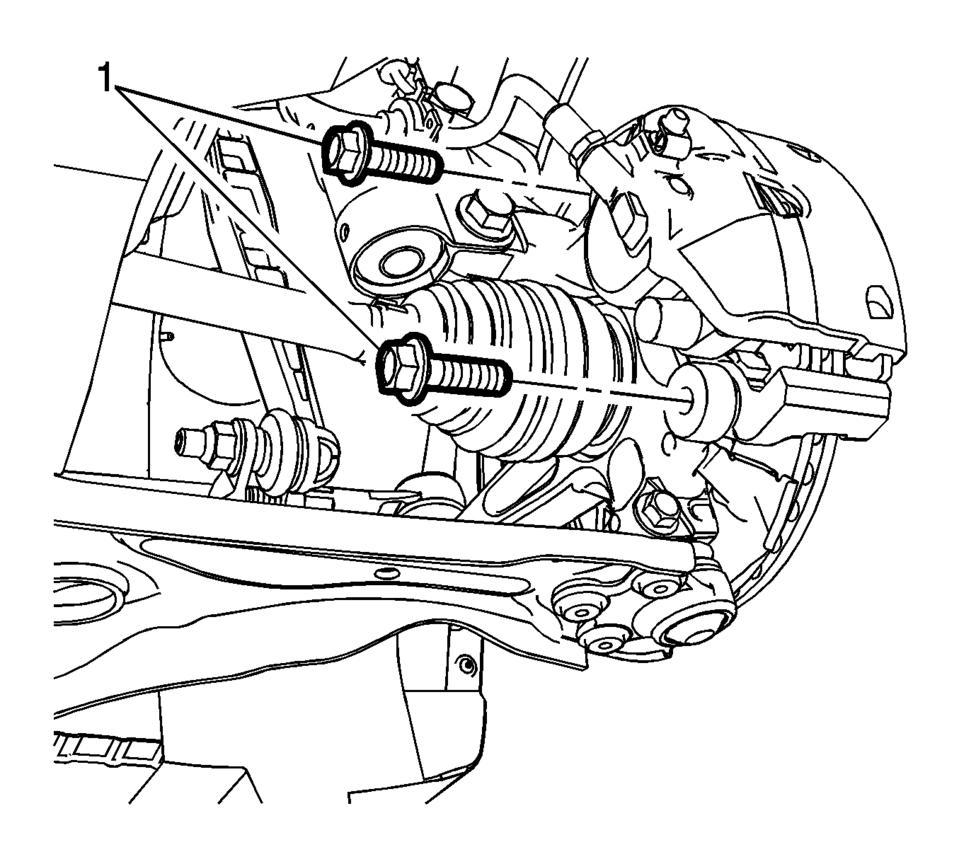
- Remove and discard the brake caliper bracket bolts (1).
- Remove the brake caliper and bracket as an assembly and support with heavy mechanics wire or equivalent.
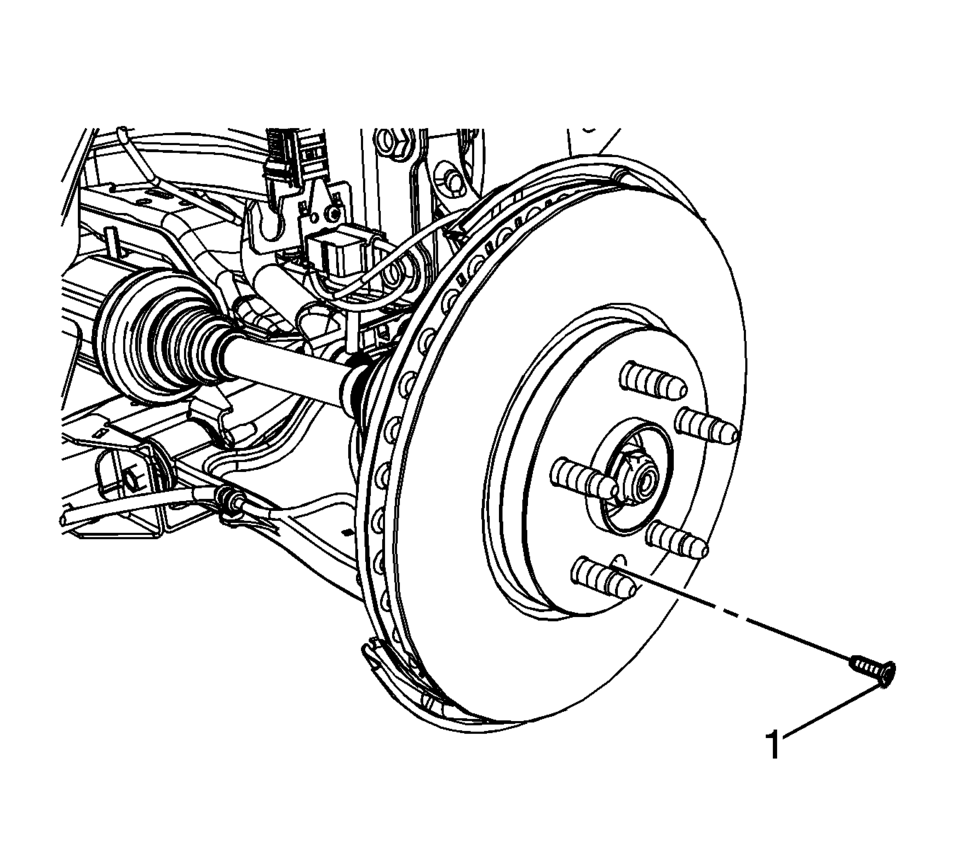
- Remove the brake rotor bolt (1).
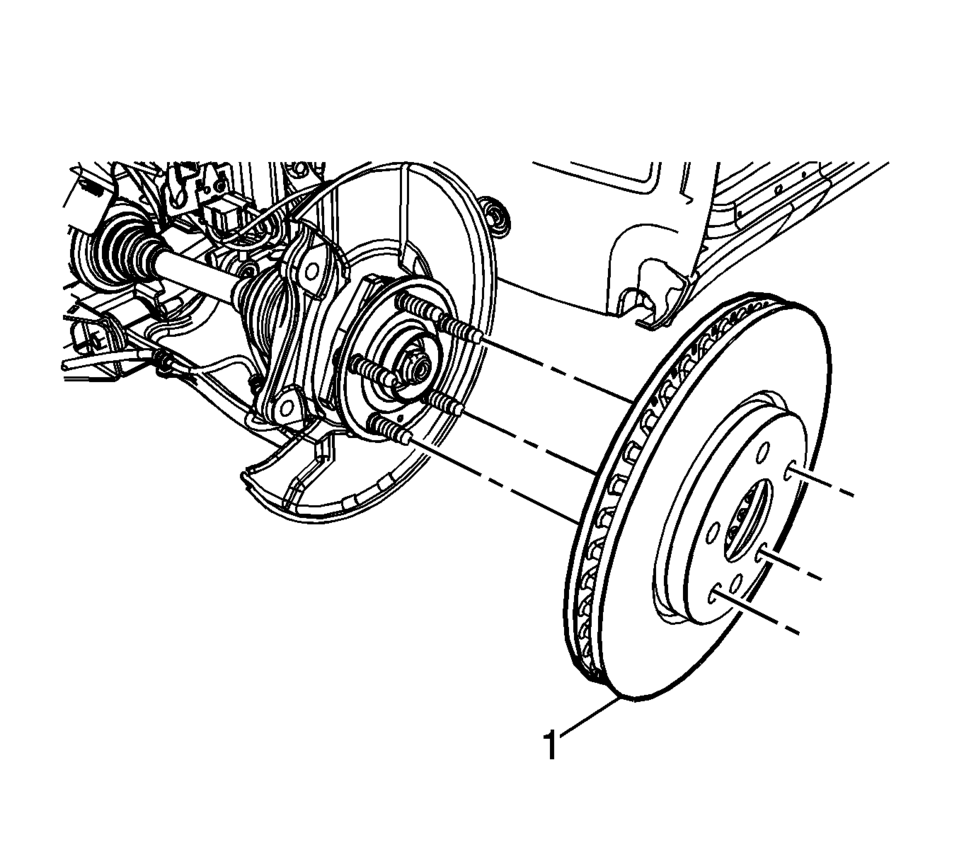
- Remove the brake rotor (1).
Note:
Do not reuse the brake caliper bracket bolts.
Caution:
Support the brake caliper with heavy mechanic wire, or equivalent, whenever it is separated from its mount and the hydraulic flexible brake hose is still connected. Failure to support the caliper in this manner will cause the flexible brake hose to bear the weight of the caliper, which may cause damage to the brake hose and in turn may cause a brake fluid leak.
- Installation Procedure
-
- If installing a new brake rotor, clean the friction surfaces of the brake rotor with denatured alcohol or equivalent.
- Using the CH-42450-A Wheel Hub Resurfacing Kit , thoroughly clean any rust or corrosion from the mating surface of the hub/axle flange.
- Using the CH-41013 Rotor Resurfacing Kit , thoroughly clean any rust or corrosion from the mating surface of the rotor to the hub/axle flange.
- Install the brake rotor (1).
- Install the brake rotor bolt (1) and tighten to 9 Y (80 lb in)
- Position the brake caliper and bracket assembly over the brake rotor and to the steering knuckle.
- Install 2 new brake caliper bracket bolts (1) and tighten to 100 Y
(74 lb ft)
.
- Install the tire and wheel assembly. Refer to Tire and Wheel Removal and Installation.
- Burnish the brake pads and rotors. Refer to Brake Pad and Rotor Burnishing.
Caution:
Refer to Fastener Caution.
Note:
Do not reuse the brake caliper bracket bolts.
 Disc Brake System Description and Operation
System Component Description
The disc brake system consists of the following components:
Disc Brake Pads
Applies mechanical output force from the hydraulic brake calipers to
...
 Front Brake Shield Replacement
Removal Procedure
Warning: Refer to Brake Dust Warning.
Raise and support the vehicle. Refer to Lifting and Jacking the Vehicle.
Remove the front tire and wheel assemb ...
Other materials:
Front Side Door Window Outer Sealing Strip Replacement
Front Side Door Window Outer Sealing Strip Replacement
Callout
Component Name
1
Front Side Door Window Outer Sealing Strip
Procedure
Do Not remove the outside rearview mirror.
Use the appropriate tool, lift th ...
Turbocharger Wastegate Regulator Solenoid Valve Replacement
Charge Air Bypass Regulator Solenoid Valve Replacement
Callout
Component Name
Preliminary Procedure
Disconnect the radiator outlet hose from the water inlet. Refer to
Water Inlet Replacement.
1
T ...
Conventional (fixed speed) cruise control
Basic information
The Nissan Armada offers a Conventional (fixed speed) cruise control mode as
a practical alternative to the advanced Intelligent Cruise Control system. This
mode is ideal for steady highway driving when adaptive distance control is not required
and allows the Nissan Armada t ...

0.0061