
Chevrolet Sonic Repair Manual: Quarter Inner Trim Finish Panel Replacement (Hatchback)
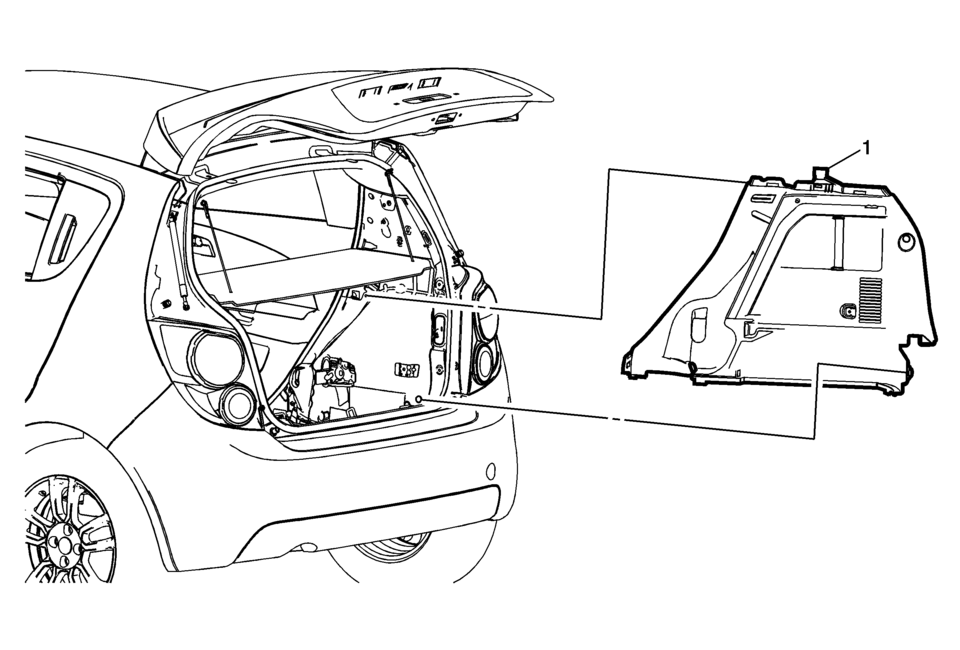
|
Callout |
Component Name |
|---|---|
Preliminary Procedures
|
|
|
1 |
Quarter Inner Trim Finish Panel Assembly Procedure
Use a trim tool or equivalent to aid in removal. Note: After installation of the quarter inner trim panel, ensure the rear seat belt is not trapped under the trim panel. Pull up on the belt to verify full movement of the belt. |
 Luggage Shade Replacement (Hatchback)
Luggage Shade Replacement
Callout
Component Name
1
Luggage Shade Assembly
Procedure
Detach luggage shade from upp ...
 Quarter Outer Panel Pressure Relief Valve Replacement
Quarter Outer Panel Pressure Relief Valve Replacement
Callout
Component Name
Preliminary Procedure
Remove the rear bumper fasci ...
Other materials:
Headlining Trim Panel Replacement (Sedan with Sunroof)
Headlining Trim Panel Replacement
Callout
Component Name
Warning: Do not attempt to repair or alter the head impact
energy-absorbing material glued to the headliner or to the garnish trims.
If the material is damaged ...
Parking Brake Adjustment (Drum Brake)
Note: The park brake cable adjusting nut is a nylon lock type. Use
ONLY HAND TOOLS whenever tightening or loosening the adjusting nut.
Apply and fully release the park brake several times. Verify that the park
brake lever releases completely.
Turn ON the ignition. Verify the red B ...
Towing safety
Trailer hitch
Your Nissan Armada is equipped with a factory-installed trailer towing package
designed to support reliable and safe towing operations.
This package includes a robust, frame-mounted receiver-type hitch that is engineered
to handle the maximum towing capacity of the Nissan Armada ...

0.0059