
Chevrolet Sonic Repair Manual: Air Conditioning Compressor Replacement (LUV)
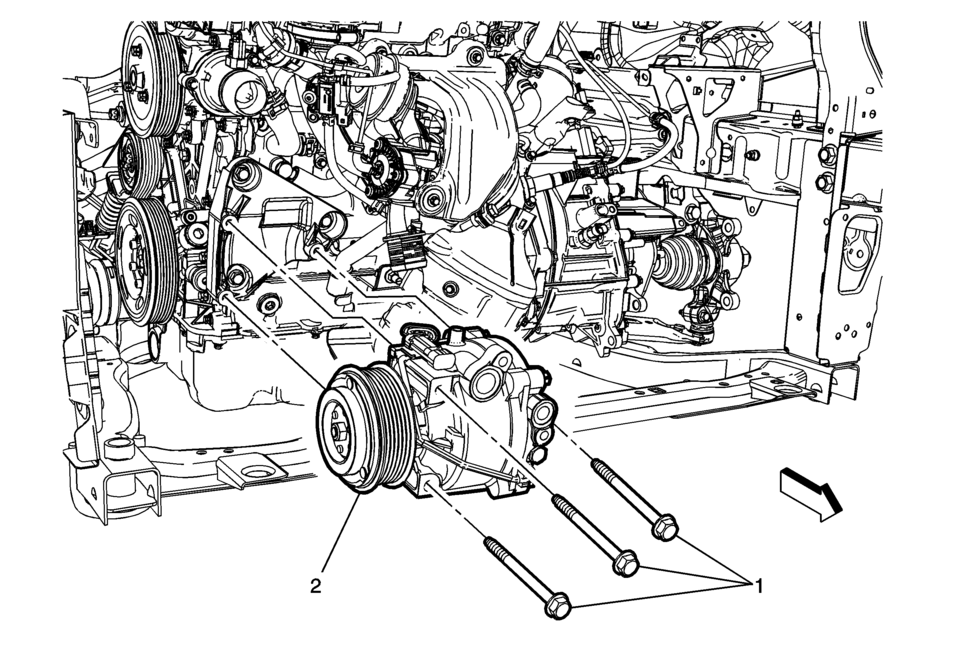
|
Callout |
Component Name |
|---|---|
Preliminary Procedure
|
|
|
1 |
Air Conditioning Compressor Bolt (Qty :3) Caution: Refer to Fastener Caution.
22 Y (16 lb ft) |
|
2 |
Air Conditioning Compressor Assembly Procedure
When replacing the air conditioning compressor, balance the compressor oil. Refer to Air Conditioning Compressor Oil Balancing. |
 Air Conditioning Compressor Replacement (LDE, LUW, LWE)
Air Conditioning Compressor Replacement
Callout
Component Name
Preliminary Procedure
Recover the refrigerant. Refer to Refrigerant ...
 Air Conditioning Compressor and Condenser Hose Replacement (LDE/LWE)
Removal Procedure
Recover the refrigerant. Refer to Refrigerant Recovery and Recharging.
Disconnect the A/C refrigerant pressure sensor electrical connector.
Remove air ...
Other materials:
Trunk Release
To lock or unlock the trunk from the inside, press
or
on the central locking switch or on
the driver door switch.
To open the trunk from inside the vehicle press
.
To lock the trunk from the outside press
on the RKE transmitter.
To open the trunk from outside of the vehicle:
Pres ...
Windshield Header Courtesy Lamp Replacement
=i_ii.=========
Windshield Header Courtesy Lamp Replacement
Callout
Component Name
1
Windshield Header Courtesy Lamp
Procedures
Grasp the courtesy lamp assembly and pull downward to release the
retainer clips ...
Control Valve Body Assembly Disassemble (Gen 1)
Control Valve Body Assembly Disassemble
Callout
Component Name
1
Control Solenoid Valve Support
2
Control Valve Body Bolt M5 x 40.5 (Qty: 1)
3
...

0.0059