Chevrolet Sonic Repair Manual: Brake Fluid Level Indicator Switch Replacement
- Removal Procedure
-
- Disconnect the brake fluid level indicator switch electrical connector.
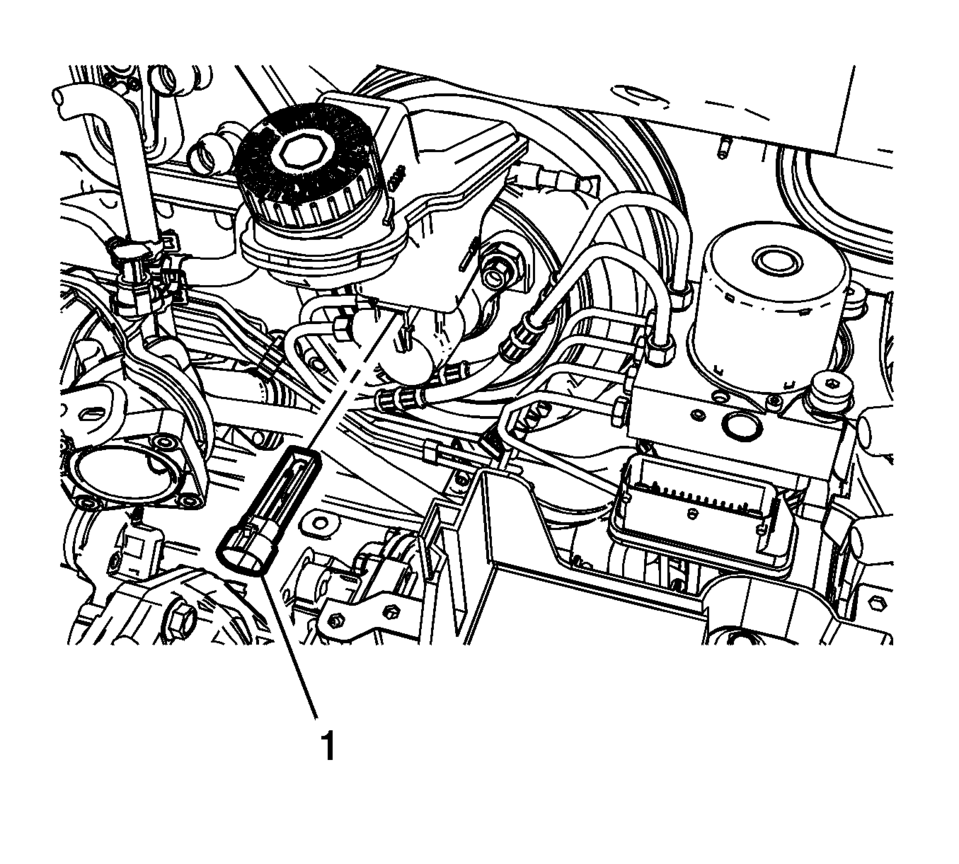
- Using a small, flat-bladed tool, lift the locking tab on the underside of the brake fluid level indicator switch (1) and remove the switch.
- Inspect the master cylinder reservoir for damage and replace, if necessary. Refer to Master Cylinder Reservoir Replacement.
- Installation Procedure
-
- Install the master cylinder reservoir, if removed. Refer to Master Cylinder Reservoir Replacement.
- Install the brake fluid level indicator switch (1) by pressing the switch firmly into the brake master cylinder reservoir.
- Connect the brake fluid level indicator switch electrical connector.
 Brake Fluid Irritant Warning
Warning: Brake fluid may irritate eyes and skin. In case of contact,
take the following actions:
Eye contact—rinse thoroughly with water.
Skin contact—wash with soap and water.
...
 Brake Fluid Warning
Warning: Use only Delco Supreme 11, GM P/N 12377967 (Canadian P/N 992667),
or equivalent DOT 3 brake fluid from a clean, sealed container. Do not use fluid
from ...
Other materials:
Rear Side Door Window Switch Bezel Replacement
Rear Side Door Window Switch Bezel Replacement
Callout
Component Name
Preliminary Procedure
Remove the rear side door trim. Refer to Rear Side Door Trim Replacement.
1
Rear Side Door Pull Handle ...
Instrument Panel Outer Air Outlet Replacement - Right Side
Instrument Panel Outer Air Outlet Replacement - Right Side
Callout
Component Name
Preliminary Procedure
Remove the right instrument panel upper trim panel. Refer to Instrument
Panel Upper Trim Panel Replacement - Right Side ...
System operation
The Nissan Armada TSR system is capable of recognizing and displaying key traffic
signs, including the following:
Latest detected speed limit
No passing zone indication
CAUTION
The TSR system in the Nissan Armada is designed to assist, not replace,
attentive driving. Always ...

0.005