Chevrolet Sonic Repair Manual: Cigarette Lighter Receptacle Replacement
Special Tools
EL-42059 Cigar Lighter Socket Remover .
For equivalent regional tools. Refer to Special Tools
- Removal Procedure
-
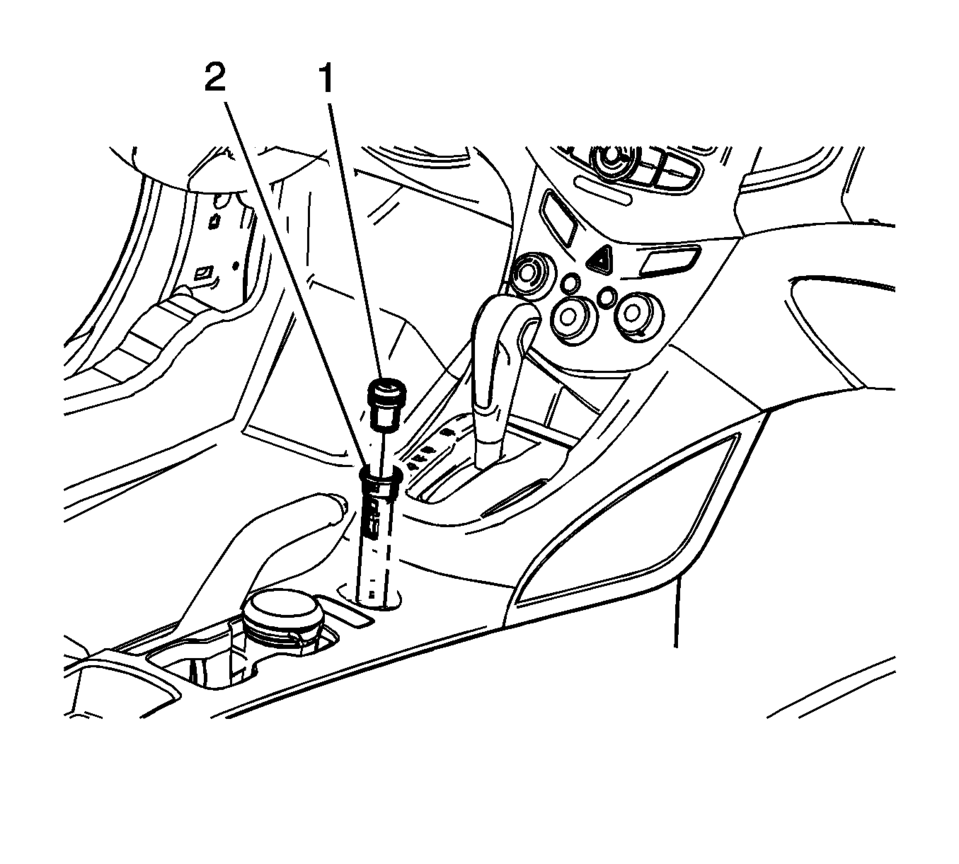
- Remove the auxiliary power outlet fuse from the fuse block.
- Remove the receptacle:
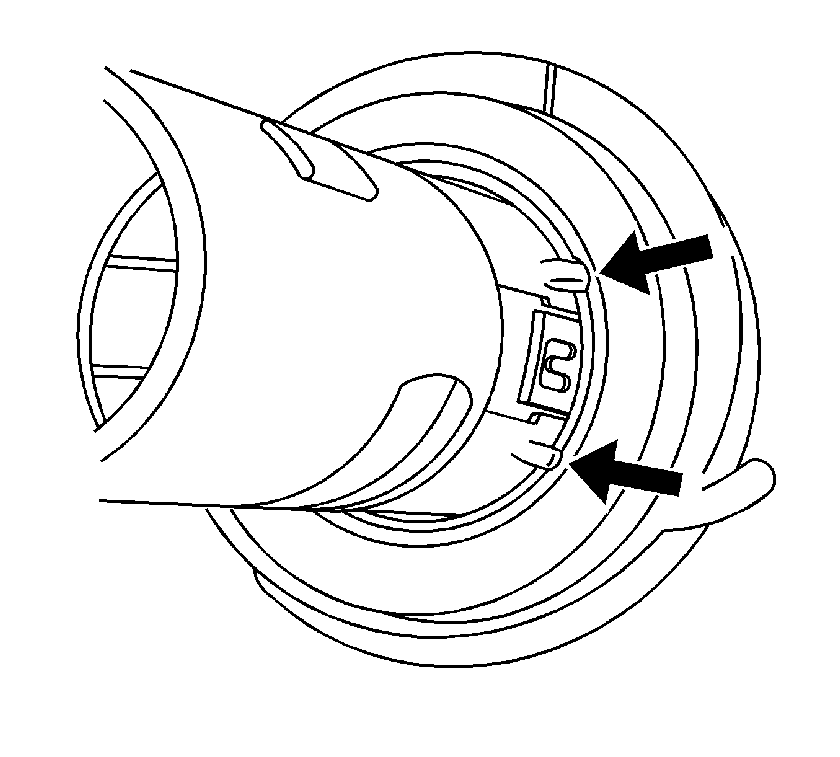
- Look into the receptacle(2). There are two 3?€‰mm (0.11?€‰in) tab windows 12?€‰mm (0.47?€‰in) from the front of the receptacle. The EL-42059 Cigar Lighter Socket Remover pushes the plastic latches from these tab windows and the receptacle can be pulled straight out.
- Place one side of the ?€?T?€? portion of the EL-42059 Cigar Lighter Socket Remover into the tab window. The EL-42059 Cigar Lighter Socket Remover will not fit straight into the receptacle. Angle the slightly for insertion into the receptacle.
- Insert the other side of the ?€?T?€? into the opposite tab window.
You must move the EL-42059 Cigar Lighter Socket Remover handle toward horizontal to engage the other tab window.
- Use the EL-42059 Cigar Lighter Socket Remover to pull the receptacle straight out.
- Installation Procedure
-
- Route the connector through the retainer. Align the accessory power receptacle retainer to the slot in the opening.
- Install the retainer by pressing into place fully seated.
- Connect the electrical connector to the receptacle.
- Align the tabs on the receptacle to the slots in the retainer. Install the accessory power receptacle by pressing into place until fully seated.
- Install the accessory power receptacle fuse.
 Accessory Power Receptacle Replacement
Special Tools
EL-42059 Cigar Lighter Socket Remover .
For equivalent regional tools. Refer to Special Tools
Removal Procedure
Remove the auxiliary power outlet fuse from the ...
 Power Outlets Description and Operation
System Description
The vehicle is fitted with a cigarette lighter and/or with a 12?€‰V accessory
power receptacle. The accessory power receptacle and cigarette lighter are operational ...
Other materials:
Roof Rail Front Assist Handle Replacement
Roof Rail Front Assist Handle Replacement
Callout
Component Name
1
Roof Rail Front Assist Handle Fastener (Qty:?€‰2)
Caution: Refer to Fastener Caution.
Procedure
Fold the assist handle downward ...
Manual Shift Detent Lever with Shaft Position Switch Assembly and Park Pawl
Actuator Removal
Table 1:
Manual Shaft Detent (w/Shift Position Switch) Lever
Assembly Removal
Table 2:
Park Pawl Actuator Guide Removal
Manual Shaft Detent (w/Shift Position
Switch) Lever Assembly Removal
Manual Shaft Detent (w/Shift Position Switch) Lever Assemb ...
Transmission Disassemble (Gen 1)
Special Tools
3-9506289 Universal Adapter
R-0007758 Holding Fixture
S-9407198 Differential Bearing Race Wrench
For equivalent regional tools, refer to Special Tools.
Attach R-0007758 holding fixture (2) to the transmission.
Attach R-0007758 holding fixture (2 ...

0.0056