
Chevrolet Sonic Repair Manual: Driver or Passenger Seat Back Cushion Frame Replacement
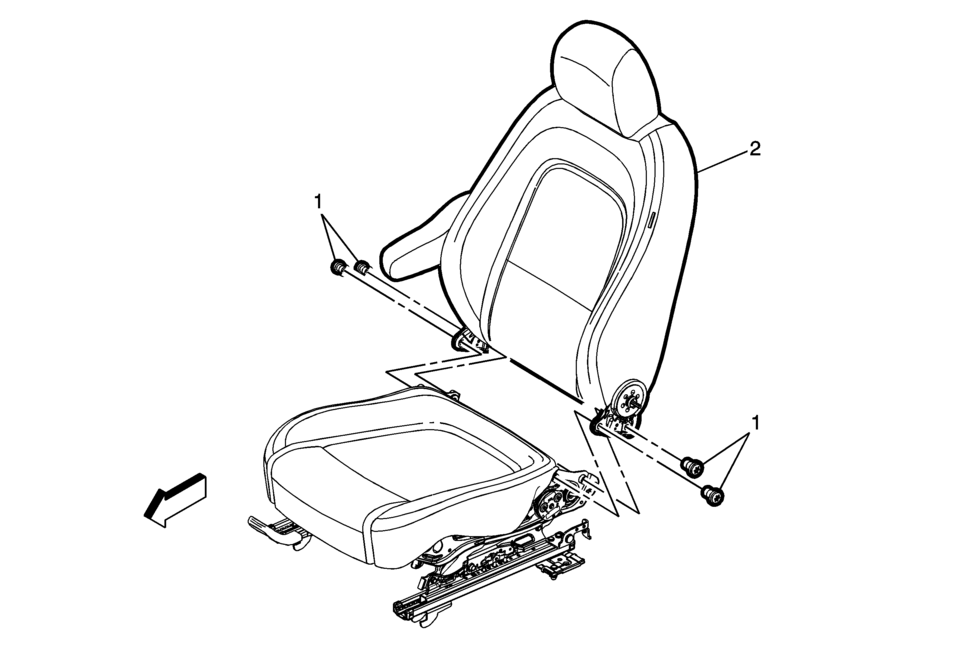
|
Callout |
Component Name |
|---|---|
Preliminary Procedures
|
|
|
1 |
Front Seat Back Cushion Frame Bolt (Qty:?€‰4) Caution: Refer to Fastener Caution.
22?€‰Y(16?€‰lb?€‰ft) |
|
2 |
Driver or Passenger Seat Back Cushion Frame Procedure
|
 Body Side Frame Rocker Reinforcement Replacement
Removal Procedure
Warning: Refer to Approved Equipment for Collision Repair
Warning.
Warning: Refer to Glass and Sheet Metal Handling Warning.
Note ...
 Driver or Passenger Seat Cushion Frame Replacement
Driver or Passenger Seat Cushion Frame Replacement
Callout
Component Name
Preliminary Procedures
Remove the driver or passenger sea ...
Other materials:
Front Compartment Front Insulator Cover Replacement
Front Compartment Front Insulator Cover Replacement
Callout
Component Name
1
Front Compartment Front Insulator Cover Screw (Qty:?€‰2)
Caution: Refer to Fastener Caution.
Tighten
2.5?€‰Y (22?₠...
Driver or Passenger Seat Cushion Frame Replacement
Driver or Passenger Seat Cushion Frame Replacement
Callout
Component Name
Preliminary Procedures
Remove the driver or passenger seat. Refer to Driver or Passenger
Seat Removal and Installation
Remove the front seat cushio ...
Control Valve Body Cleaning and Inspection (Gen 2)
Control Valve Body Cleaning and Inspection
Callout
Component Name
Warning: Valve springs can be tightly compressed. Use care
when removing retainers and plugs. Personal injury could result.
Caution: After cle ...

0.0045