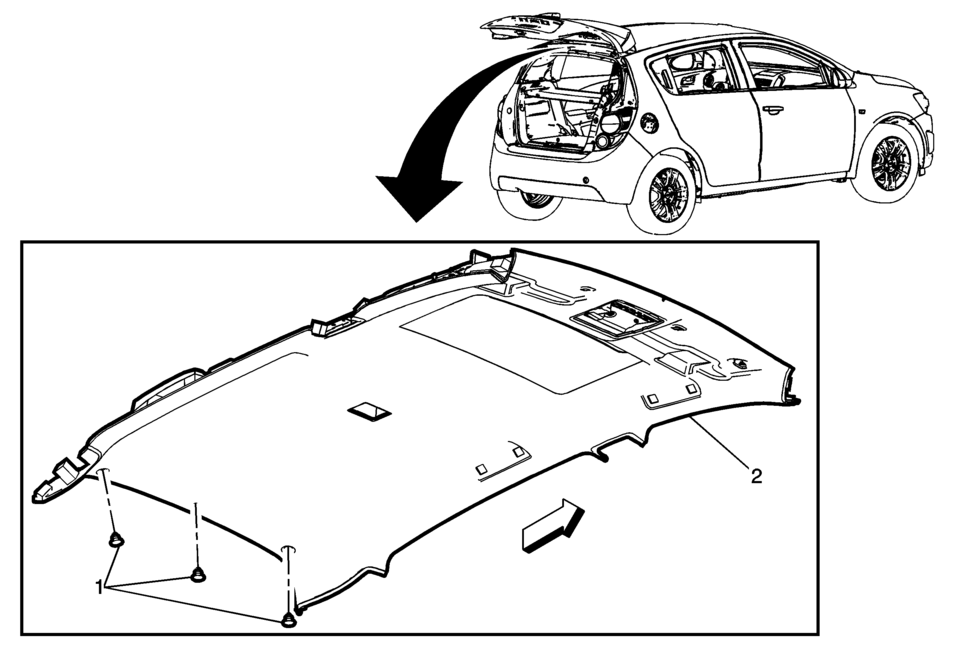
Chevrolet Sonic Repair Manual: Headlining Trim Panel Replacement (Hatchback with Sunroof)

|
Callout |
Component Name |
|---|---|
|
Warning: Do not attempt to repair or alter the head impact energy-absorbing material glued to the headliner or to the garnish trims. If the material is damaged, replace the headliner and/or the garnish trim. Failure to do so could result in personal injury. Caution: If a vehicle is equipped with a head curtain inflator module ensure that the inflator module and tether are undamaged. If tether or curtain airbag are damaged in any way, they must be replaced. Caution: Use care when working around the head curtain inflator module. Sharp tools may puncture the curtain airbag. If the head curtain inflator module is damaged in any way, it must be replaced.
|
|
|
1 |
Headliner Trim Panel Retainer (Qty:?€‰3) |
|
2 |
Headliner Trim Panel Assembly Procedure
Disconnect the electrical connectors. Note: When installing a new headliner, tape any unused connector to the headliner with a high adhesive tape. |
 Front Side Door Window Switch Bezel Replacement (Right Side)
Front Side Door Window Switch Bezel Replacement
Callout
Component Name
Preliminary Procedure
Remove the front side door trim. R ...
 Headlining Trim Panel Replacement (Hatchback without Sunroof)
Headlining Trim Panel Replacement
Callout
Component Name
Warning: Do not attempt to repair or alter the head impact
energ ...
Other materials:
Liftgate Side Applique Replacement (Hatchback)
Liftgate Side Applique Replacement
Callout
Component Name
Preliminary Procedure
Open and support the rear liftgate assembly.
Remove the liftgate trim finish panel. Refer to Liftgate Trim Finish
Panel Replacement.
Disc ...
Service Prior to Assembly
The importance of cleanliness during assembly cannot be overstated. Dirt or debris
will cause engine damage. An automobile engine is a combination of many machined,
honed, polished and lapped surfaces with minor tolerances. When any internal engine
parts are serviced, care and cleanliness are ...
Throttle Body Installation
Install the throttle body (2) and a NEW throttle body
seal ring (1).
Caution: Refer to Fastener Caution.
Install the 4 throttle body bolts (3) and tighten to
8 Y (71 lb in).
...
0.0067
