
Chevrolet Sonic Repair Manual: Quarter Inner Trim Finish Panel Replacement (Hatchback)
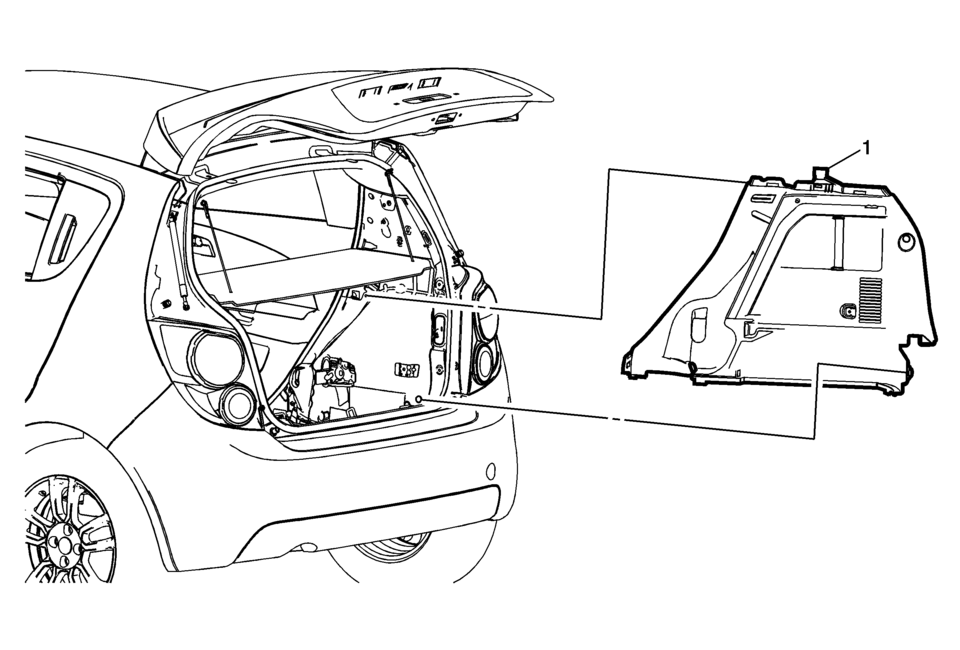
|
Callout |
Component Name |
|---|---|
Preliminary Procedures
|
|
|
1 |
Quarter Inner Trim Finish Panel Assembly Procedure
Use a trim tool or equivalent to aid in removal. Note: After installation of the quarter inner trim panel, ensure the rear seat belt is not trapped under the trim panel. Pull up on the belt to verify full movement of the belt. |
 Luggage Shade Replacement (Hatchback)
Luggage Shade Replacement
Callout
Component Name
1
Luggage Shade Assembly
Procedure
Detach luggage shade from upp ...
 Quarter Outer Panel Pressure Relief Valve Replacement
Quarter Outer Panel Pressure Relief Valve Replacement
Callout
Component Name
Preliminary Procedure
Remove the rear bumper fasci ...
Other materials:
Starter Switch Check
Warning
When you are doing this inspection, the vehicle could move suddenly. If the
vehicle moves, you or others could be injured.
1. Before starting this check, be sure there is enough room around the vehicle.
2. Apply both the parking brake and the regular brake.
Do not use the accelerator p ...
Drum Brake Hardware Replacement (J93, J94)
Removal Procedure
Warning: Refer to Brake Dust Warning.
Raise and support the vehicle. Refer to Lifting and Jacking the Vehicle.
Remove the tire and wheel assembly. Refer to Tire and Wheel Removal
and Installation.
Remove the brake drum. Refer to Brake Drum R ...
Drive Belt Tensioner Installation
Install the drive belt tensioner (1).
Install the upper drive belt tensioner bolt (2).
Install the lower drive belt tensioner bolt (3).
Caution: Refer to Fastener Caution.
Tighten the lower drive belt tensioner bolt (M8) to 22 Y (16&# ...

0.0074