Chevrolet Sonic Repair Manual: Rear Seat Back Bolster Replacement
|
Callout |
Component Name |
|---|---|
|
Preliminary Procedures
Disable the SIR system. Refer to SIR Disabling and Enabling |
|
|
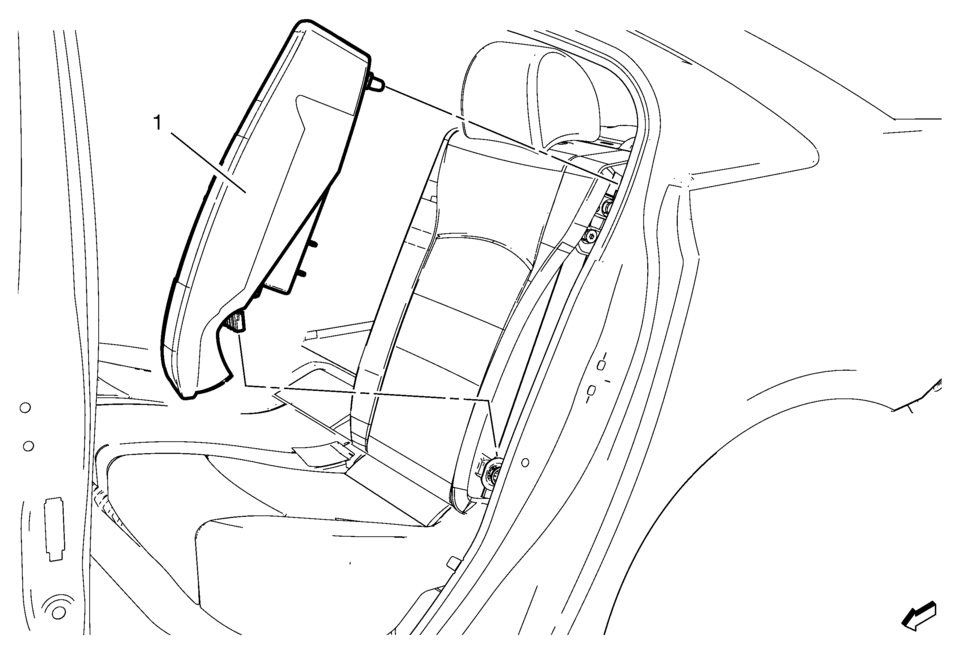
1 |
Rear Seat Back Cushion Bolster Warning: Refer to SIR Warning Warning: Do not repair or replace the seat stitching or seams in the seat back trim cover with an internal mounted seat side airbag module. Replace the complete seat back trim cover from the OEM. Non-OEM seat stitching may cause improper airbag deployment which could result in personal injury.
|
 Body Rear Seat Back Trim Panel Replacement (with AMA/AM7)
Body Rear Seat Back Trim Panel Replacement
Callout
Component Name
Preliminary Procedure
Remove the body side trim panel. Refer ...
 Rear Seat Back Cushion Cover and Pad Replacement (AMA 60% w/Split Back)
Rear Seat Back Cushion Cover and Pad Replacement
Callout
Component Name
Preliminary Procedure
Remove the rear seat back cushion. Re ...
Other materials:
Brake System Warning Light
The vehicle brake system consists of two hydraulic circuits. If one circuit is
not working, the remaining circuit can still work to stop the vehicle. For normal
braking performance, both circuits need to be working
If the warning light comes on, there is a brake problem. Have the brake system ...
Wheel Drive Shafts Description and Operation
Front wheel drive axles are flexible assemblies.
Front wheel drive axles consist of the following components:
A front wheel drive shaft tripot joint (inner joint)
A front wheel drive shaft constant velocity joint (outer joint)
A front wheel drive shaft
The front wheel drive shaft connec ...
Turbocharger Installation
Special Tool
EN-49942 Holding Wrench
For equivalent regional tools, refer to Special Tools.
Clean the sealing surfaces.
Replace the connect fittings on the turbocharger coolant feed pipe and the
turbocharger coolant return pipe. Refer to Turbocharger Disassemble and Turbocharger
Ass ...

0.0082