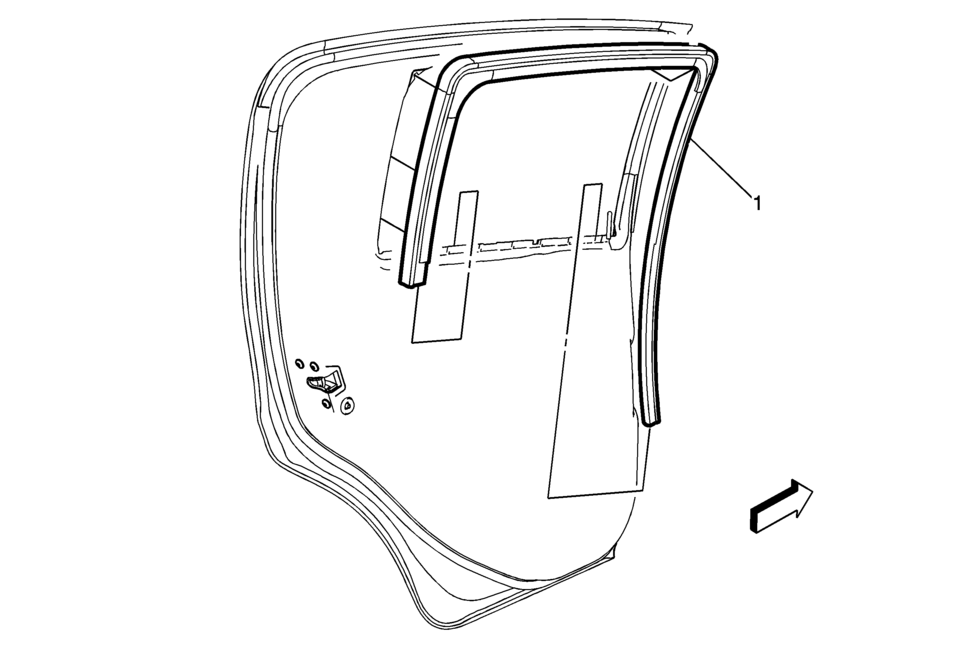
Chevrolet Sonic Repair Manual: Rear Side Door Window Weatherstrip Replacement (Hatchback)
|
Callout |
Component Name |
|---|---|
|
Preliminary Procedure
Remove the rear side door window . Refer to Rear Side Door Window Replacement. |
|
|
1 |
Rear Side Door Window Weatherstrip Procedure
|
 Rear Side Door Window Switch Replacement
Rear Side Door Window Switch Replacement
Callout
Component Name
Preliminary Procedure
Remove the rear side door window switch b ...
 Rear Side Door Window Weatherstrip Replacement (Sedan)
Rear Side Door Window Weatherstrip Replacement
Callout
Component Name
Preliminary Procedures
The rear door side window weatherstrip ...
Other materials:
Radiator Cleaning
Warning: NEVER spray water on a hot heat exchanger. The resulting
steam could cause personal injury.
Caution: The heat exchanger fins are necessary for good heat transfer.
Do not brush the fins. This may cause damage to the fins, reducing heat transfer.
Note: Blow compressed ...
Front Floor Console Cover Replacement (Automatic Transmission)
Front Floor Console Cover Replacement
Callout
Component Name
1
Front Floor Console Cover Assembly
Procedures
Apply the parking brake.
Move the shifter from ?ark?to the ?eutral?
position.
Use a flat-bl ...
Clutch Master Cylinder Reservoir Hose Replacement
Removal Procedure
Note: Before disconnecting the reservoir tank hose, remove
the clutch/brake fluid from the reservoir tank.
Remove the clutch master cylinder reservoir hose (1)
from the reservoir tank.
Remove the clutch master cylinder reservoir ...

0.0052