Nissan Armada 2025-2026 Owner's Manual: Vehicle identification
Vehicle Identification Number (VIN) plate
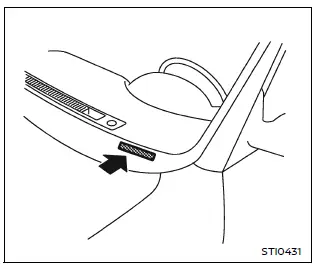
The VIN plate on your Nissan Armada is mounted as shown and serves as the primary identifier for the vehicle. This number is essential for registration, insurance, and service records.
Vehicle identification number (chassis number)
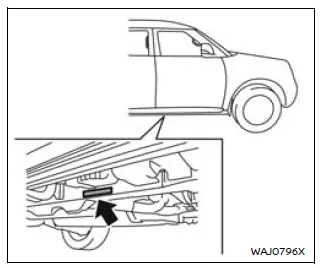
The chassis number of your Nissan Armada is stamped directly onto the vehicle structure as illustrated, providing a permanent identification reference.
Engine serial number
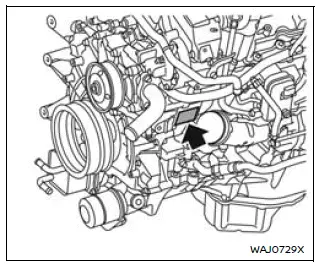
The engine serial number is engraved on the engine block of your Nissan Armada, allowing precise identification of engine specifications and manufacturing details.
F.M.V.S.S./C.M.V.S.S. certification label
The Federal/Canadian Motor Vehicle Safety Standards (F.M.V.S.S./C.M.V.S.S.) certification label is affixed as shown. This label provides critical information about your Nissan Armada, including GVWR, GAWR, manufacturing date, and VIN.
Carefully review this label to ensure compliance with applicable safety standards.
Emission control information label
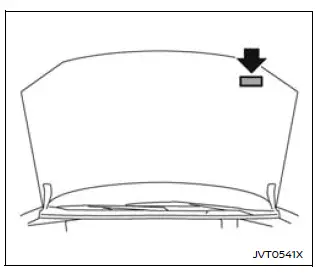
The emission control information label is attached as shown and contains essential data regarding emission standards and compliance for your Nissan Armada.
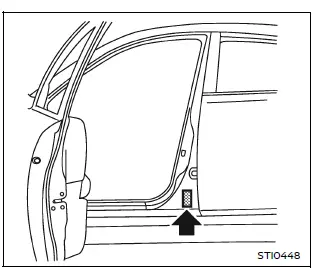
Tire and loading information label
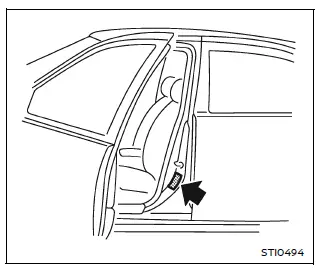
The recommended cold tire pressure for your Nissan Armada is listed on the Tire and Loading Information label located on the vehicle pillar, as illustrated.
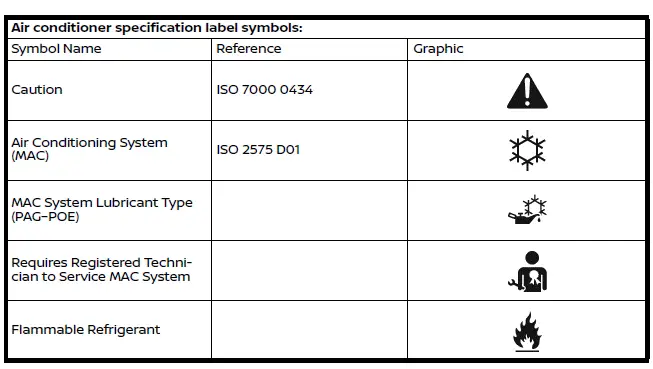
Air conditioner specification label
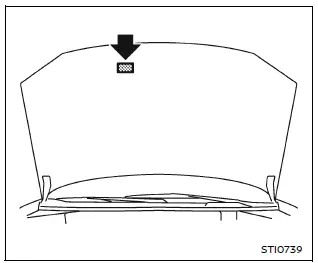
The air conditioning system specification label is affixed as shown and provides detailed information about refrigerant type and system requirements.
Installing front license plate
For proper installation of the front license plate bracket on your Nissan Armada, it is recommended to consult an authorized NISSAN dealer to ensure correct mounting and compliance with local regulations.
 Specifications
Engine
The spark ignition system in the Nissan Armada is fully compliant with
the Canadian ICES-002 standard, ensuring reliable operation and adherence to regulatory
requirements.
Wheels ...

Other materials:
Rear Brake Hose Replacement (Axle to Caliper)
Removal Procedure
Warning: Refer to Brake Dust Warning.
Warning: Refer to Brake Fluid Irritant Warning.
Raise and support the vehicle. Refer to Lifting and Jacking the Vehicle.
Remove the tire and wheel assembly. Refer to Tire and Wheel Removal
and Install ...
Throttle Body Heater Inlet Pipe Replacement (LUW)
Throttle Body Heater Inlet Pipe Replacement
Callout
Component Name
Preliminary Procedure
Drain the cooling system. Refer to Cooling System Draining and Filling.
1
Throttle Body Heater Inlet Pipe
...
Engine Block Assemble
Install the 4 piston oil nozzles (1).
Caution: Refer to Fastener Caution.
Install the 4 piston oil nozzle bolts (2) and tighten to 25 Y (18 lb ft).
Install the knock sensor (2).
Install the knock se ...

0.0054