Chevrolet Sonic Repair Manual: Rear Seat Back Cushion Panel Replacement
|
Callout |
Component Name |
|---|---|
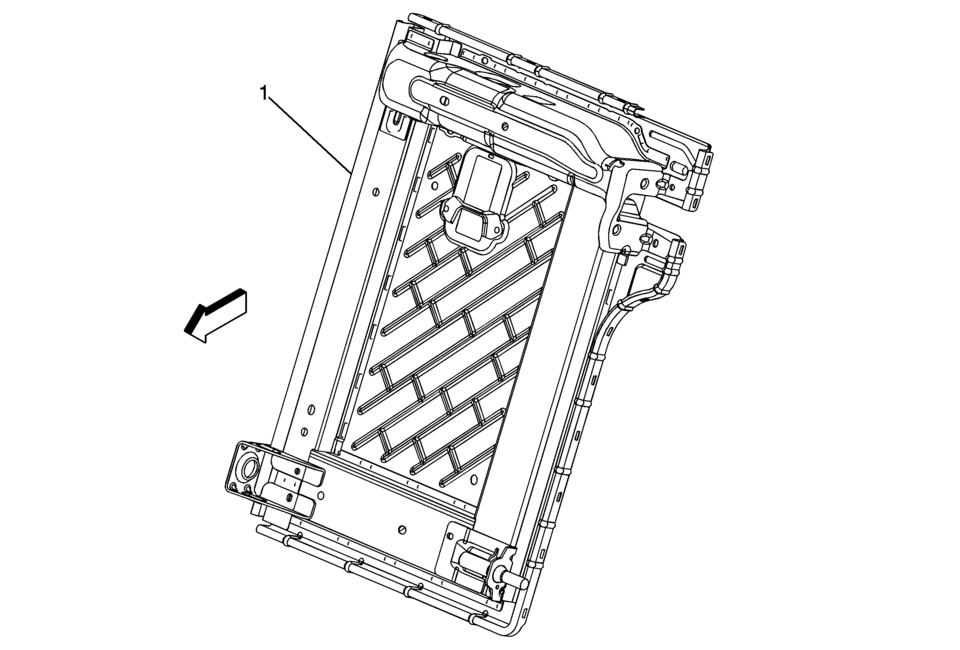
Preliminary Procedure
|
|
|
1 |
Rear Seat Back Cushion Panel Procedure
|
 Rear Seat Back Cushion Latch Release Knob Bezel Replacement
Rear Seat Back Cushion Latch Release Knob Bezel Replacement
Callout
Component Name
1
Rear Seat Back Cushion Latch Releas ...
 Rear Seat Back Cushion Pivot Support Replacement
Rear Seat Back Cushion Pivot Support Replacement
Callout
Component Name
Preliminary Procedure
Remove the rear seat back cushion ...
Other materials:
Radio and Telephone Control Switch Replacement
Radio and Telephone Control Switch Replacement
Callout
Component Name
Preliminary Procedure
Remove the sterring wheel inflatable restraint module. Refer to
Airbag Steering Wheel Module Replacement.
1
...
Instrument Panel Upper Trim Panel Replacement - Right Side
Instrument Panel Upper Trim Panel Replacement - Right Side
Callout
Component Name
Preliminary Procedure
Disable the SIR system. Refer to SIR Disabling and Enabling.
Remove the instrument panel center molding. Refer to Inst ...
3-5-Reverse and 4-5-6 Clutch Fluid Seal Ring Replacement (Gen 2)
3-5-Reverse and 4-5-6 Clutch Fluid Seal Ring Replacement
Callout
Component Name
Special Tools
DT-46620 Seal Installer
For equivalent regional tools, refer to Special
Tools.
1
3? Reverse and ...

0.0093