
Chevrolet Sonic Repair Manual: Rear Side Door Adjustment (4 Door Notch Back 69)
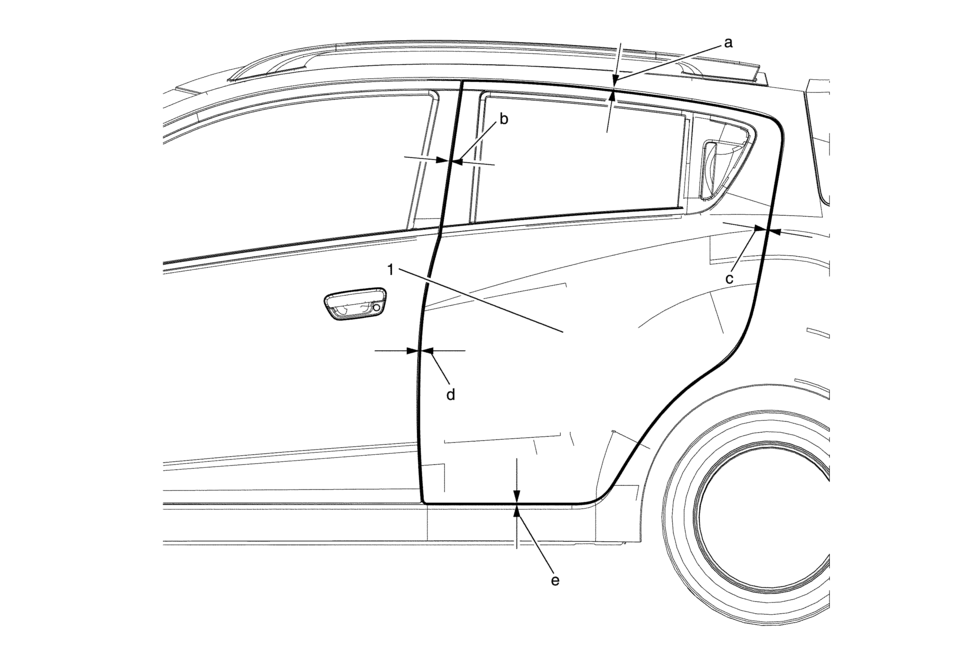
|
Callout |
Component Name |
|---|---|
|
1 |
Rear Side Door Caution: Refer to Fastener Caution.
25?€‰Y (19?€‰lb?€‰ft) |
 Rear Door Lock Cylinder Replacement
Rear Door Lock Cylinder Replacement
Callout
Component Name
1
Rear Side Door Lock Cylinder Opening Cover Screw Access Plu ...
 Rear Side Door Check Link Replacement
Rear Side Door Check Link Replacement
Callout
Component Name
Preliminary Procedures
Move the window to the full up position.
Re ...
Other materials:
Mirror Adjustment
Exterior Mirrors
Manual Outside Mirrors
Move the control up, down, or side to side to adjust the mirror.
See Manual Mirrors.
Power Outside Mirrors
For vehicles with power outside mirrors:
Select the mirror by moving the selector switch to L for the driver
s ...
Flushing
Special Tools
BO 42220 Universal 12V Leak Detection Lamp
GE 41447 R-134A A/C Tracer Dye Box of 24
GE 45268 A/C Flush Adapter Kit
For equivalent regional tools, refer to Special Tools.
Note: Flushing with the ACR 2000 is not intended to remove metal from
the A/C ...
Water Pump Pulley Replacement (LUV)
Removal Procedure
Remove the air cleaner assembly. Refer to Air Cleaner Assembly Replacement.
Remove the engine mount bracket. Refer to Engine Mount Bracket Replacement
- Right Side.
Remove the drive belt. Refer to Drive Belt Replacement.
Loosen the 3̴ ...

0.0063