
Chevrolet Sonic Repair Manual: Rear Window Reveal Molding Replacement
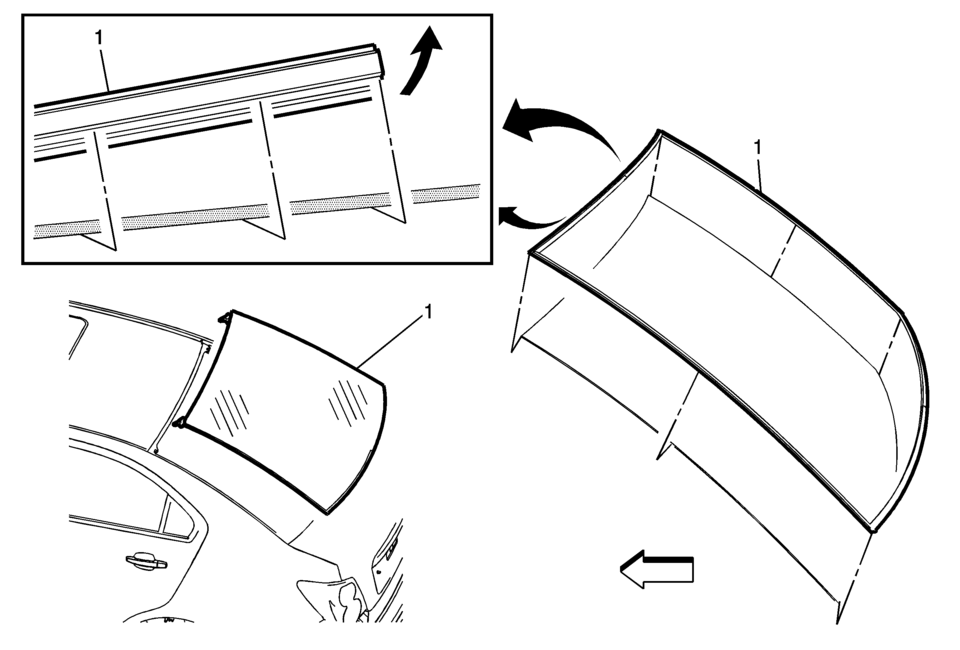
|
Callout |
Component Name |
|---|---|
|
Preliminary Procedures
Remove the rear window to replace the reveal molding. Refer to Rear Window Replacement. |
|
|
1 |
Rear Window Reveal Molding Warning: Refer to Glass and Sheet Metal Handling Warning.
|
 Rear Window Replacement
Special Tools
BO-24402-A Glass Sealant Remover (Cold Knife)
BO-39032 Stationary Glass Removal Tool
Use an adhesive that is approved by GM
For equivalent regional tools, refer to Special Too ...
 Rear Window Washer Nozzle Replacement
Rear Window Washer Nozzle Replacement
Callout
Component Name
Preliminary Procedure
Remove the inside high mount stop lamp. Refe ...
Other materials:
Shifting out of Park (Automatic Transmission)
This vehicle is equipped with a shift lock control. The shift lock control is
designed to:
Prevent ignition key removal unless the shift lever is in P (Park) with
the shift lever button fully released.
Prevent movement of the shift lever out of P (Park) unless the ignition
is in ON/RUN ...
Clutch and Differential Housing Assemble
Special Tools
R-0007761 Universal Handle for Pullers and Installers
R-0407009 Countershaft Front Bearing Driver
R-0407010 Input Shaft Needle Bearing Puller and Driver
R-0407014 Gearshift Device Bushing Driver ?E#8201;Use with R-0007761
S-9707500 Axle Shaft Seal Installer
Fo ...
Charge Air Cooler Outlet Air Hose Replacement
Removal Procedure
Remove the front bumper fascia. Refer to Front Bumper Fascia Replacement.
Loosen the clamp (1) at the charge air cooler outlet pipe (2) to throttle
body (3).
Disconnect the intake air pressure and temperature sensor harness connect ...

0.0059