Chevrolet Sonic Repair Manual: Adhesive Installation of Liftgate Windows
- Use a urethane adhesive systems which meet GM Specification GM?‚ā¨‚Äį3651G.
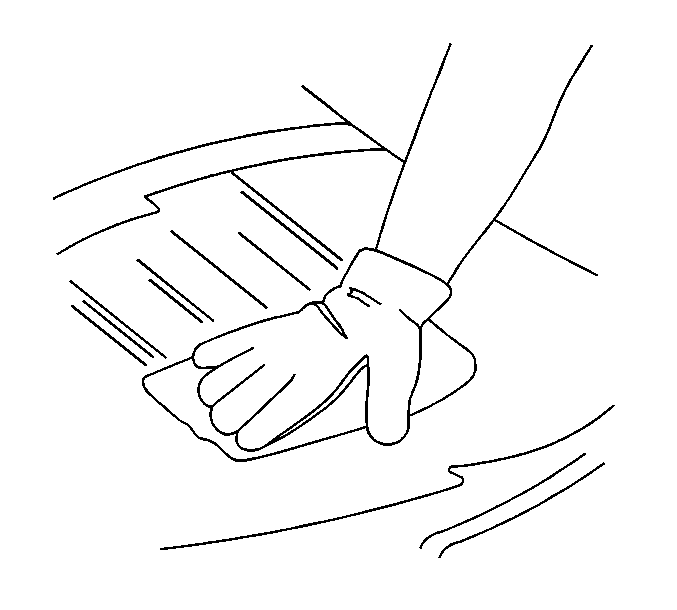
- Remove all mounds or loose pieces of urethane adhesive from the pinchweld area.
- If the original window is being reused, remove all but approximately 2?‚ā¨‚Äįmm?‚ā¨‚Äį(3/64?‚ā¨‚Äįin) of the existing bead of urethane adhesive from the pinchweld flange by using a clean utility knife or razor blade scraper.
- Inspect for any of the following problems in order to help prevent future breakage of the window:
Warning:
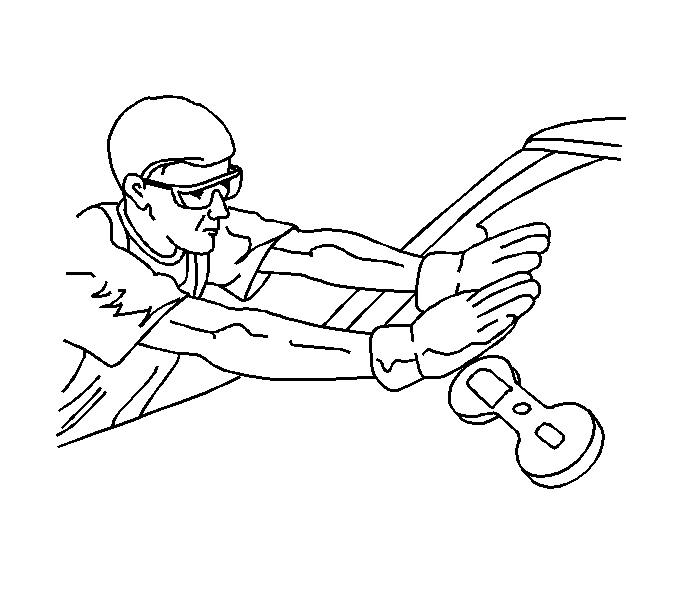
Refer to Glass and Sheet Metal Handling Warning.
- The flange of the window opening
- High weld
- Solder spots
- Hardened sealer
- Any other obstruction or irregularity in the pinchweld flange
Note:
If corrosion of the pinch-weld flange is present or if sheet metal repairs or replacements are required, the pinch-weld flange must be refinished in order to restore the bonding area strength. If paint repairs are required, mask the flange bonding area prior to applying the color coat in order to provide a clean primer only surface. Materials such as BASF?‚ā¨‚ÄįDE15?¬ģ, DuPont ?‚ā¨‚Äį2610?¬ģ, Sherwin-Williams PSE?‚ā¨‚Äį4600 and NP70?¬ģ and Martin-Semour 5120 and 5130?¬ģ PPG?‚ā¨‚ÄįDP90LF SPIES/ HECKER?‚ā¨‚Äį3688/8590 ?‚ā¨‚Äú 3688/5150 ?‚ā¨‚Äú 4070/5090 STANDOX?‚ā¨‚Äį11158/13320 ?‚ā¨‚Äú 14653/14980 products are approved for this application.
- Remove all traces of broken glass from the outer cowl panel, seats, floor and defroster ducts.
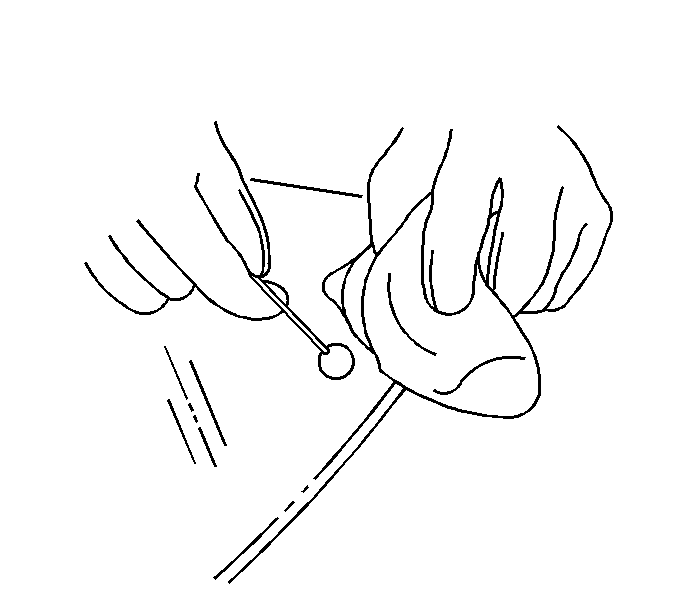
- Clean around the edge of the inside surface of the window with a 50/50 mixture of isopropyl alcohol and water by volume on a dampened lint free cloth.

Warning:
Failure to prep the area prior to the application of primer may cause insufficient bonding of urethane adhesive. Insufficient bonding of urethane adhesive may allow unrestrained occupants to be ejected from the vehicle resulting in personal injury.
Immediately wipe the glass primed area using a clean, lint-free cloth.
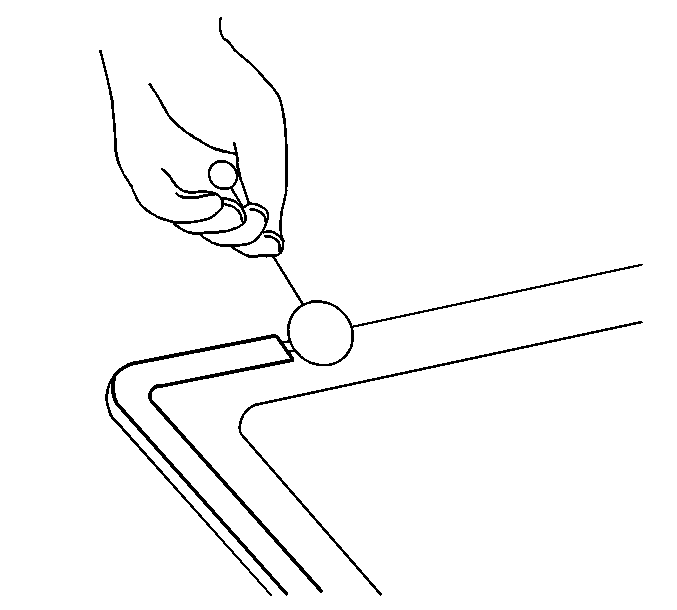
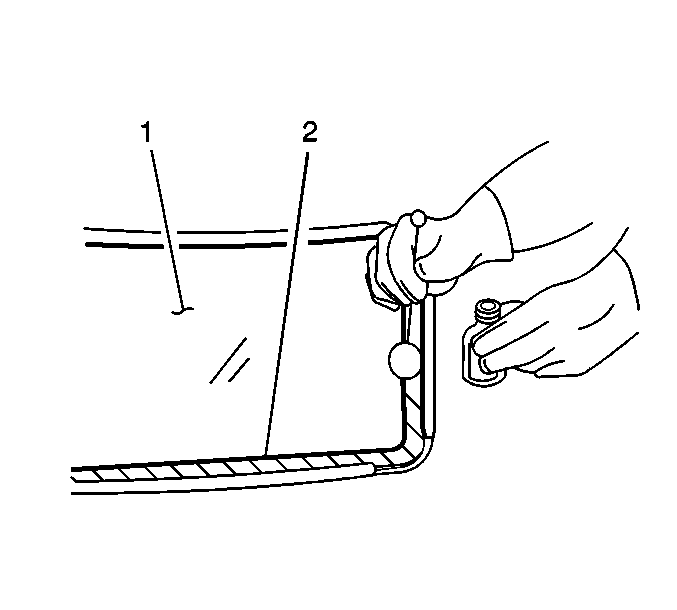
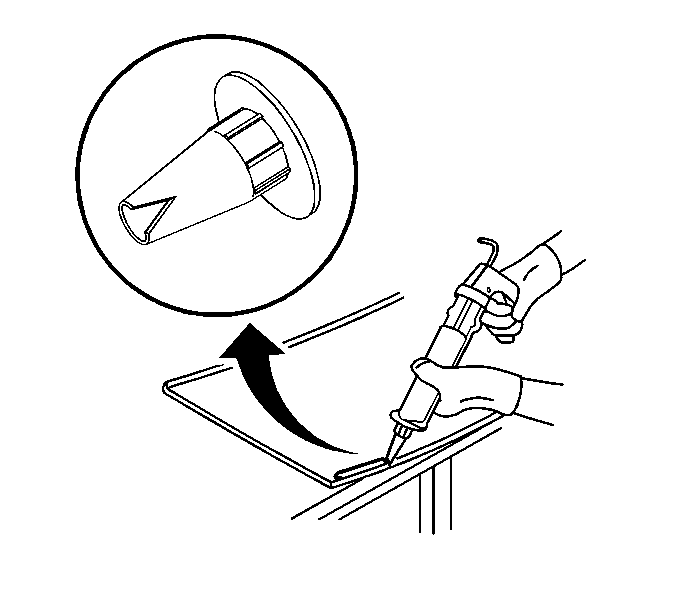
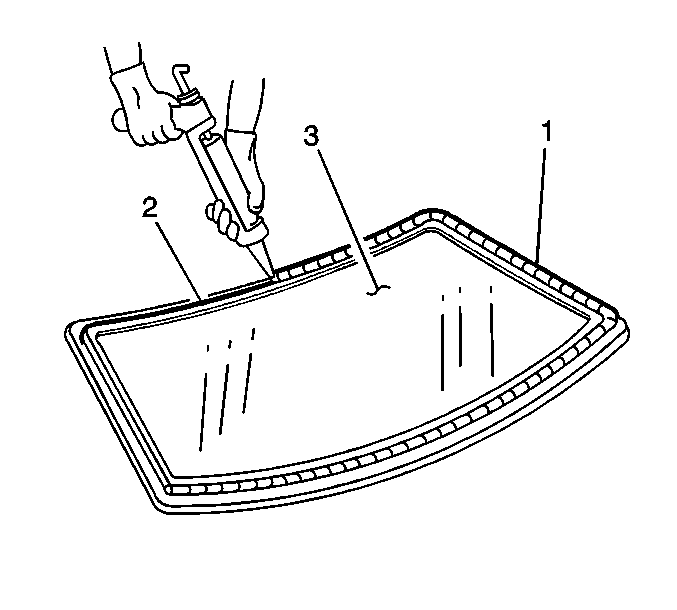
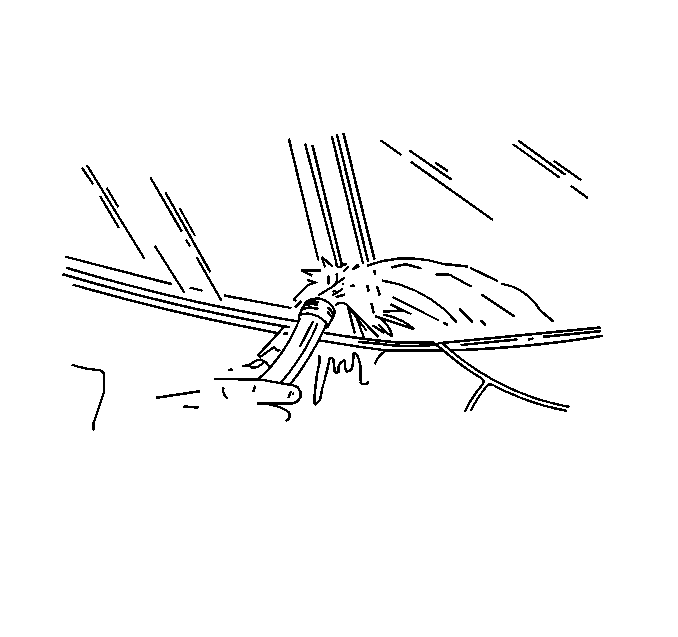
Cut the applicator nozzle to provided a V cut to apply the auto-adhesive.
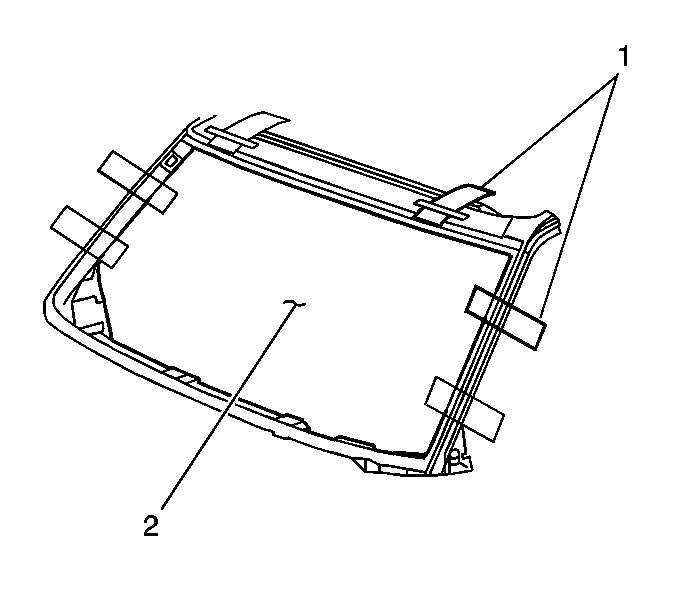
Note:
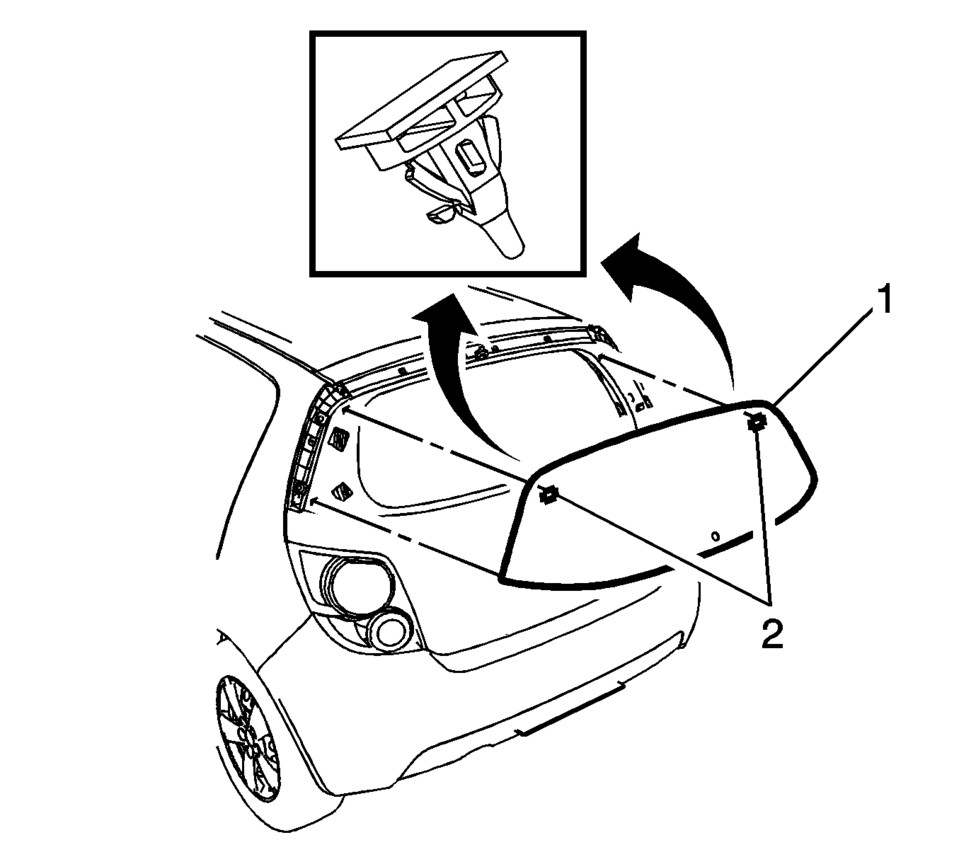
If the locating pins were cut off it will be necessary to tape the window in place until the auto-adhesive cures per auto-adhesive instructions by the manufacturer?‚ā¨‚ĄĘs.
Note:
Do not direct a hard stream of high pressure water to the freshly applied urethane adhesive.
Warning:
Insufficient curing of urethane adhesive may allow unrestrained occupants to be ejected from the vehicle resulting in personal injury.
- For the moisture-curing type of urethane adhesive, allow a minimum of 6?‚ā¨‚Äįhours at 21?¬įC (70?¬įF) or greater and with at least 30 percent relative humidity. Allow at least 24?‚ā¨‚Äįhours for the complete curing of the urethane adhesive.
- For the chemical-curing type of urethane adhesive, allow a minimum of 1?‚ā¨‚Äįhour .
Do NOT physically disturb the repair area until after these minimum times have elapsed.
- Partially lower a door window in order to prevent pressure buildups when closing doors before the urethane adhesive cures.
- Do not drive the vehicle until the urethane adhesive is cured. Refer to the above curing times.
- Do not use compressed air in order to dry the urethane adhesive.
 General
...
 Adhesive Installation of Rear Windows
Warning: Refer to Glass and Sheet Metal Handling Warning.
Use a urethane adhesive systems which meet GM Specification GM?‚ā¨‚Äį3651G.
Remove all mounds or loose pieces of urethane ad ...
Other materials:
Why Safety Belts Work
When riding in a vehicle, you travel as fast as the vehicle does. If the vehicle
stops suddenly, you keep going until something stops you. It could be the windshield,
the instrument panel, or the safety belts!
When you wear a safety belt, you and the vehicle slow down together. There is
mor ...
Heater Outlet Hose Replacement (LUV)
Heater Outlet Hose Replacement
Callout
Component Name
Preliminary Procedures
Drain the engine coolant. Refer to Cooling System Draining and Filling.
Remove the air cleaner assembly. Refer to Air Cleaner Assembly Replacemen ...
Instrument panel
Example
The instrument panel of the Nissan Armada combines traditional controls with
advanced digital interfaces, delivering a seamless driving experience. The layout
ensures that all critical vehicle information and multimedia functions are easily
accessible to the driver.
Side venti ...

0.0055