Chevrolet Sonic Repair Manual: Air Cleaner Inlet Duct Replacement
- Removal Procedure
-
- Remove the right front wheelhouse liner. Refer to Front Wheelhouse Liner Replacement.
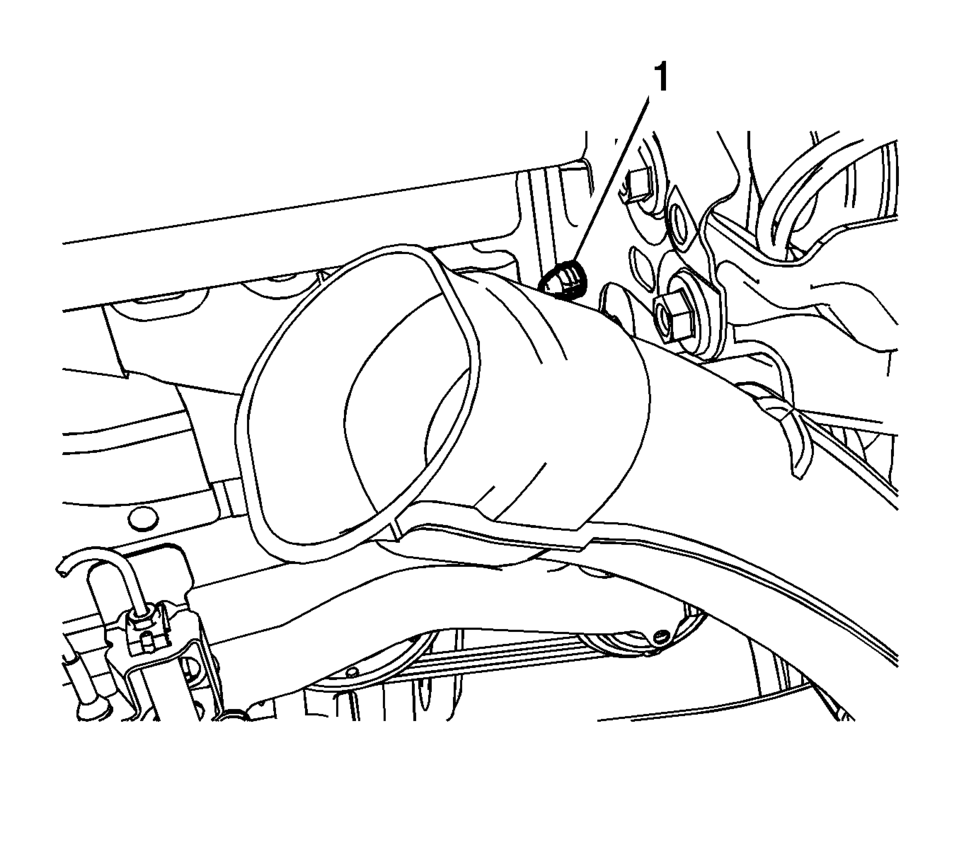
- Remove the upper intake air duct plastic fastener (1).
- Pull the lower portion of the intake air duct outward to release the duct from the rubber mounting grommet (1).
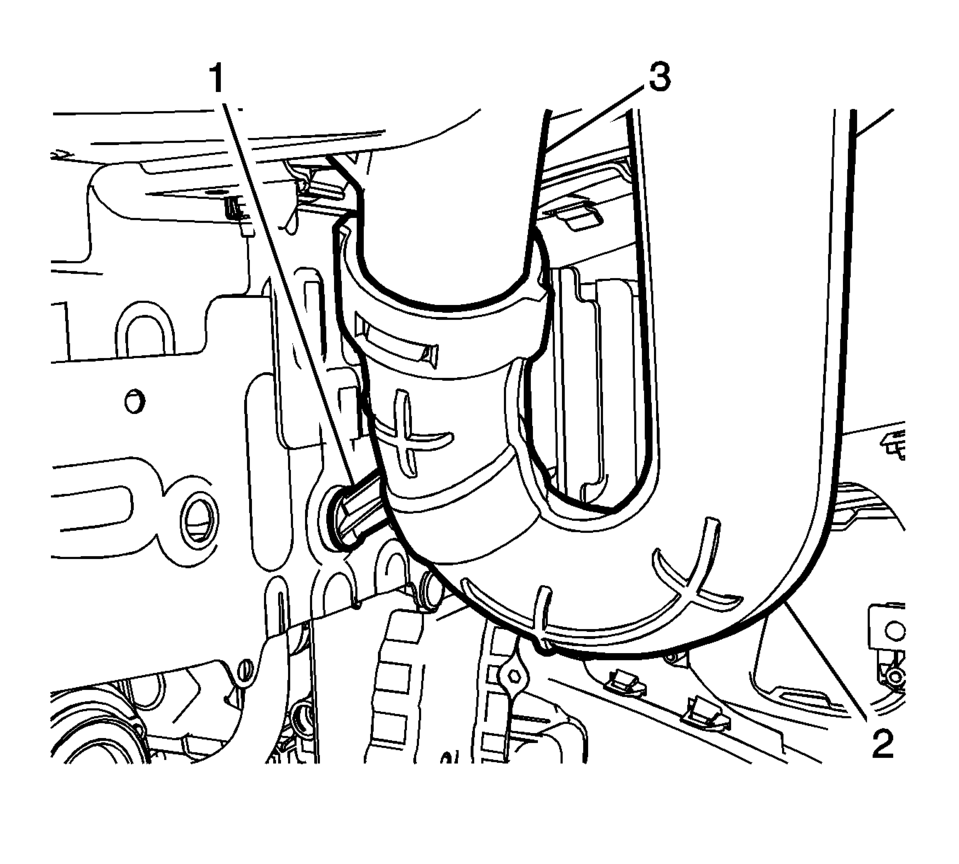
- Pull downward to separate the lower portion of the intake air duct (2) from the upper duct (3).
- Installation Procedure
-
- Attach the lower portion of the intake air duct (2) to the upper duct (3).
- Attach the lower portion of the intake air duct to the rubber mounting grommet (1).
- Install the upper intake air duct plastic fastener (1) to the body bracket.
- Install the right front wheelhouse liner. Refer to Front Wheelhouse Liner Replacement.
 Air Cleaner Element Replacement
Removal Procedure
Disconnect mass air flow sensor wiring harness plug (2) from mass air
flow sensor (3).
Unclip mass air flow sensor wiring harness retainer cl ...
 Air Cleaner Outlet Duct Replacement
Air Cleaner Outlet Duct Replacement
Callout
Component Name
1
Air Cleaner Outlet Duct Clamp
2
...
Other materials:
Daytime Running Lamps (DRL)
DRL can make it easier for others to see the front of your vehicle during the
day. Fully functional DRL are required on all vehicles first sold in Canada.
This indicator light turns on in the instrument cluster when the DRL are on.
A light sensor on top of the instrument panel makes the DRL wo ...
Rear Side Door Window Replacement (Sedan)
Rear Side Door Window Replacement
Callout
Component Name
Warning: Refer to Glass and Sheet Metal Handling Warning.
Preliminary Procedures
Remove the rear side door trim panel. Refer to Rear Side Door Trim
...
Front Wheel Drive Intermediate Shaft Replacement
Front Wheel Drive Intermediate Shaft Replacement
Callout
Component Name
Preliminary Procedure
Raise and support the vehicle. Refer to Lifting and Jacking the
Vehicle.
Remove the wheel drive shaft assembly from the vehicle ...

0.0127