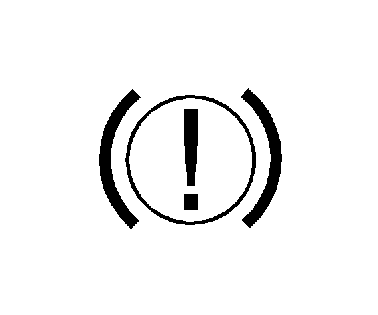
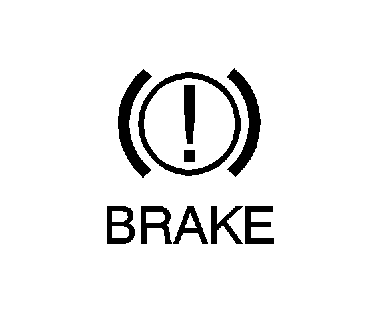
Chevrolet Sonic Repair Manual: Brake System Warning Light
The vehicle brake system consists of two hydraulic circuits. If one circuit is not working, the remaining circuit can still work to stop the vehicle. For normal braking performance, both circuits need to be working
If the warning light comes on, there is a brake problem. Have the brake system inspected right away.
Warning:
The brake system might not be working properly if the brake system warning light is on. Driving with the brake system warning light on can lead to a crash. If the light is still on after the vehicle has been pulled off the road and carefully stopped, have the vehicle towed for service.
- Metric
- English
(cd) brake
This light should come on briefly when the ignition is turned to ON. If it does not come on then, have it fixed so it will be ready to warn if there is a problem.
When the ignition is on, the brake system warning light will also come on when the parking brake is set. The light will stay on if the parking brake does not fully release. If it stays on after the parking brake is fully released, it means there is a brake problem.
If the light comes on while driving, carefully pull off the road and stop. The pedal may be harder to push or may go closer to the floor. It may take longer to stop. If the light is still on, have the vehicle towed for service. See Towing the Vehicle.
 Brake System External Leak Inspection
Warning: Refer to Brake Fluid Irritant Warning.
Caution: Refer to Brake Fluid Effects on Paint and Electrical Components
Caution.
In order to inspect for external brake fluid leaks ...
 Brake Warning System Description and Operation
Brake Warning Indicator
Brake Warning Block Diagram
B80Park
Brake
SwitchB20Brake
Fluid Level
SwitchK9Body
Control
ModuleP16Inst ...
Other materials:
Front Wheelhouse Liner Replacement (Rear)
!l
Front Wheelhouse Liner Replacement
Callout
Component Name
Preliminary Procedure
Remove the tire and wheel assembly. Refer to Tire and Wheel Removal and
Installation.
1
Front Wheelhouse Rear Li ...
Turbocharger System Description
12
(1)
Turbocharger Bypass Solenoid Valve
(2)
Multifunction Intake Air Sensor
(3)
Turbocharger Wastegate Regulator Solenoid Valve
(4)
Turbocharger
(5)
Turbocharger Bypass Valve
(6)
Turbocharger Was ...
Drive Range, First Gear Engine Braking (Gen 1)
When the gear selector lever is moved to the Drive (D) range from the Neutral
(N) position, the transmission will provide engine braking. In this operating range,
the normally-low 1234 pressure control solenoid 5 is commanded ON and, in the engine
braking mode, the following changes occur with ...

0.0088