Chevrolet Sonic Repair Manual: Liftgate Emblem/Nameplate Replacement (Hatchback)
|
Callout |
Component Name |
|---|---|
|
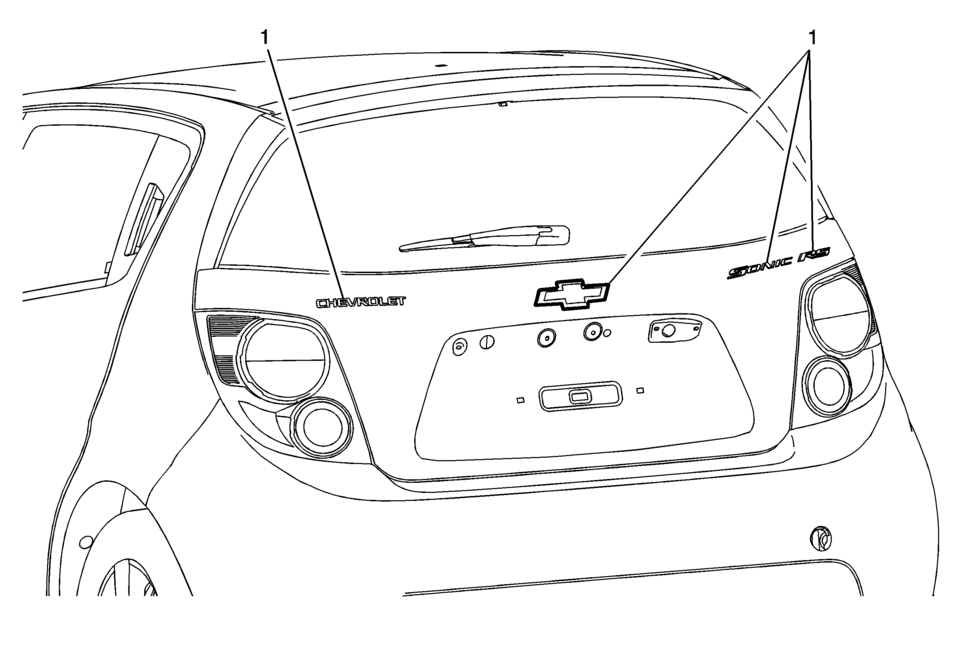
1 |
Liftgate Emblem/Nameplate Assembly Caution: Refer to Exterior Trim Emblem Removal Caution.
|
 Liftgate Assist Rod Caution
Caution: Apply pressure only at the end of the liftgate/hood assist
rod that you are removing or attaching. Do NOT apply pressure to the middle
of the rod because damage or bending will resul ...
 Liftgate Replacement
Liftgate Replacement
Callout
Component Name
Preliminary Procedures
Disconnect the electrical connectors.
Disconnect the liftgat ...
Other materials:
Steering Wheel Controls
Some audio steering wheel controls could differ depending on the vehicle's options.
Some audio controls can be adjusted at the steering wheel.
/
(Push to Talk): For vehicles with Bluetooth
or OnStar, press to interact with those systems. See Bluetooth (Voice Recognition) or Bluet ...
Heater Outlet Hose Replacement (LDE, LUW)
Special Tools
BO-38185 Hose Clamp Pliers
For equivalent regional tools, refer to Special Tools.
Removal Procedure
Drain the cooling system. Refer to Cooling System Draining and Filling.
Disengage the heater outlet hose quick connect clip (1) at the heater ...
Fuel Injector Replacement
Fuel Injector Replacement
Callout
Component Name
Preliminary Procedure
Disconnect battery negative cable. Refer to Battery Negative Cable
Disconnection and Connection.
Remove the fuel injection fuel rail assembly. Refer t ...

0.0055