Chevrolet Sonic Repair Manual: Liftgate Emblem/Nameplate Replacement (Hatchback)
|
Callout |
Component Name |
|---|---|
|
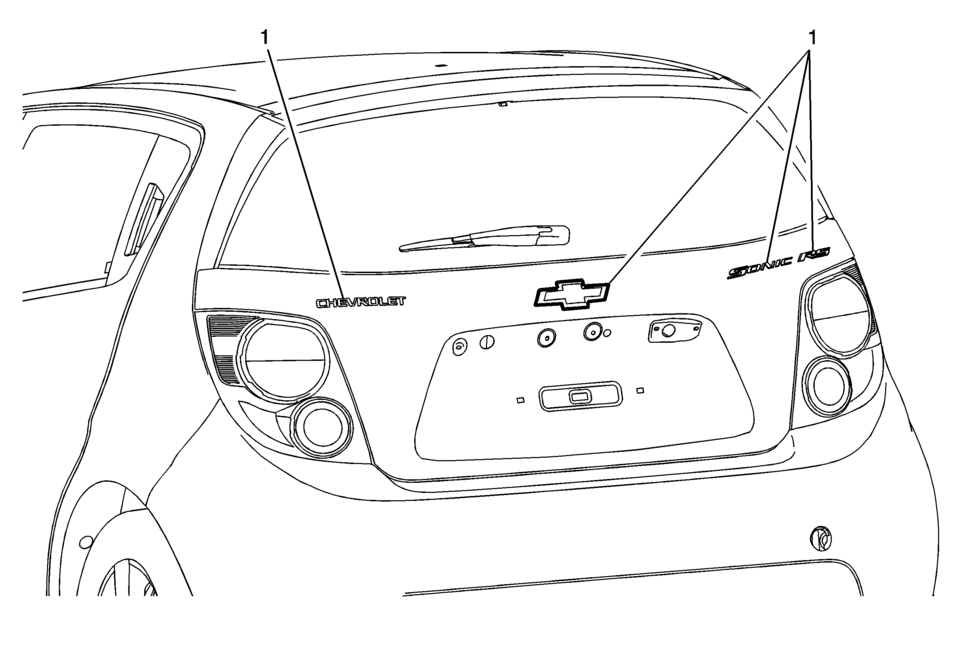
1 |
Liftgate Emblem/Nameplate Assembly Caution: Refer to Exterior Trim Emblem Removal Caution.
|
 Emblem/Nameplate Replacement
Caution: Refer to Exterior Trim Emblem Removal Caution.
The part and vehicle surface should be 21?┬░C (70?┬░F) prior to installation.
The vehicle should remain inside in a temperature ...
 Radiator Grille Emblem/Nameplate Replacement
Radiator Grille Emblem/Nameplate Replacement
Callout
Component Name
Preliminary Procedure
Remove the front bumper fascia. Refer to ...
Other materials:
Using the Tire Sealant and Compressor Kit to Temporarily Seal and Inflate a
Punctured Tire
When using the tire sealant and compressor kit during cold temperatures, warm
the kit in a heated environment for five minutes. This will help to inflate the
tire faster.
If a tire goes flat, avoid further tire and wheel damage by driving slowly to
a level place. Turn on the hazard warning fl ...
Air Conditioning Compressor and Condenser Hose Replacement (LDE/LWE)
Removal Procedure
Recover the refrigerant. Refer to Refrigerant Recovery and Recharging.
Disconnect the A/C refrigerant pressure sensor electrical connector.
Remove air conditioning compressor and condenser hose nut (1).
Remove air conditioning compressor and ...
RAB system limitations
WARNING
The following limitations apply to the Rear Automatic Braking (RAB) system
in the Nissan Armada. Failure to fully understand and follow these limitations may
result in serious injury or even fatal accidents.
When the Nissan Armada approaches an obstacle while the accelerator or
b ...

0.0053