Chevrolet Sonic Repair Manual: Plastic Collar Quick Connect Fitting Service
- Removal Procedure
-
Warning:
Refer to Gasoline/Gasoline Vapors Warning.
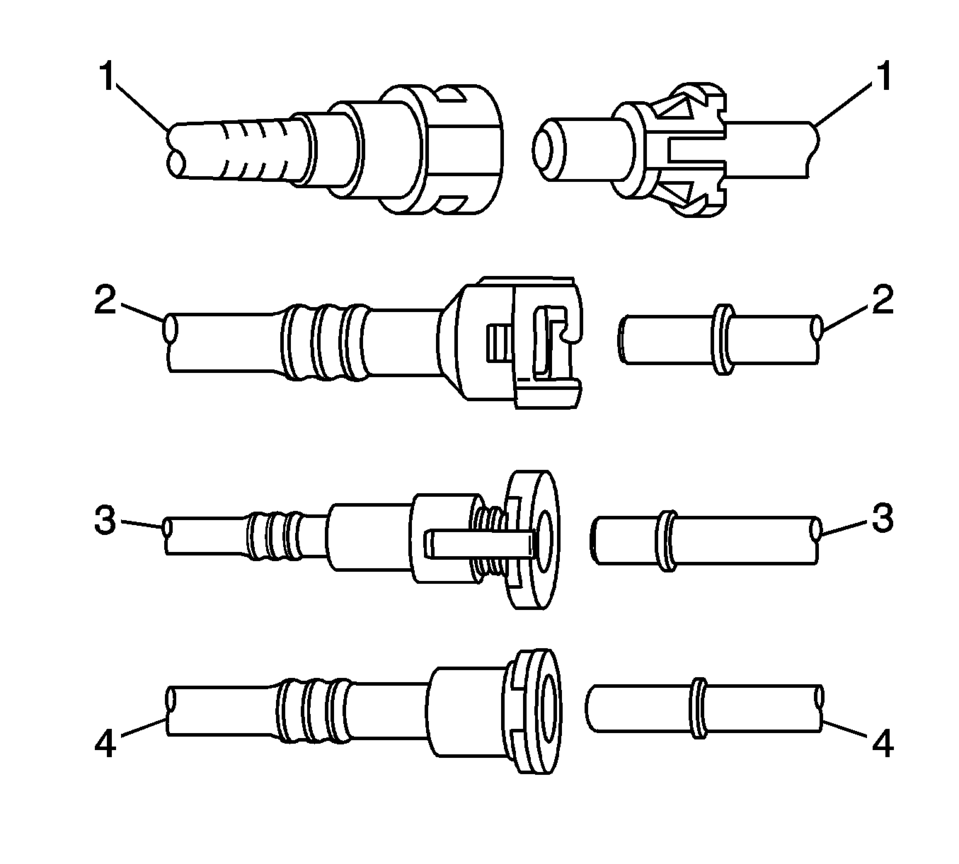
- Bartholomew (1)
- Q Release (2)
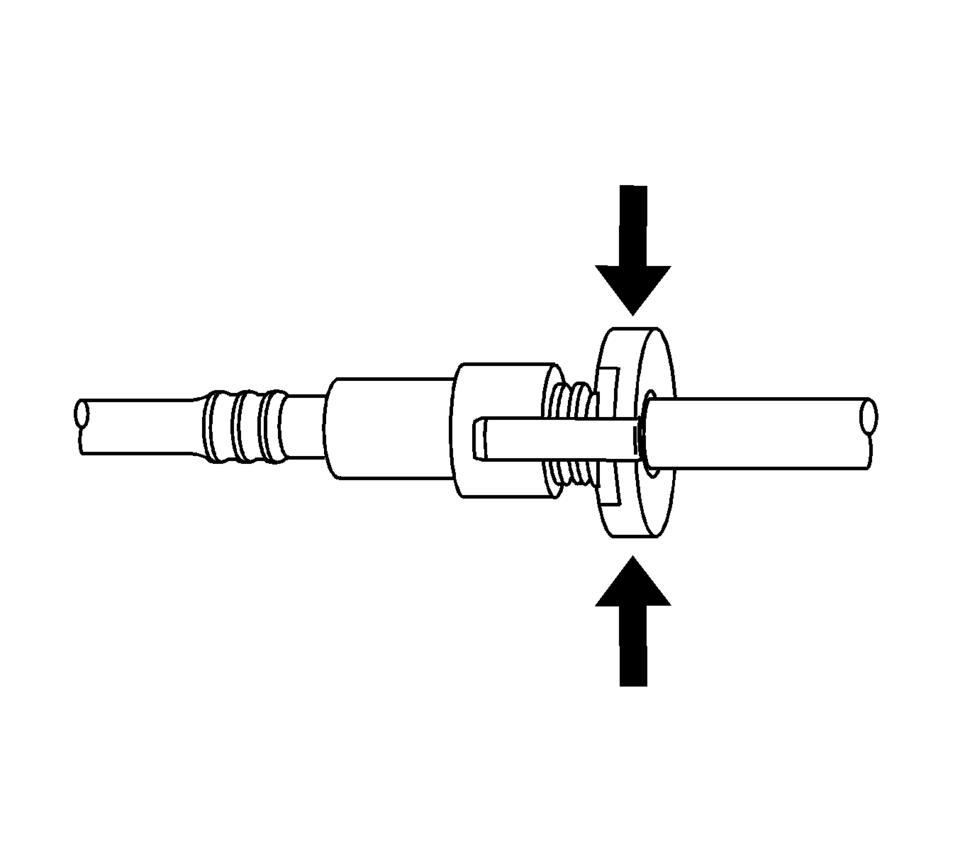
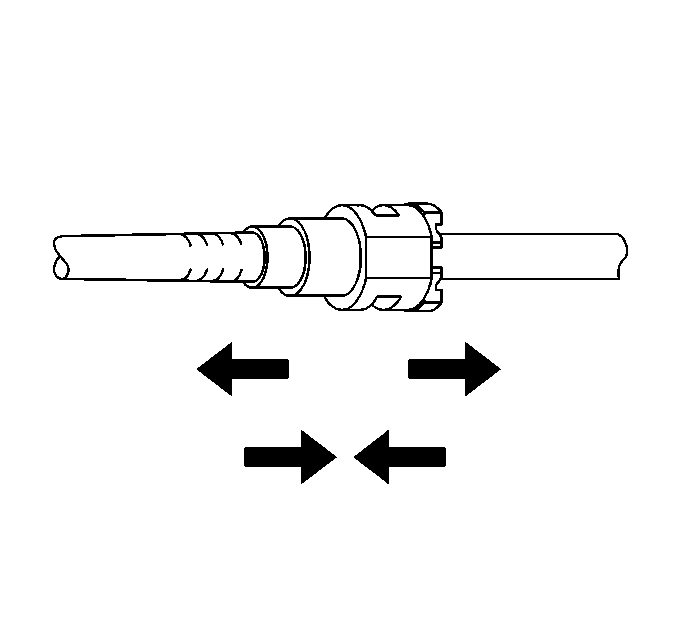
- Squeeze to Release (3)
- Sliding Retainer (4)
- Relieve the fuel system pressure. Refer to Fuel Pressure Relief.
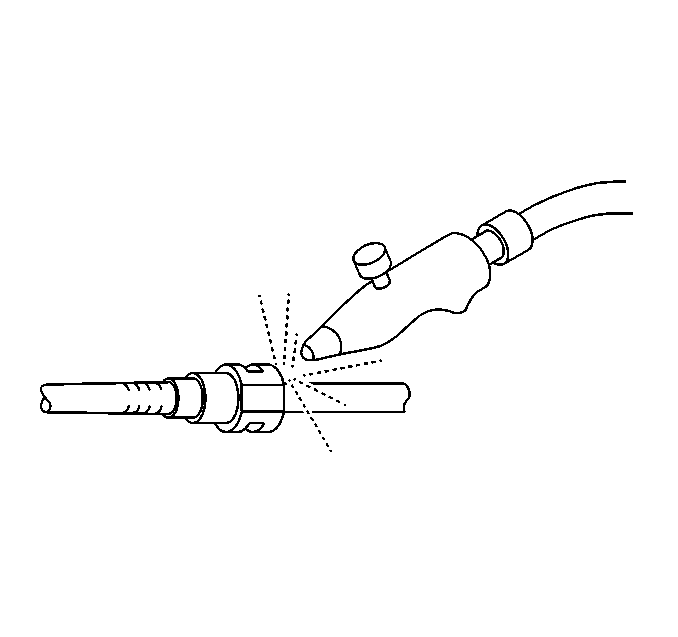
- Using compressed air, blow any dirt out of the quick-connect fitting.
- This step applies to Bartholomew style connectors ONLY. Squeeze the plastic quick connect fitting release tabs.
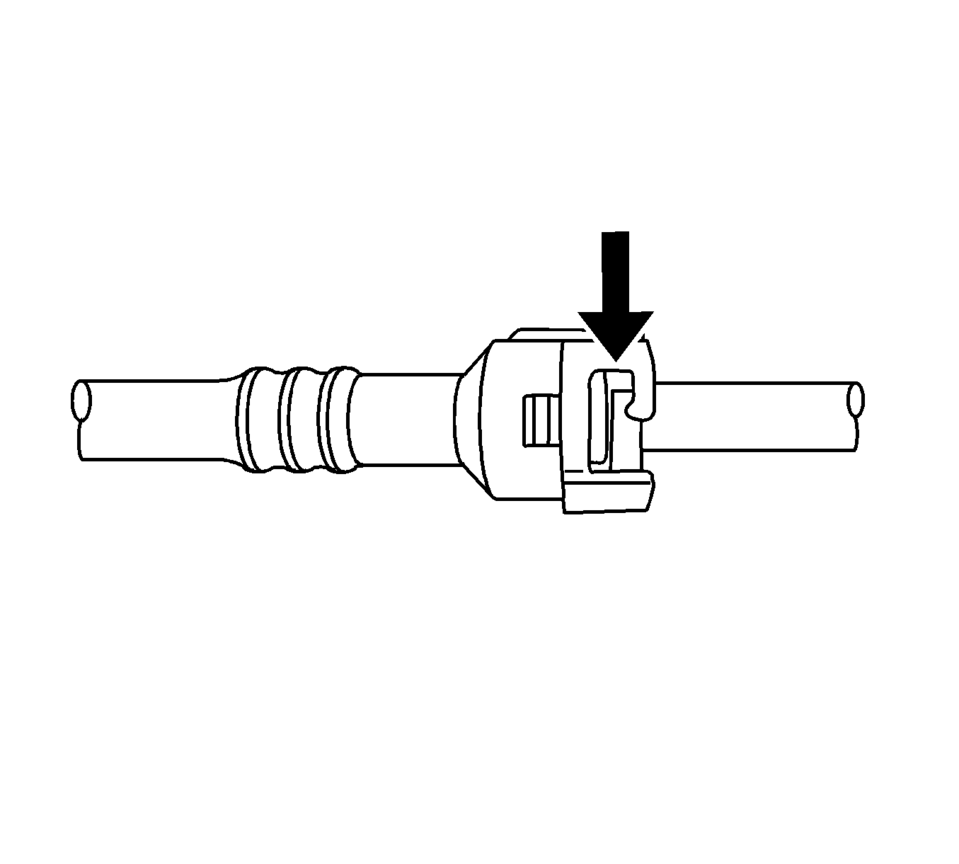
- This step applies to Q Release style connectors ONLY. Release the fitting by pushing the tab toward the other side of the slot in the fitting.
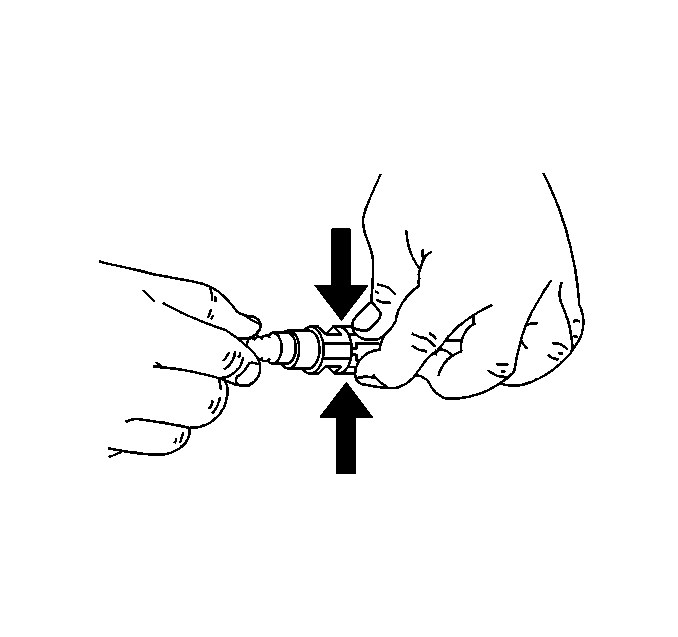
- This step applies to Squeeze to Release style connectors ONLY. Squeeze where indicated by arrows on both sides of the plastic ring surrounding the quick connect fitting.
- This step applies to Sliding Retainer style connectors ONLY. Release the fitting by pressing on one side of the release tab causing it to push in slightly. If the tab doesn't move try pressing the tab in from the opposite side. The tab will only move in one direction.
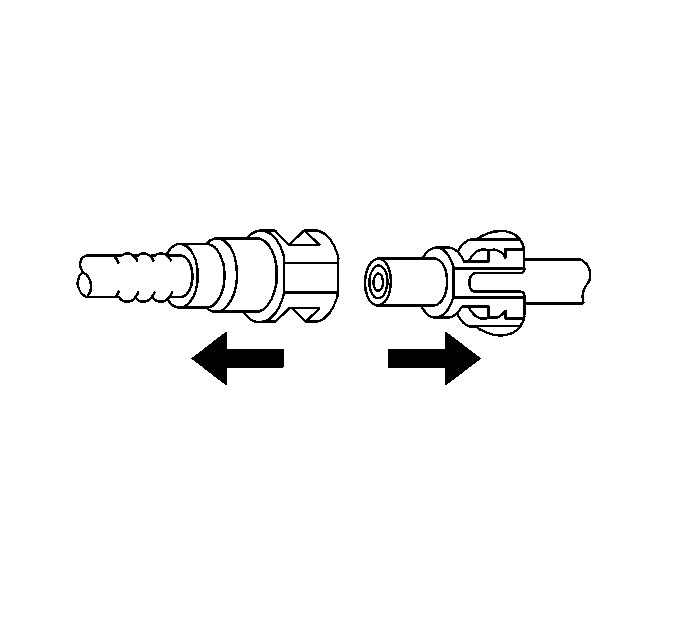
- Pull the connection apart.
Note:
There are several types of plastic collar fuel and evaporative emission quick connect fittings used on this vehicle.
Warning:
Refer to Safety Glasses Warning.

Warning:
Refer to Relieving Fuel Pressure Warning.
- Installation Procedure
-
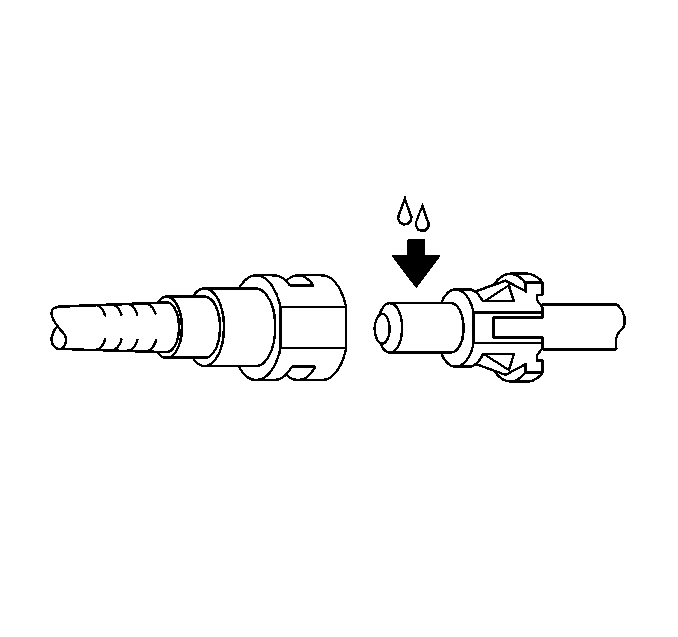
- Apply a few drops of clean engine oil to the male connection end.
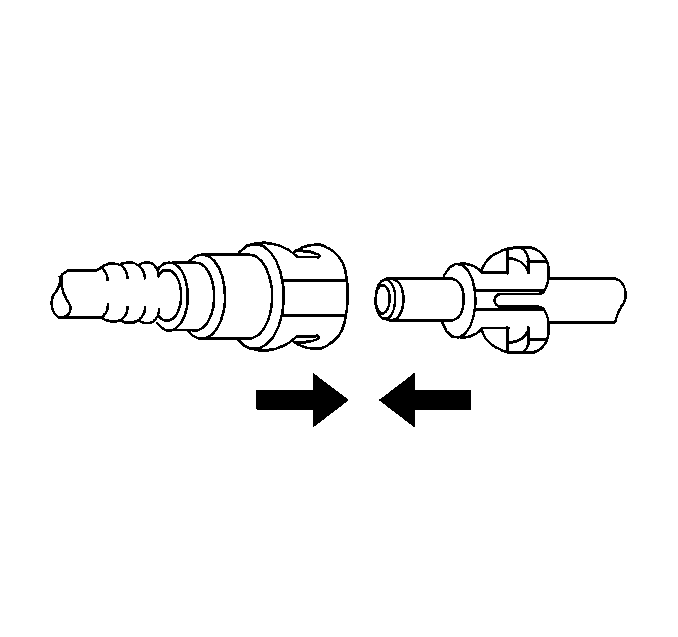
- Push both sides of the quick-connect fitting together in order to cause the retaining feature to snap into place.
- Once installed, pull on both sides of the quick-connect fitting in order to make sure the connection is secure.
 Inspection/Maintenance System Check
Diagnostic Instructions
Perform the Diagnostic System Check - Vehicle
prior to using this diagnostic procedure.
Review Diagnostic System Check - Vehicle
for an overview of t ...
 Secondary Air Injection Check Valve Replacement
Secondary Air Injection Check Valve Replacement
Callout
Component Name
1
Secondary Air Injection Outlet Pipe
Not ...
Other materials:
Wheel Replacement
Replace any wheel that is bent, cracked, or badly rusted or corroded. If wheel
nuts keep coming loose, the wheel, wheel bolts, and wheel nuts should be replaced.
If the wheel leaks air, replace it. Some aluminum wheels can be repaired. See your
dealer if any of these conditions exist.
Your de ...
Environmental Fallout (Acid Rain)
Caution: Refer to Clearcoat/Ultraviolet Screeners Caution.
Note: Always refer to the manufacturer's packaged instructions for
the detailed procedures of materials used for compounding and/or polishing.
Since the severity of the condition varies from area to area, proper diagno ...
Front End Upper Tie Bar Replacement
Front End Upper Tie Bar Replacement
Callout
Component Name
Preliminary Procedures
Disable the SIR system. Refer to SIR Disabling and Enabling.
Remove the front fascia. Refer to Front Bumper Fascia Replacement.
Rem ...

0.0075