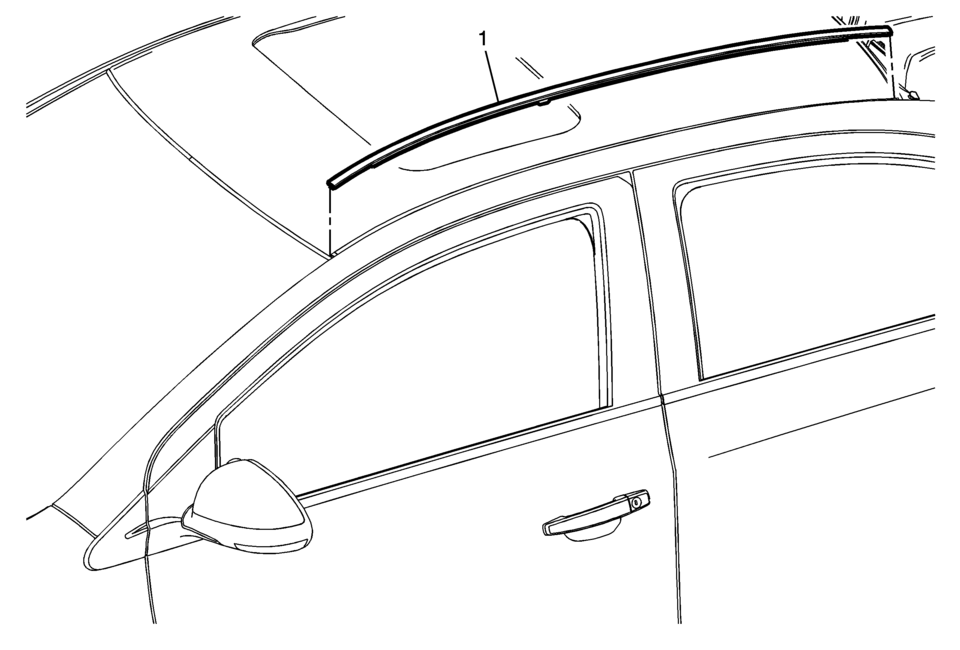
Chevrolet Sonic Repair Manual: Roof Panel Joint Finish Molding Replacement

|
Callout |
Component Name |
|---|---|
|
Caution: Refer to Exterior Trim Emblem Removal Caution.
|
|
|
1 |
Roof Panel Joint Finish Molding Procedure
|
 Rear End Panel Replacement
Removal Procedure
Warning: Refer to Approved Equipment for Collision Repair
Warning.
Warning: Refer to Glass and Sheet Metal Handling Warning.
Note ...
Other materials:
Rear Side Door Window Regulator Replacement (Hatchback)
Rear Side Door Window Regulator Replacement
Callout
Component Name
Warning: Refer to Glass and Sheet Metal Handling Warning.
Preliminary Procedure
Remove the front side door window from the guide. Do not remove ...
Inside Rearview Mirror Replacement
Inside Rearview Mirror Replacement
Callout
Component Name
1
Inside Rearview Mirror Cover
Procedure
Remove the wire harness cover, sliding the cover upward releasing
the cover from the support.
Disconnect ...
Outside Rearview Mirror Remote Control Switch Replacement
Outside Rearview Mirror Remote Control Switch Replacement
Callout
Component Name
Preliminary Procedure
Remove the front side door widow switch bezel. Refer to Front Side Door
Window Switch Bezel Replacement.
...
0.0065

