
Chevrolet Sonic Repair Manual: Transmission Disassemble (Gen 1)
Special Tools
- 3-9506289 Universal Adapter
- R-0007758 Holding Fixture
- S-9407198 Differential Bearing Race Wrench
For equivalent regional tools, refer to Special Tools.
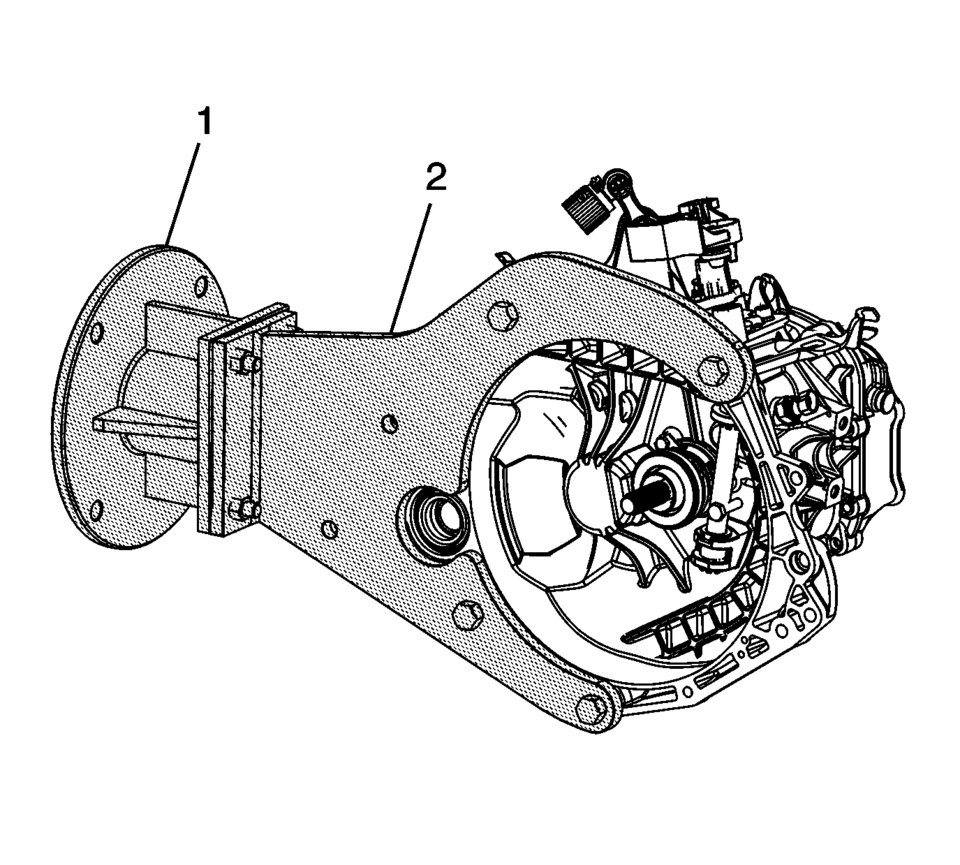
- Attach R-0007758 holding fixture (2) to the transmission.
- Attach R-0007758 holding fixture (2) with transmission to the 3-9506289 Universal Adapter (1).
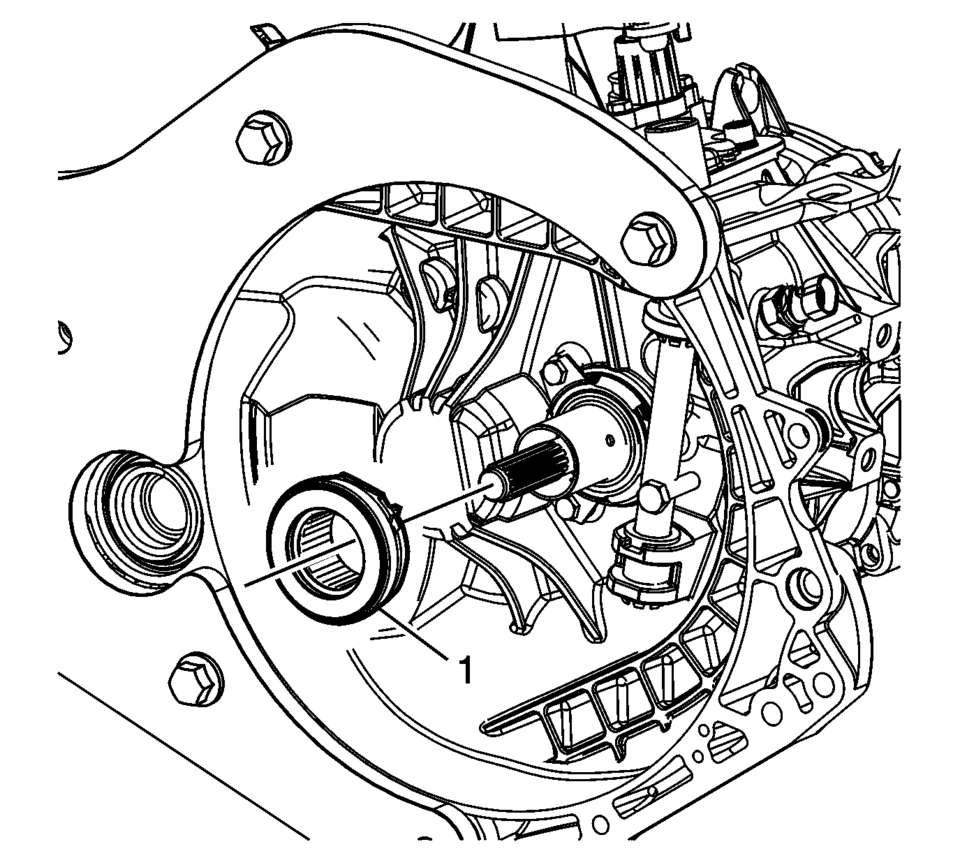
- Remove the clutch release bearing (1).
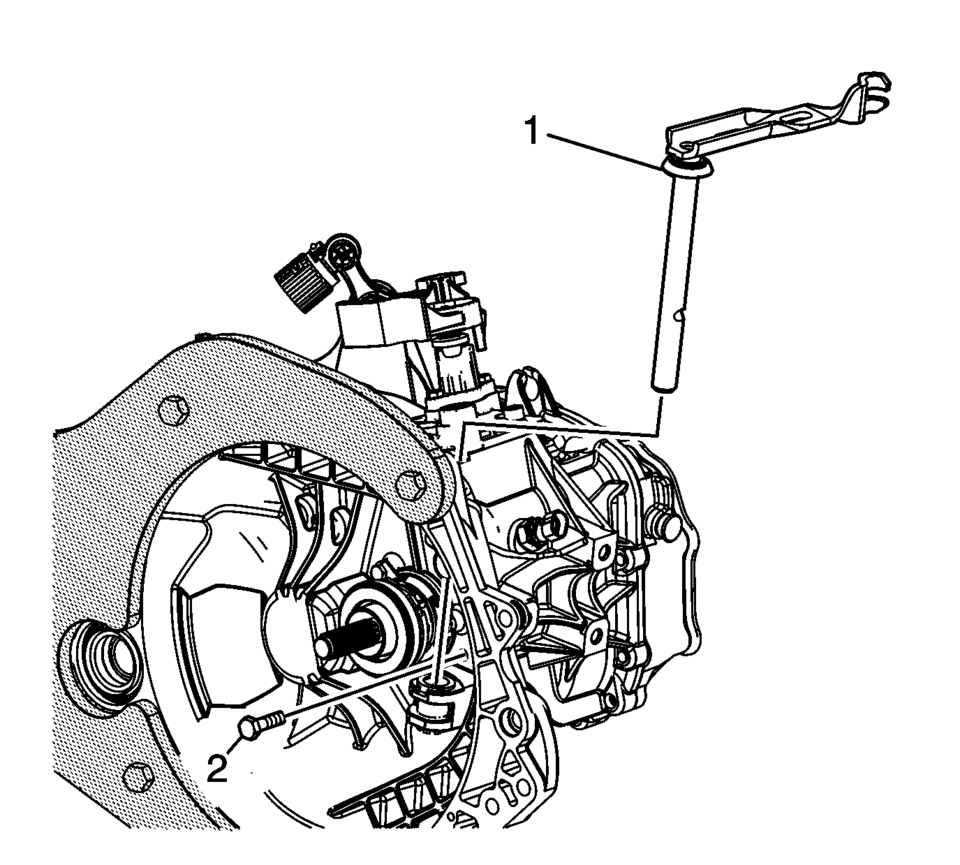
- Remove the clutch fork shaft retaining bolt (2).
- Remove the clutch fork shaft (1).
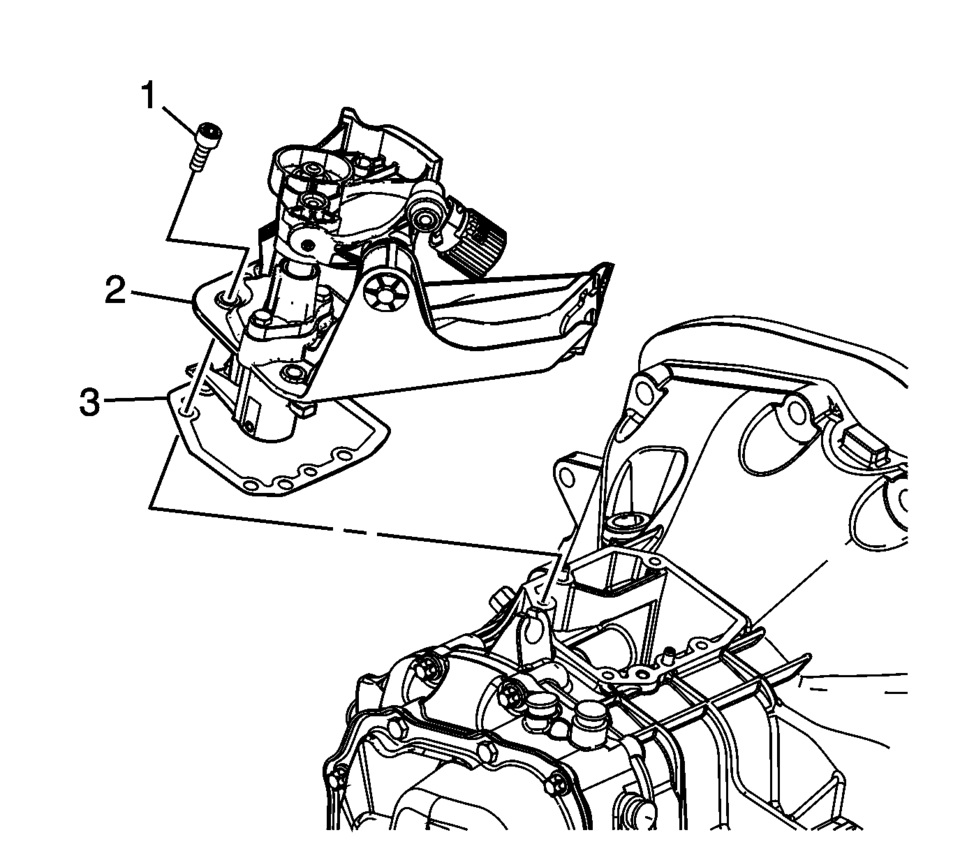
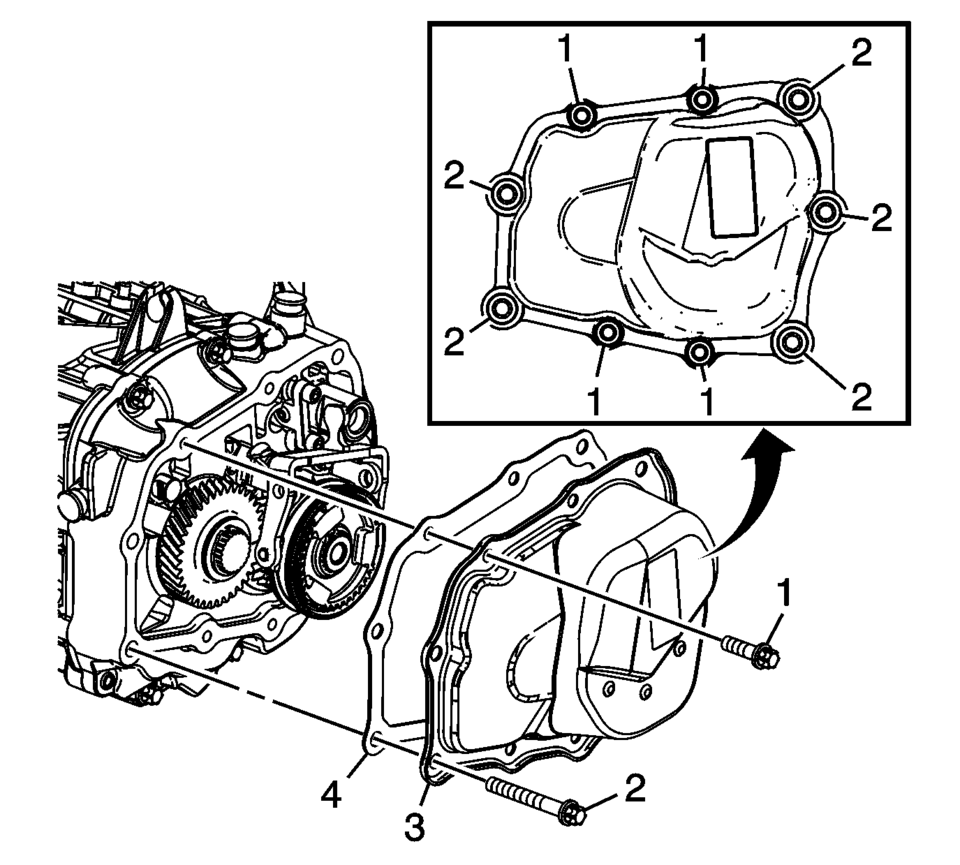
- Remove the transmission control lever housing bolts (1).
- Remove the control lever housing (2) and gasket (3).
- Remove the transmission cover bolts (3).
- Remove the transmission cover (2) and gasket (1).
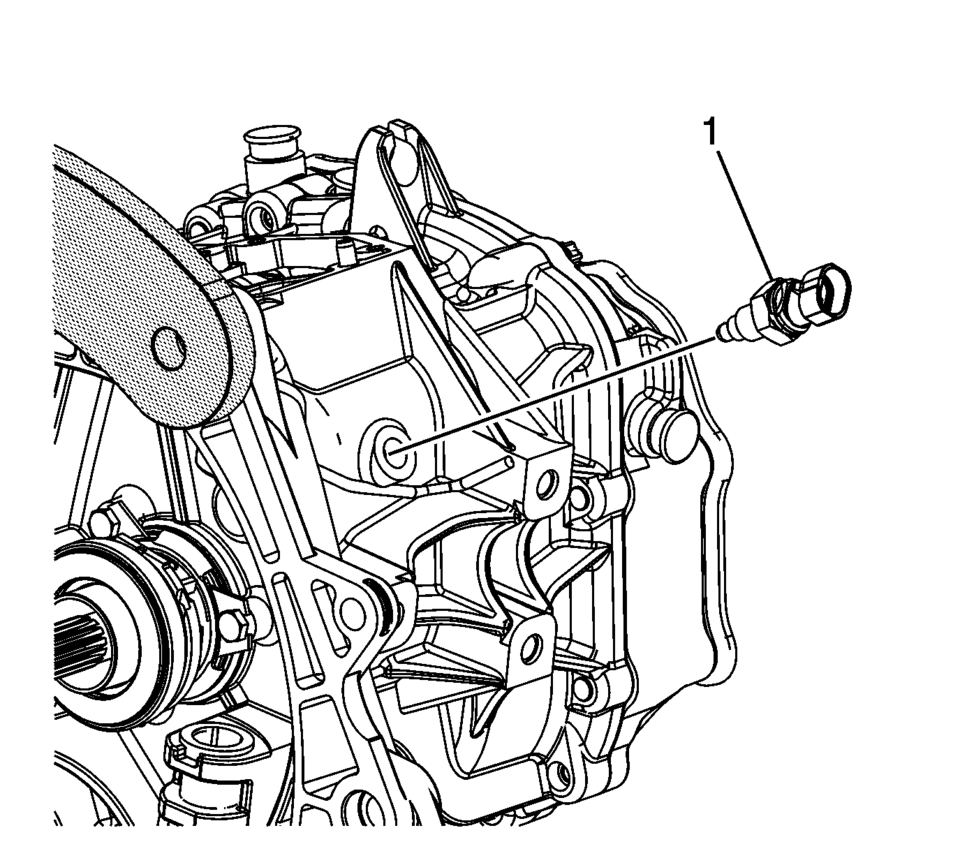
- Remove the back up lamp switch (1).
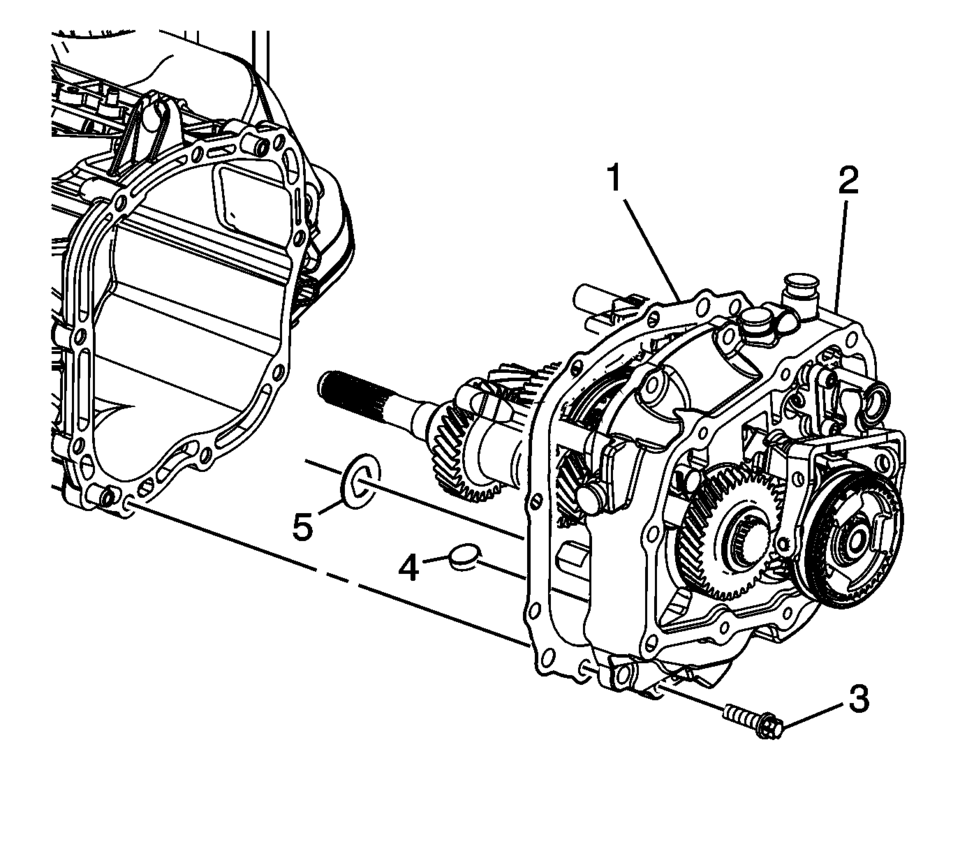
- Remove the transmission case bolts (3).
- Remove the transmission case (2) and gasket (1).
- Remove the case magnet (4), may stay with case.
- Remove the reverse idler gear washer (5), may stay on the reverse idler gear shaft.
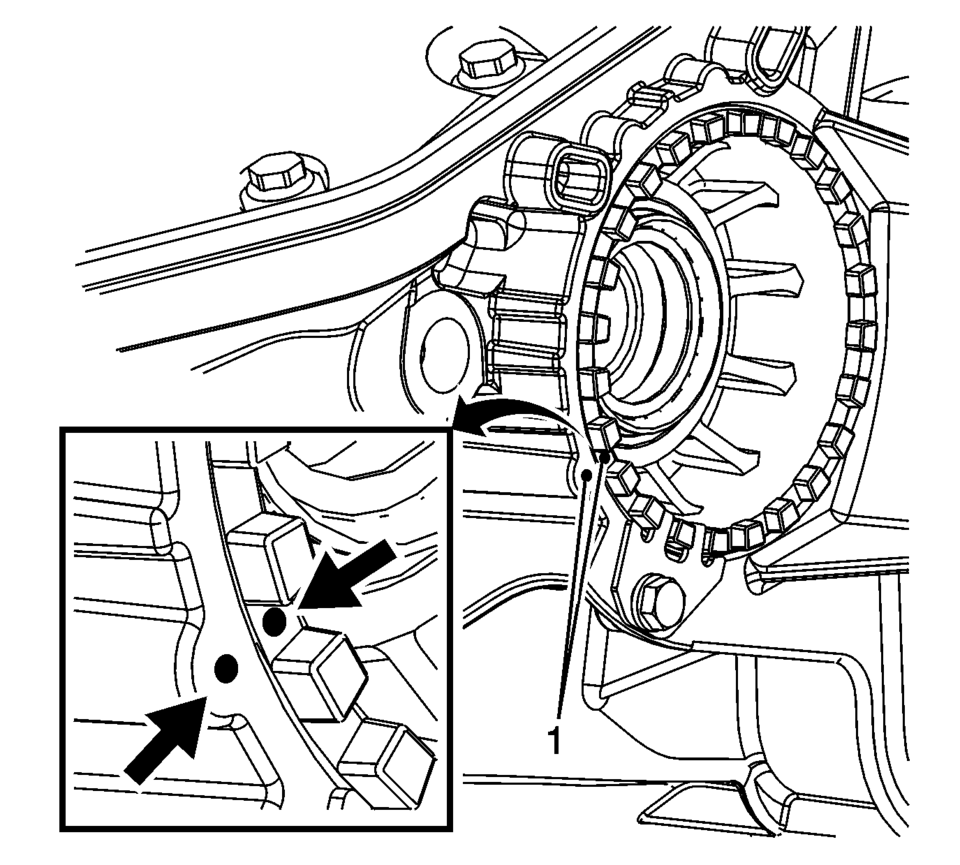
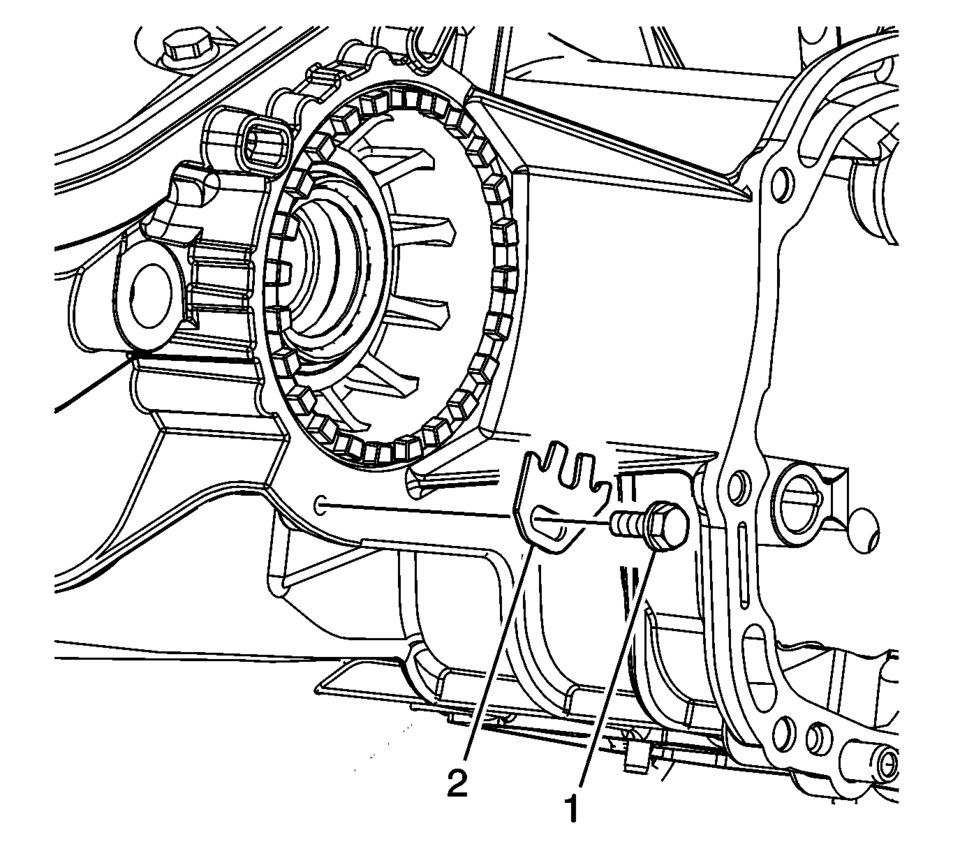
- Mark the differential bearing adjuster and case (1) before removal.
- Remove the differential bearing adjuster lock bolt (1).
- Remove the differential bearing adjuster lock (2).
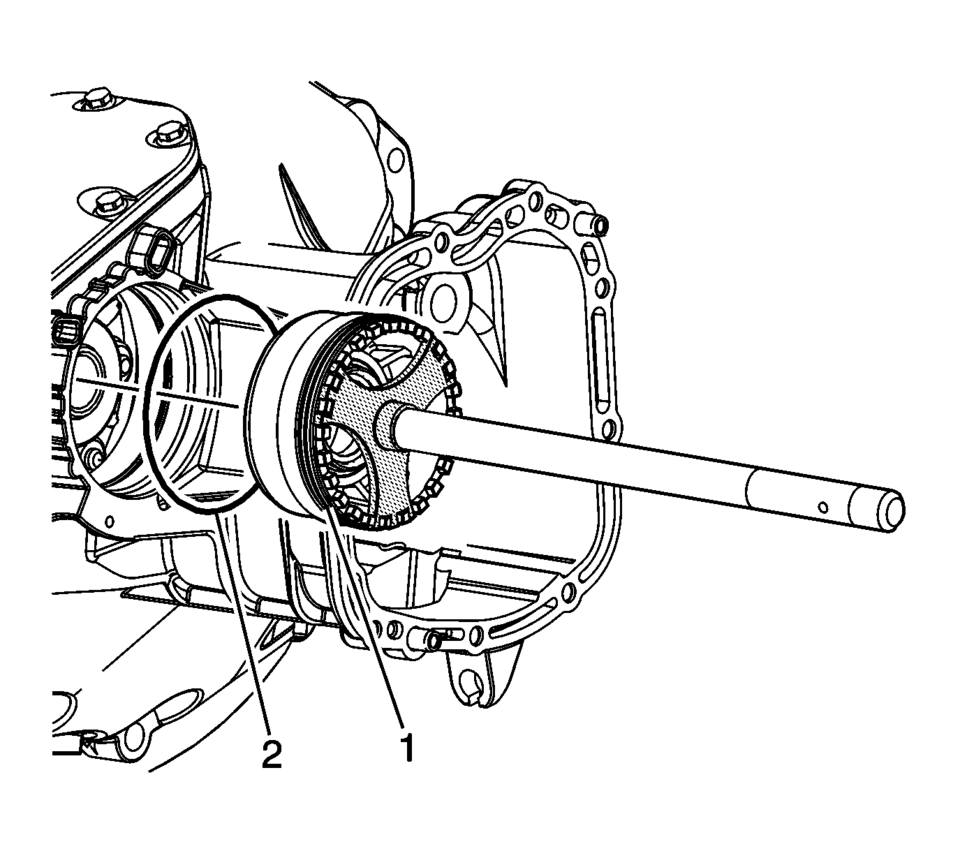
- Using S-9407198 differential bearing race wrench remove the front differential bearing adjuster (1).
- Remove the front differential bearing retainer O-ring seal (2).
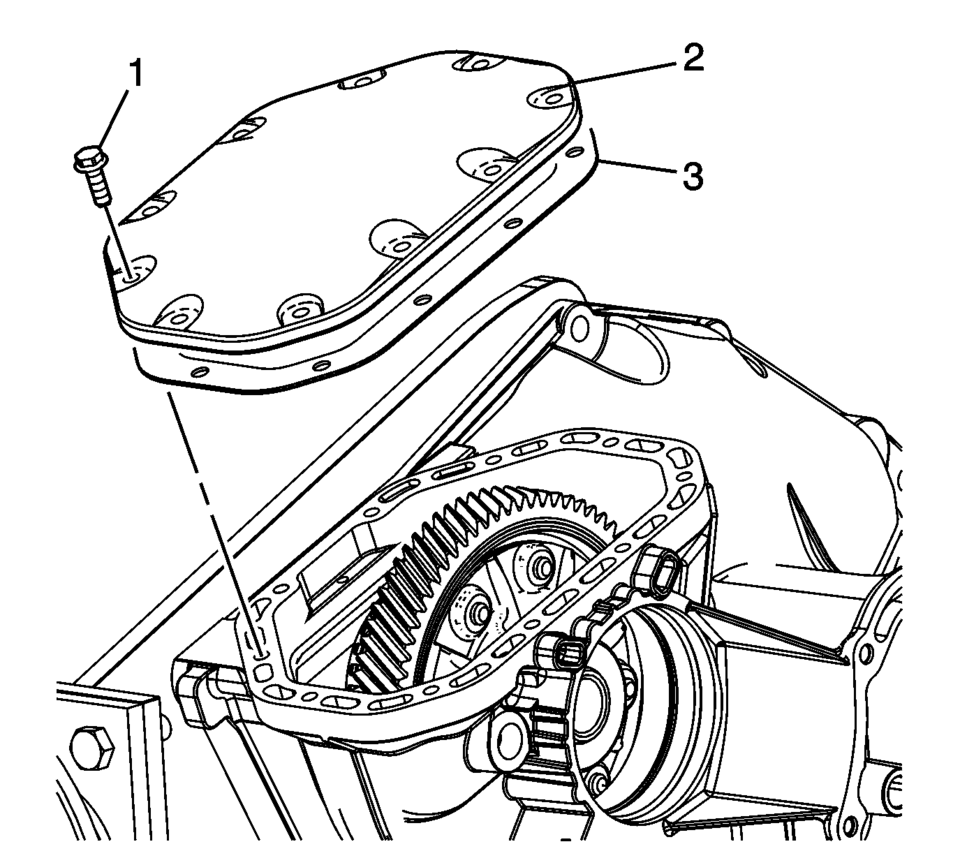
- Remove the front differential carrier cover bolts (1).
- Remove the differential carrier cover (2) and gasket (3).
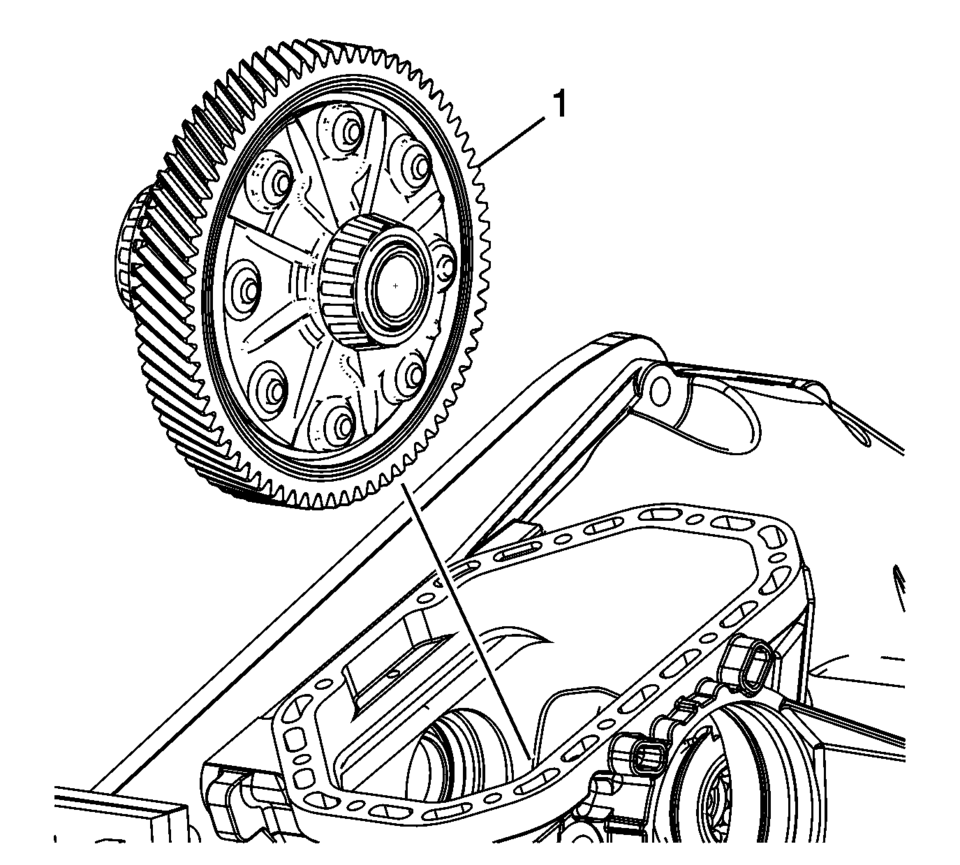
- Remove the front differential carrier (1).
 Transmission Control Replacement
Removal Procedure
Remove the floor console. Refer to
Front Floor Console Replacement.
Lift both cable adjustment retainers (1), one for
each cable, to release the s ...
 Transmission Disassemble (Gen 2)
Special Tools
3-9506289 Universal Adapter
R-0007758 Holding Fixture
S-9407198 Differential Bearing Race Wrench
For equivalent regional tools, refer to Special Tools.
Attach R-0 ...
Other materials:
Front Side Door Window Outer Sealing Strip Replacement
Front Side Door Window Outer Sealing Strip Replacement
Callout
Component Name
1
Front Side Door Window Outer Sealing Strip
Procedure
Do Not remove the outside rearview mirror.
Use the appropriate tool, lift th ...
Blower Motor Resistor Replacement
Blower Motor Resistor Replacement
Callout
Component Name
Preliminary Procedure
Remove the instrument panel insulator, if equipped.
1
Blower Motor Resistor Screw (Qty: 2)
Caution: Refer ...
Audible reminders
Light reminder chime
The Nissan Armada emits a light reminder chime if the headlights are left on
after the engine has been turned off and the driver’s door is opened. This helps
prevent battery discharge. The sound occurs when the switch remains in the
or
position.
To avoid unnecess ...

0.0061